Stylish Knit Beanie
difficulty level: easy
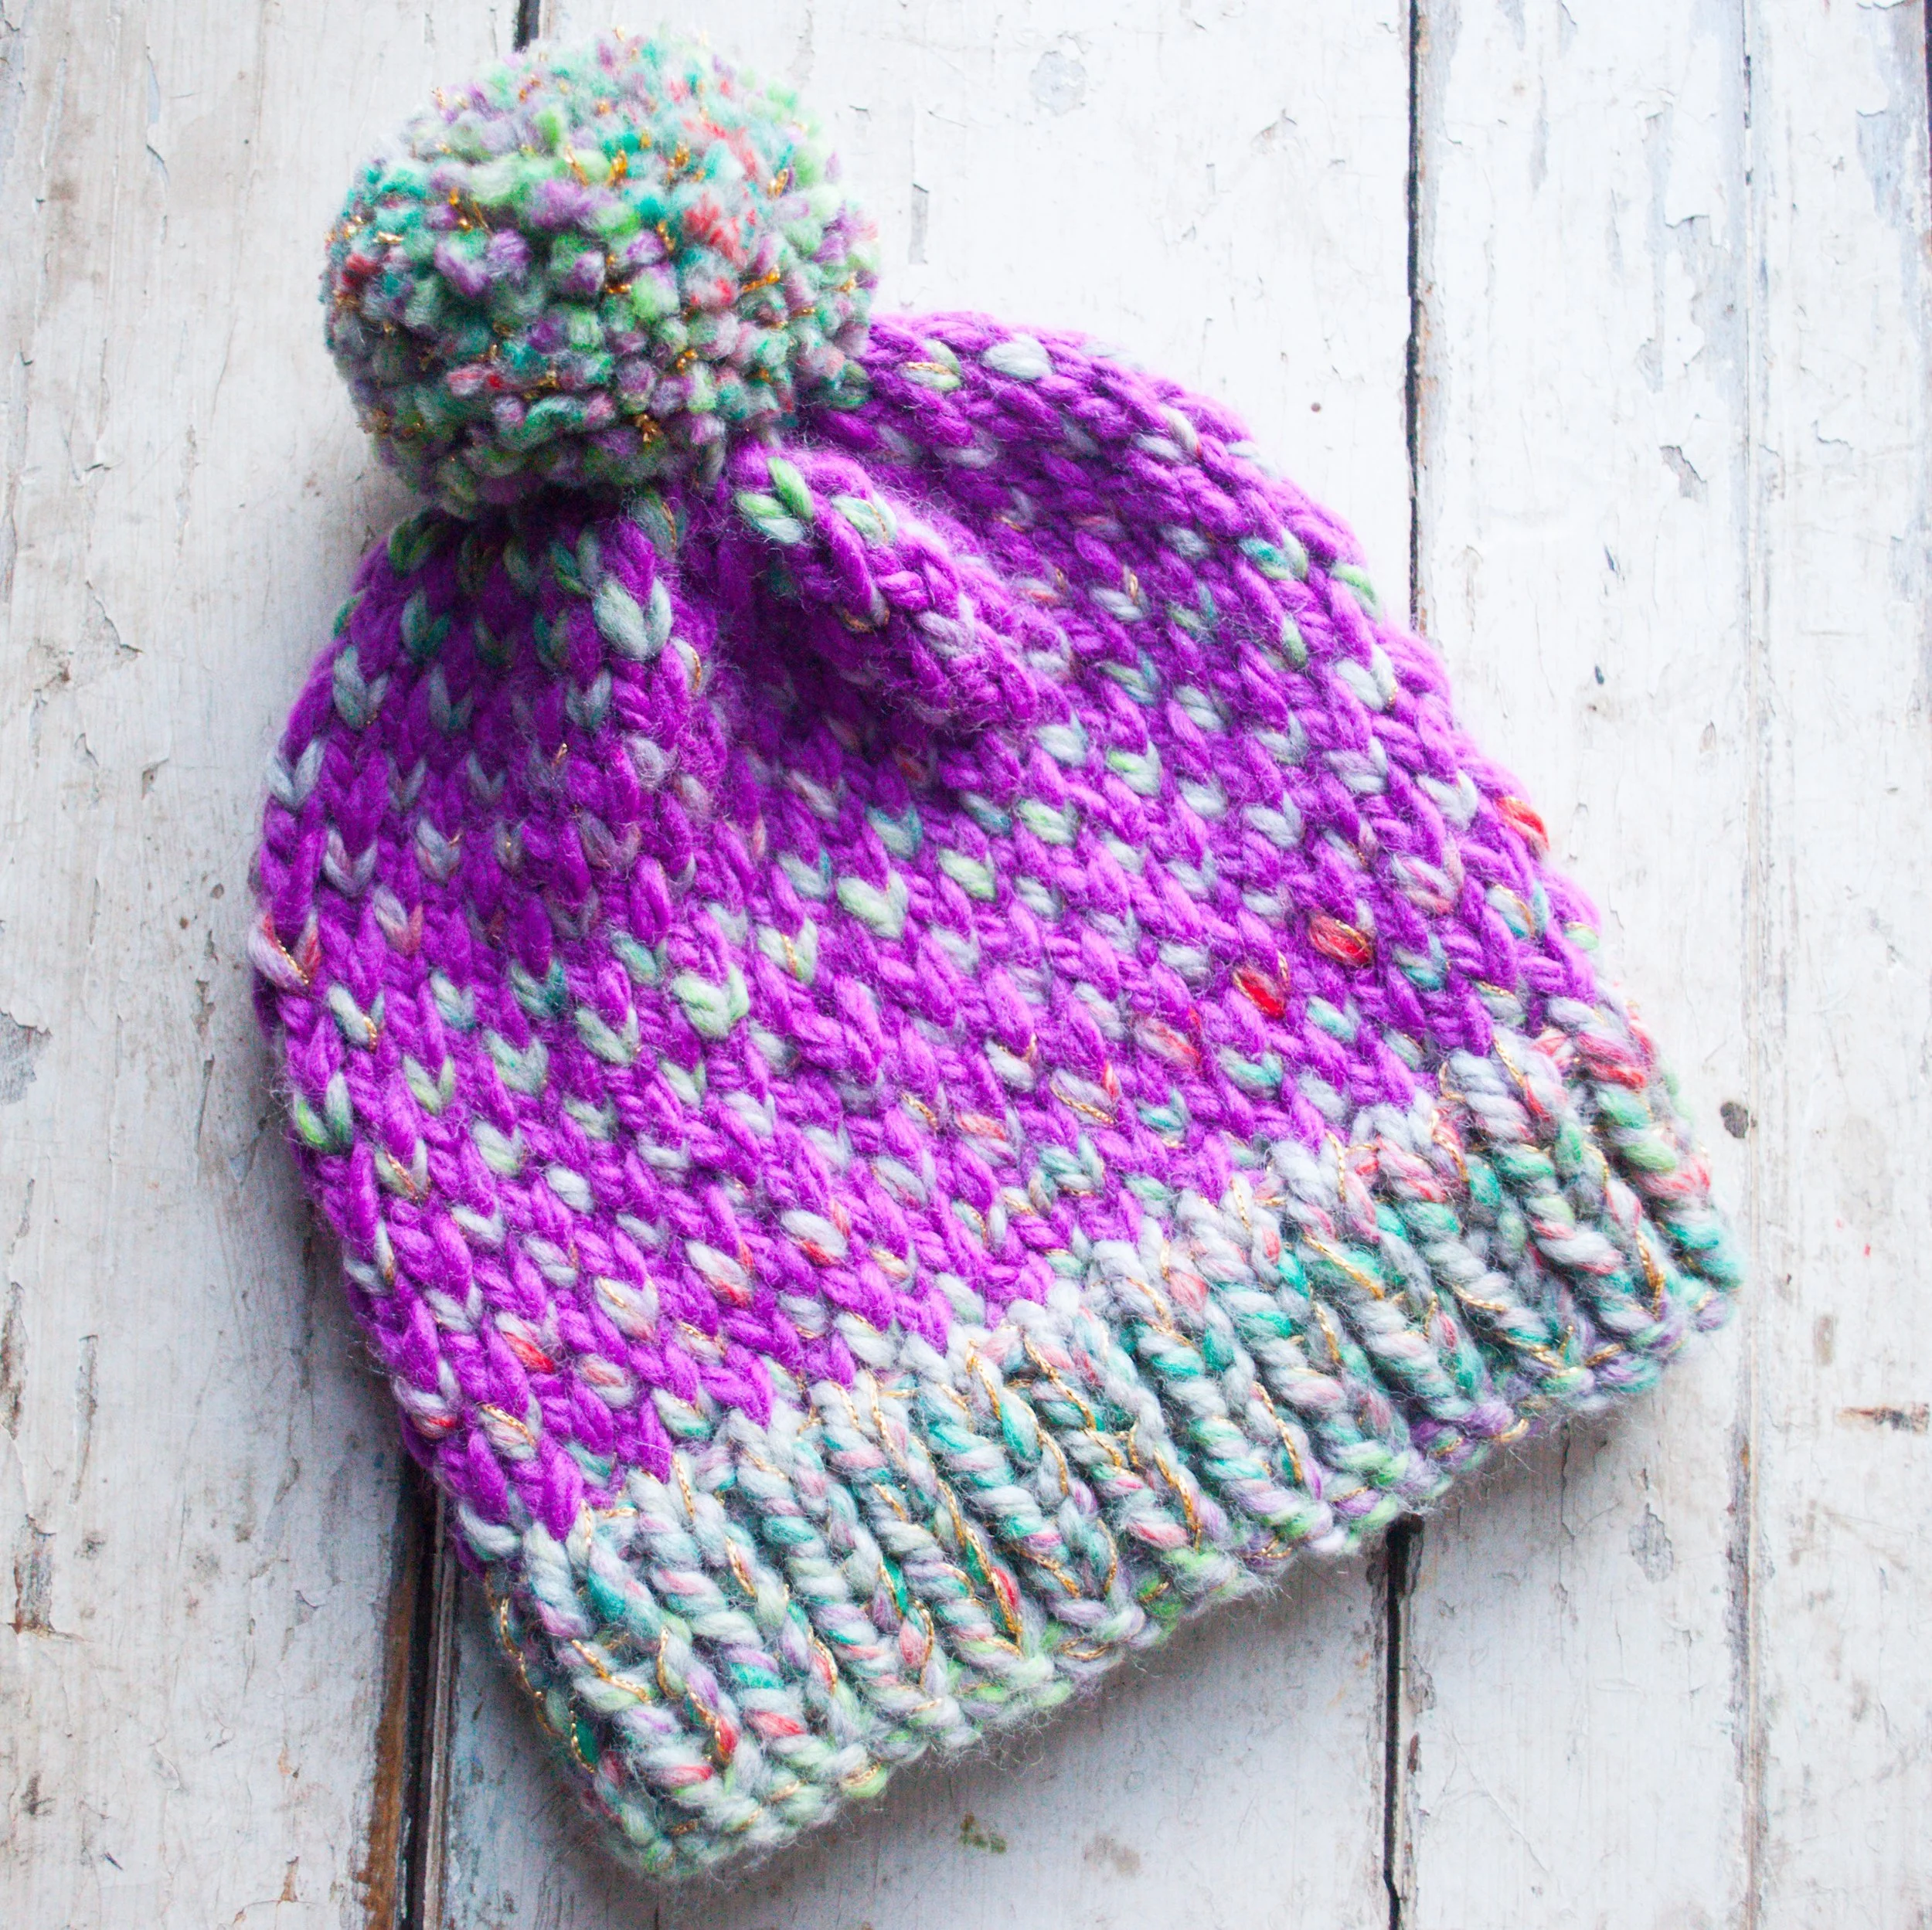
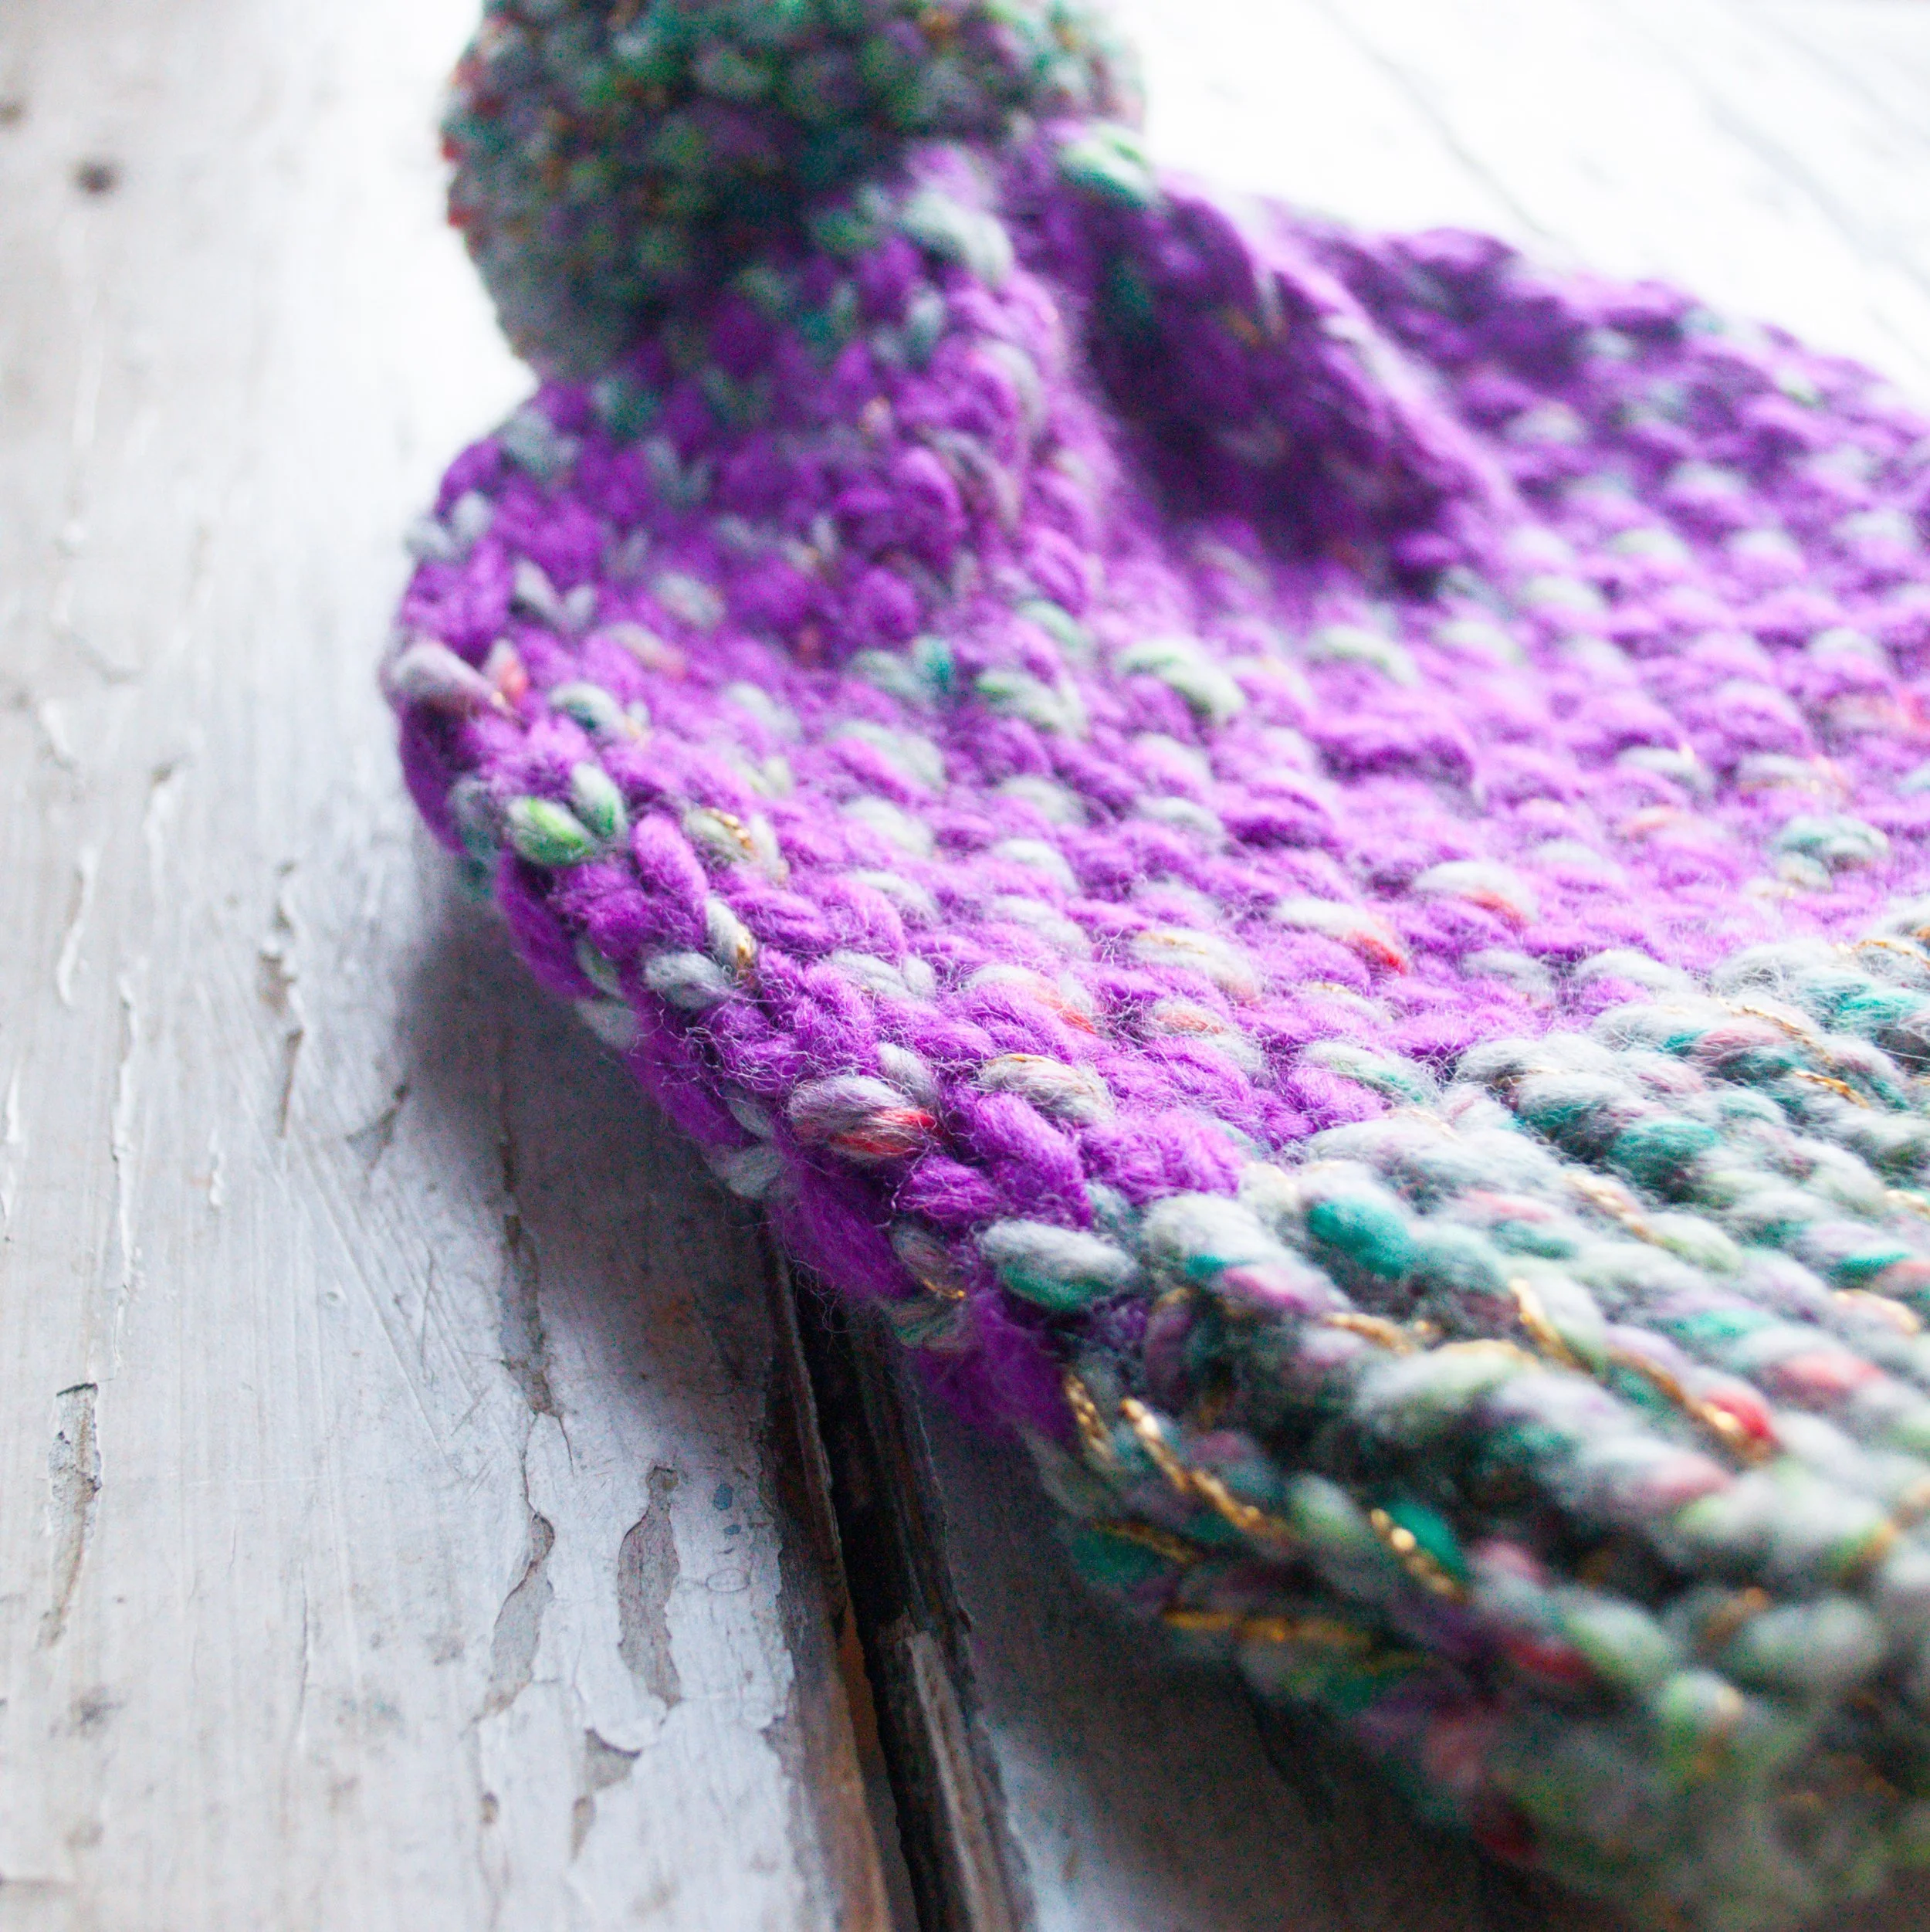
This stylish knit beanie is such a fun project to knit! The cool stitch pattern is easy to learn and creates lots of visual interest. That paired with the sparkly thread and multi-color yarn make this unique and fun winter hat a perfect addition to your cozy wardrobe!

this post contains affiliate links which means I make a small commission at no extra cost to you.
I don't think I will ever get tired of the stitch variation in this beanie! It works up quickly and is so much fun to knit! :)
need a printable version?
Click the button below to download the PDF for this stylish knit beanie.
chunky knit beanie pattern
measurements:
height measures approximately 11.5" (including pom)
circumference measures approximately 21.5"
what you will need:
Color A - 1 skein Lion Brand Yarn Wool-Ease Thick & Quick in Spice Market or Eden (or approximately 45 yds of another #6 multicolor super bulky yarn) mixed with approximately 45 yds sparkle thread or yarn. (I used Renee & Burt’s Disco Ball yarn with Spice Market & Wool And The Gang Disco Down Yarn in Stardust Gold with Eden)
Color B - 1 skein Lion Brand Yarn Wool-Ease Thick & Quick in Mustard or Lollipop (or approximately 27 yds of another #6 super bulky yarn).
Size US 13 - 9mm circular knitting needles or size needed to obtain gauge. To save time make sure to check gauge. GAUGE: 10 STS x 12 rows in stockinette = approximately 4”x4”
stitch marker
tapestry needle
3-3/8” (85mm) pom pom maker (optional)
pattern notes:
Color A consists of holding your super bulky yarn and sparkle yarn together as one color throughout the beanie.
abbreviations:
CO - cast on
K - knit
P - purl
K3TOG - knit 3 together
KFB - knit front & back
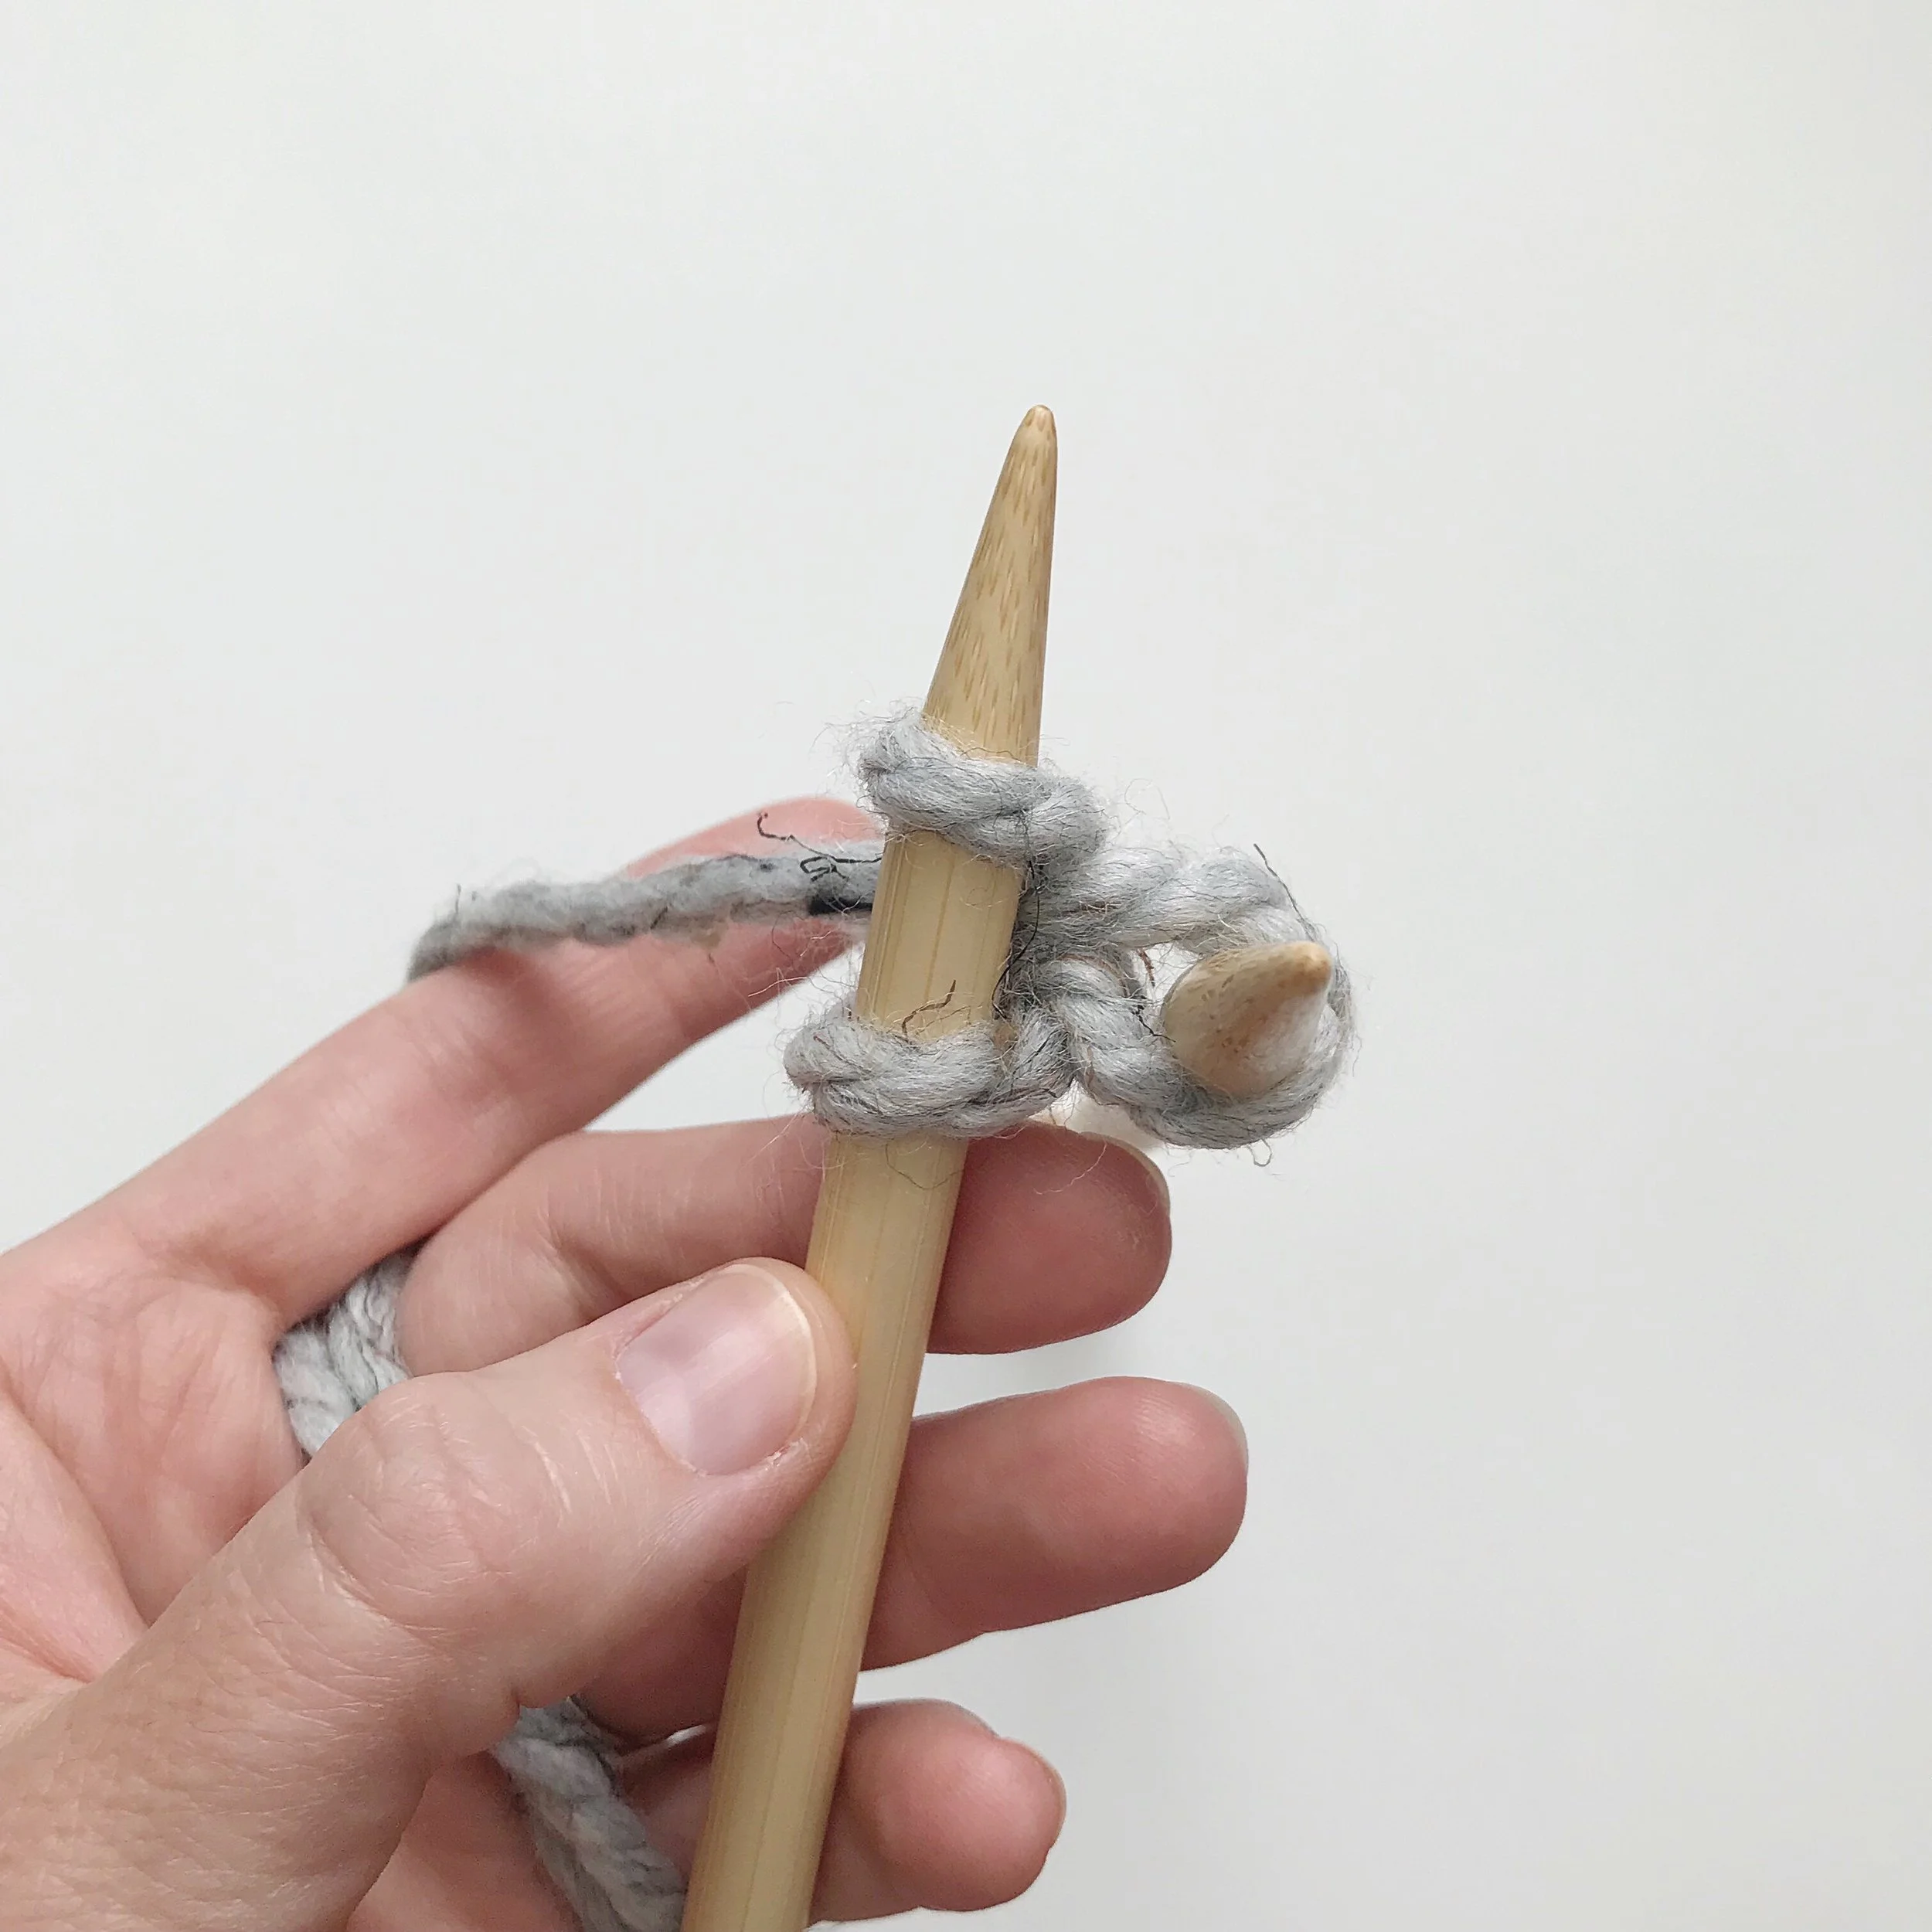
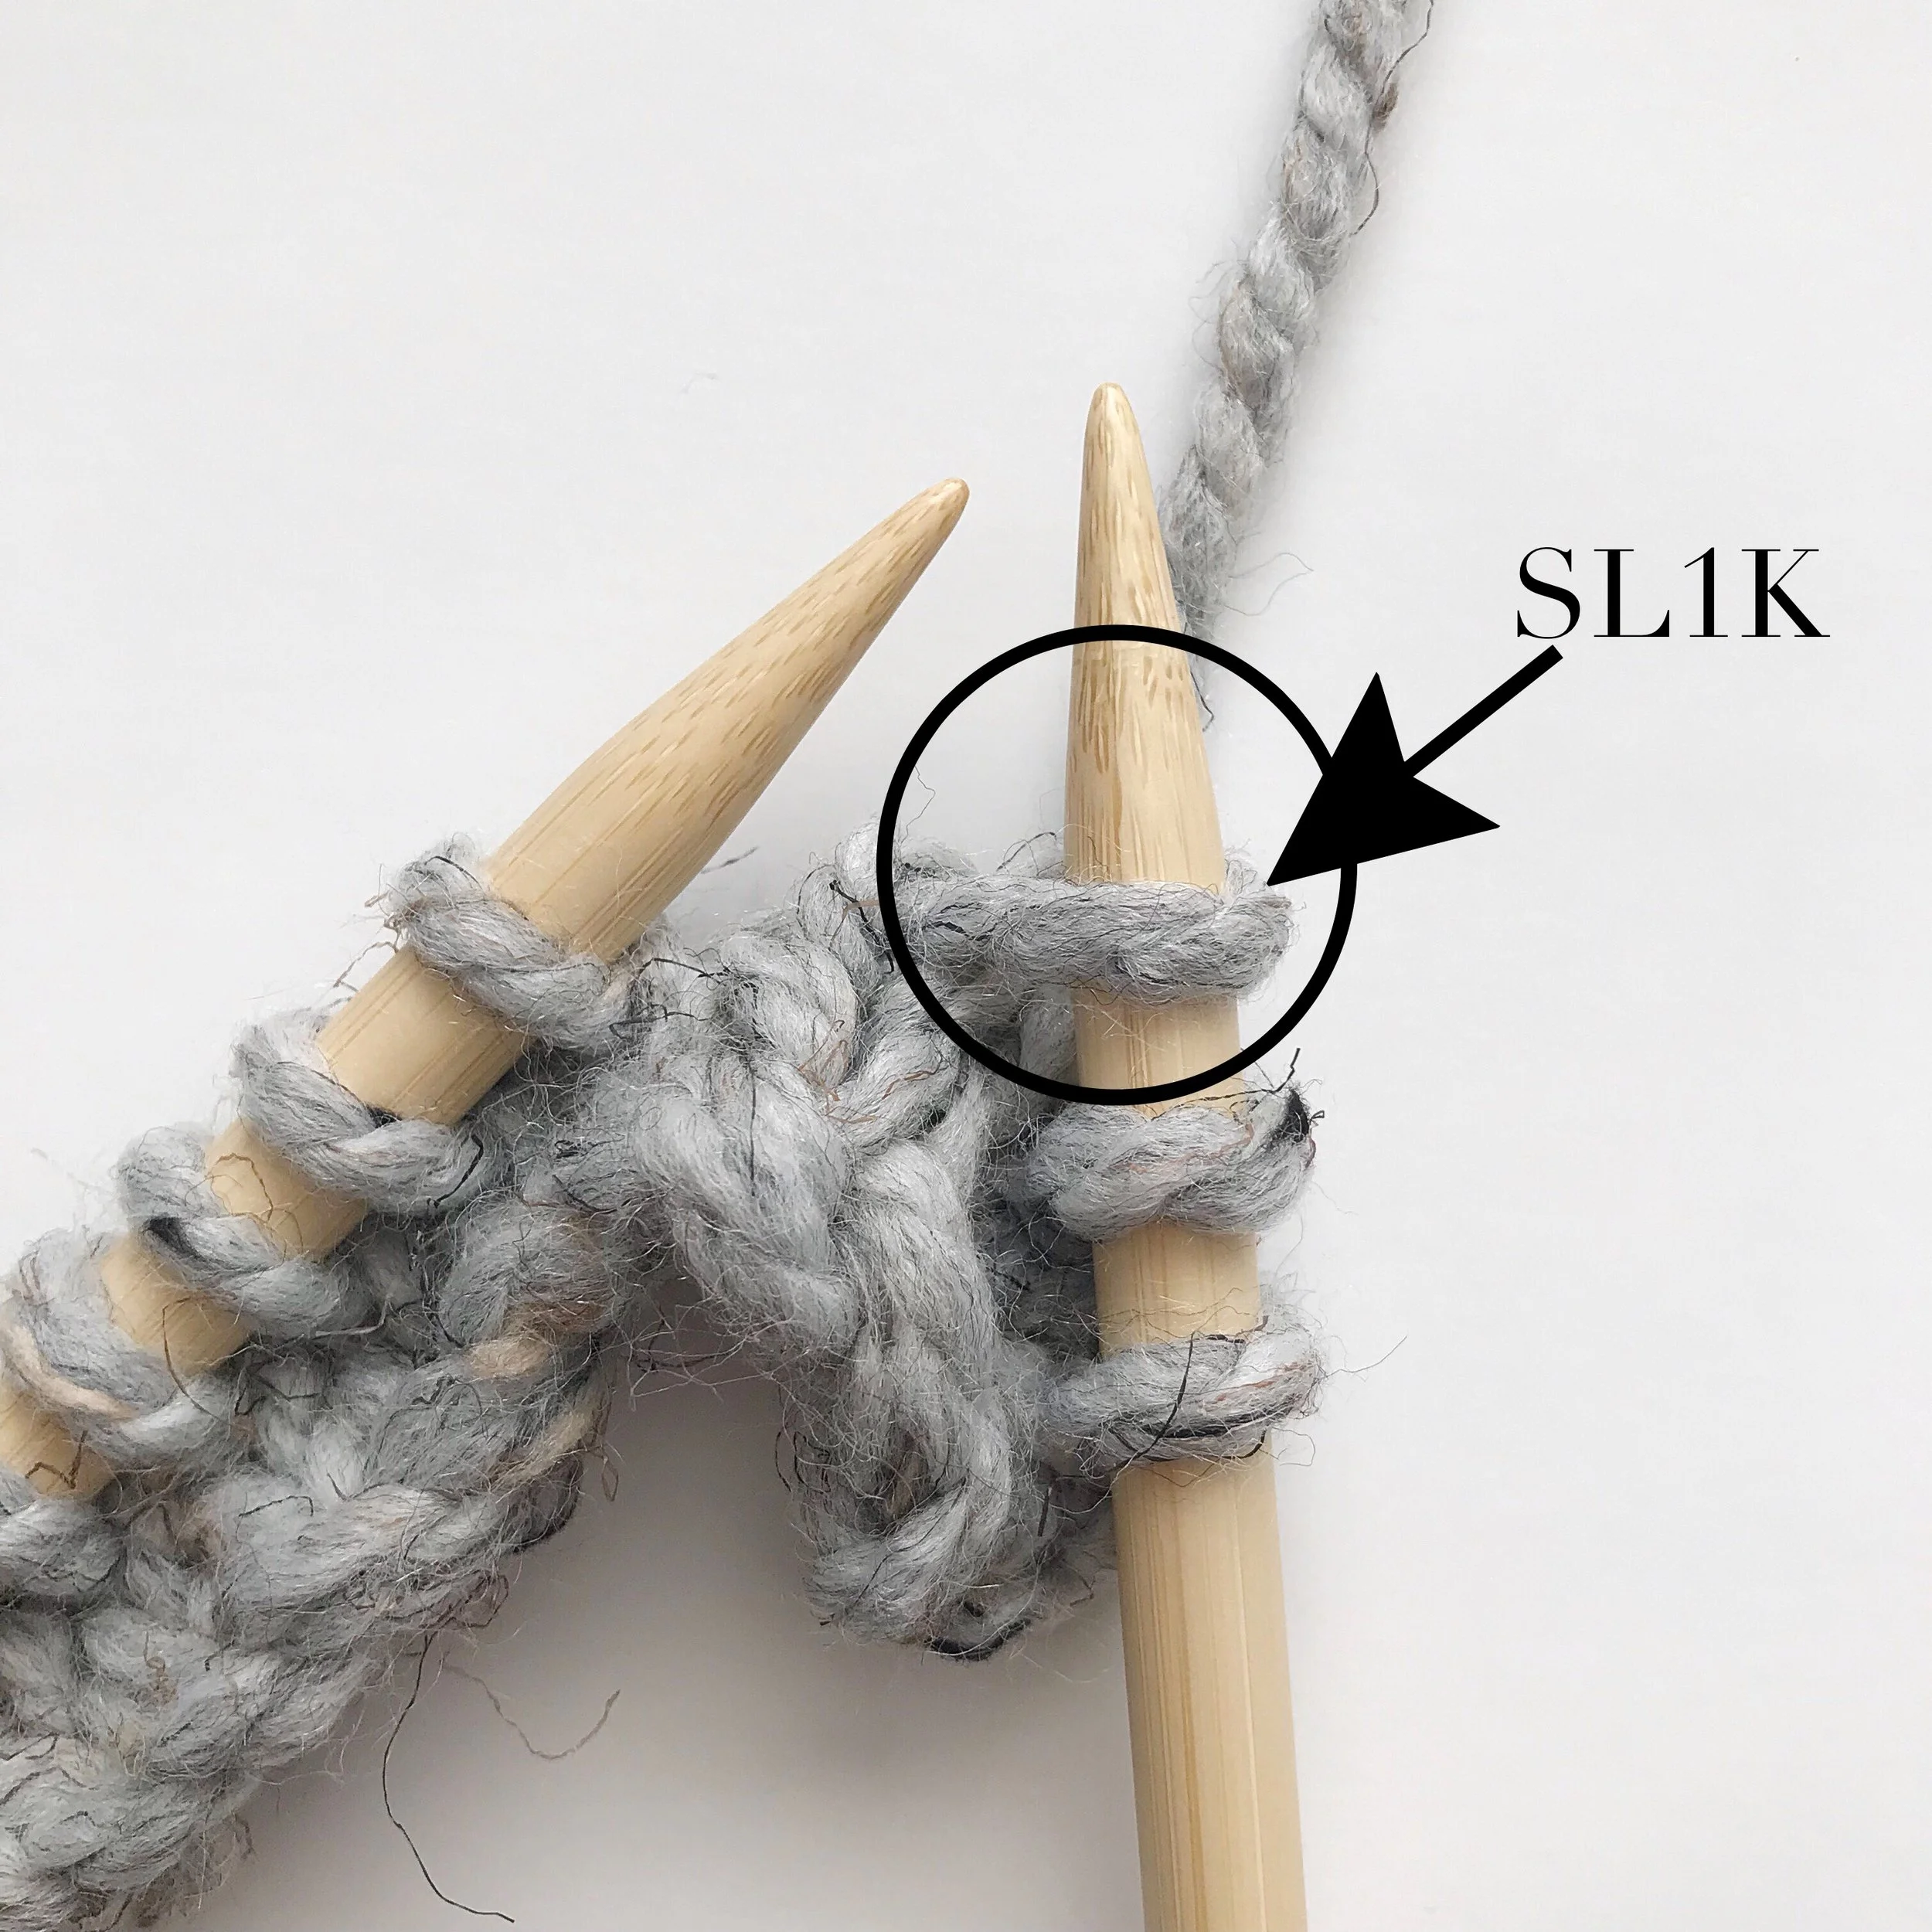
SL1K - slip 1 knit-wise
ST/STS - stitch/es
REP - repeat
1
4
7

3

5 - insert in back of same ST

7 - K the back of same ST
7
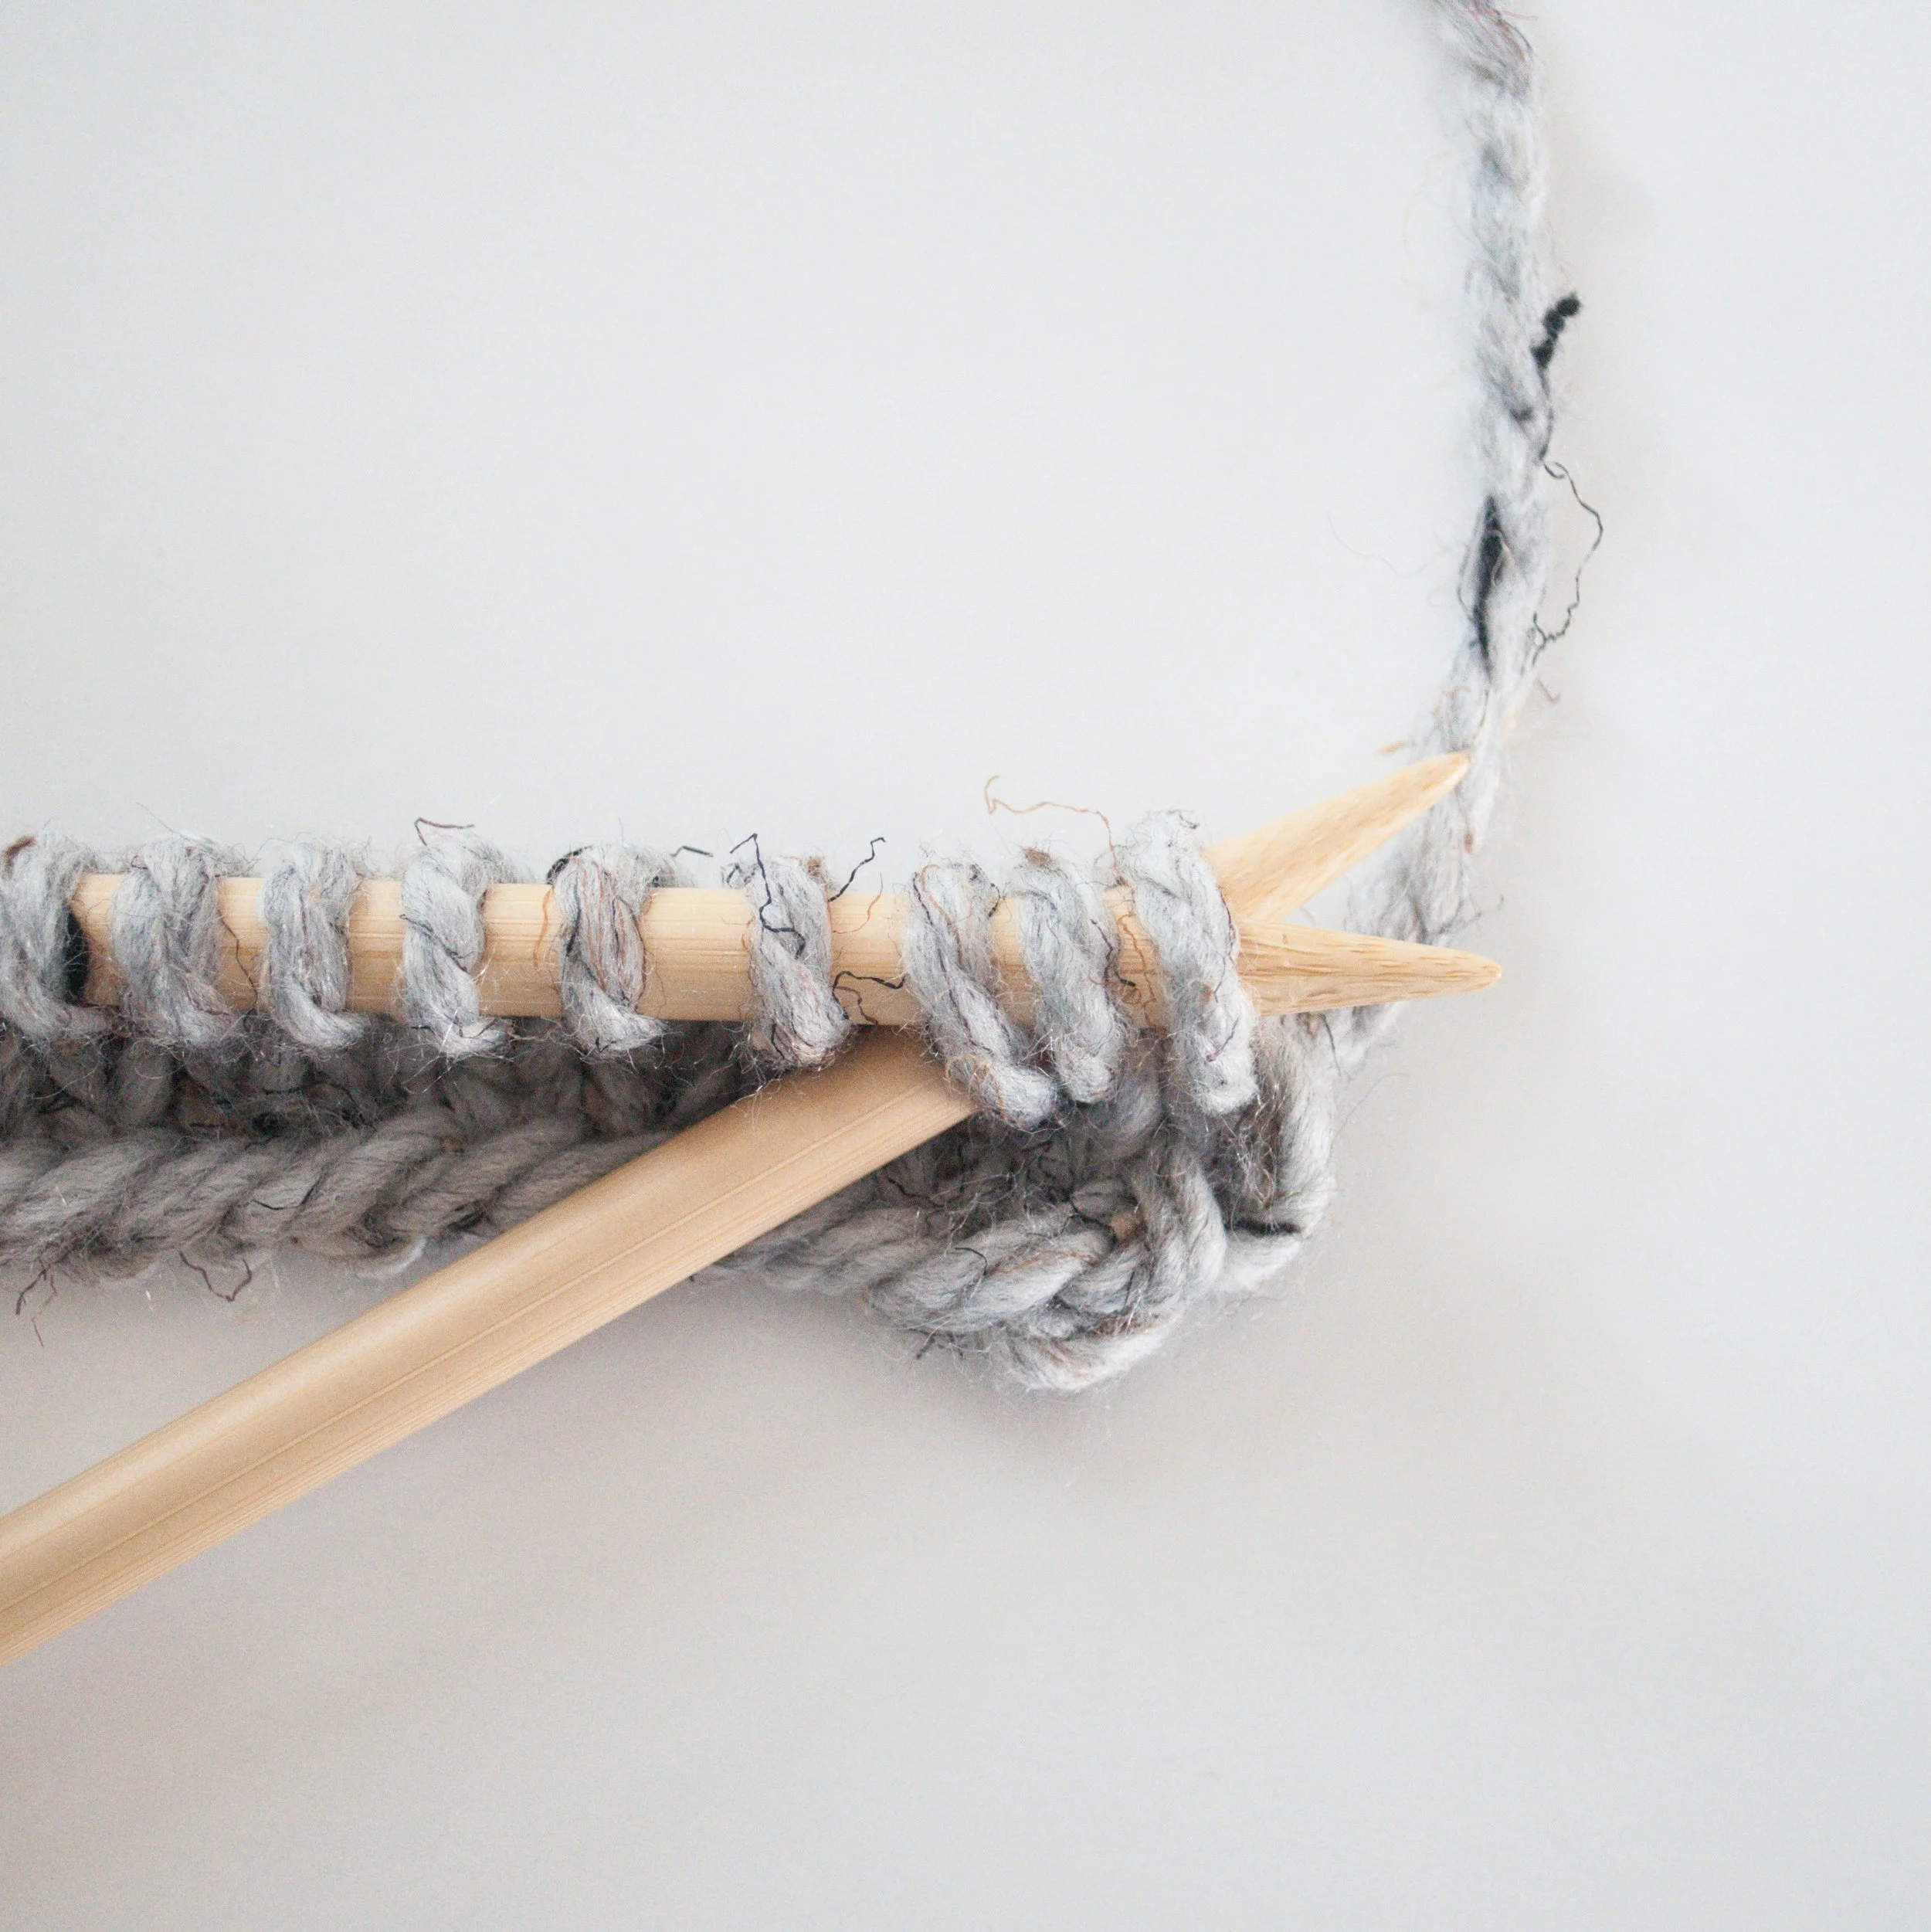
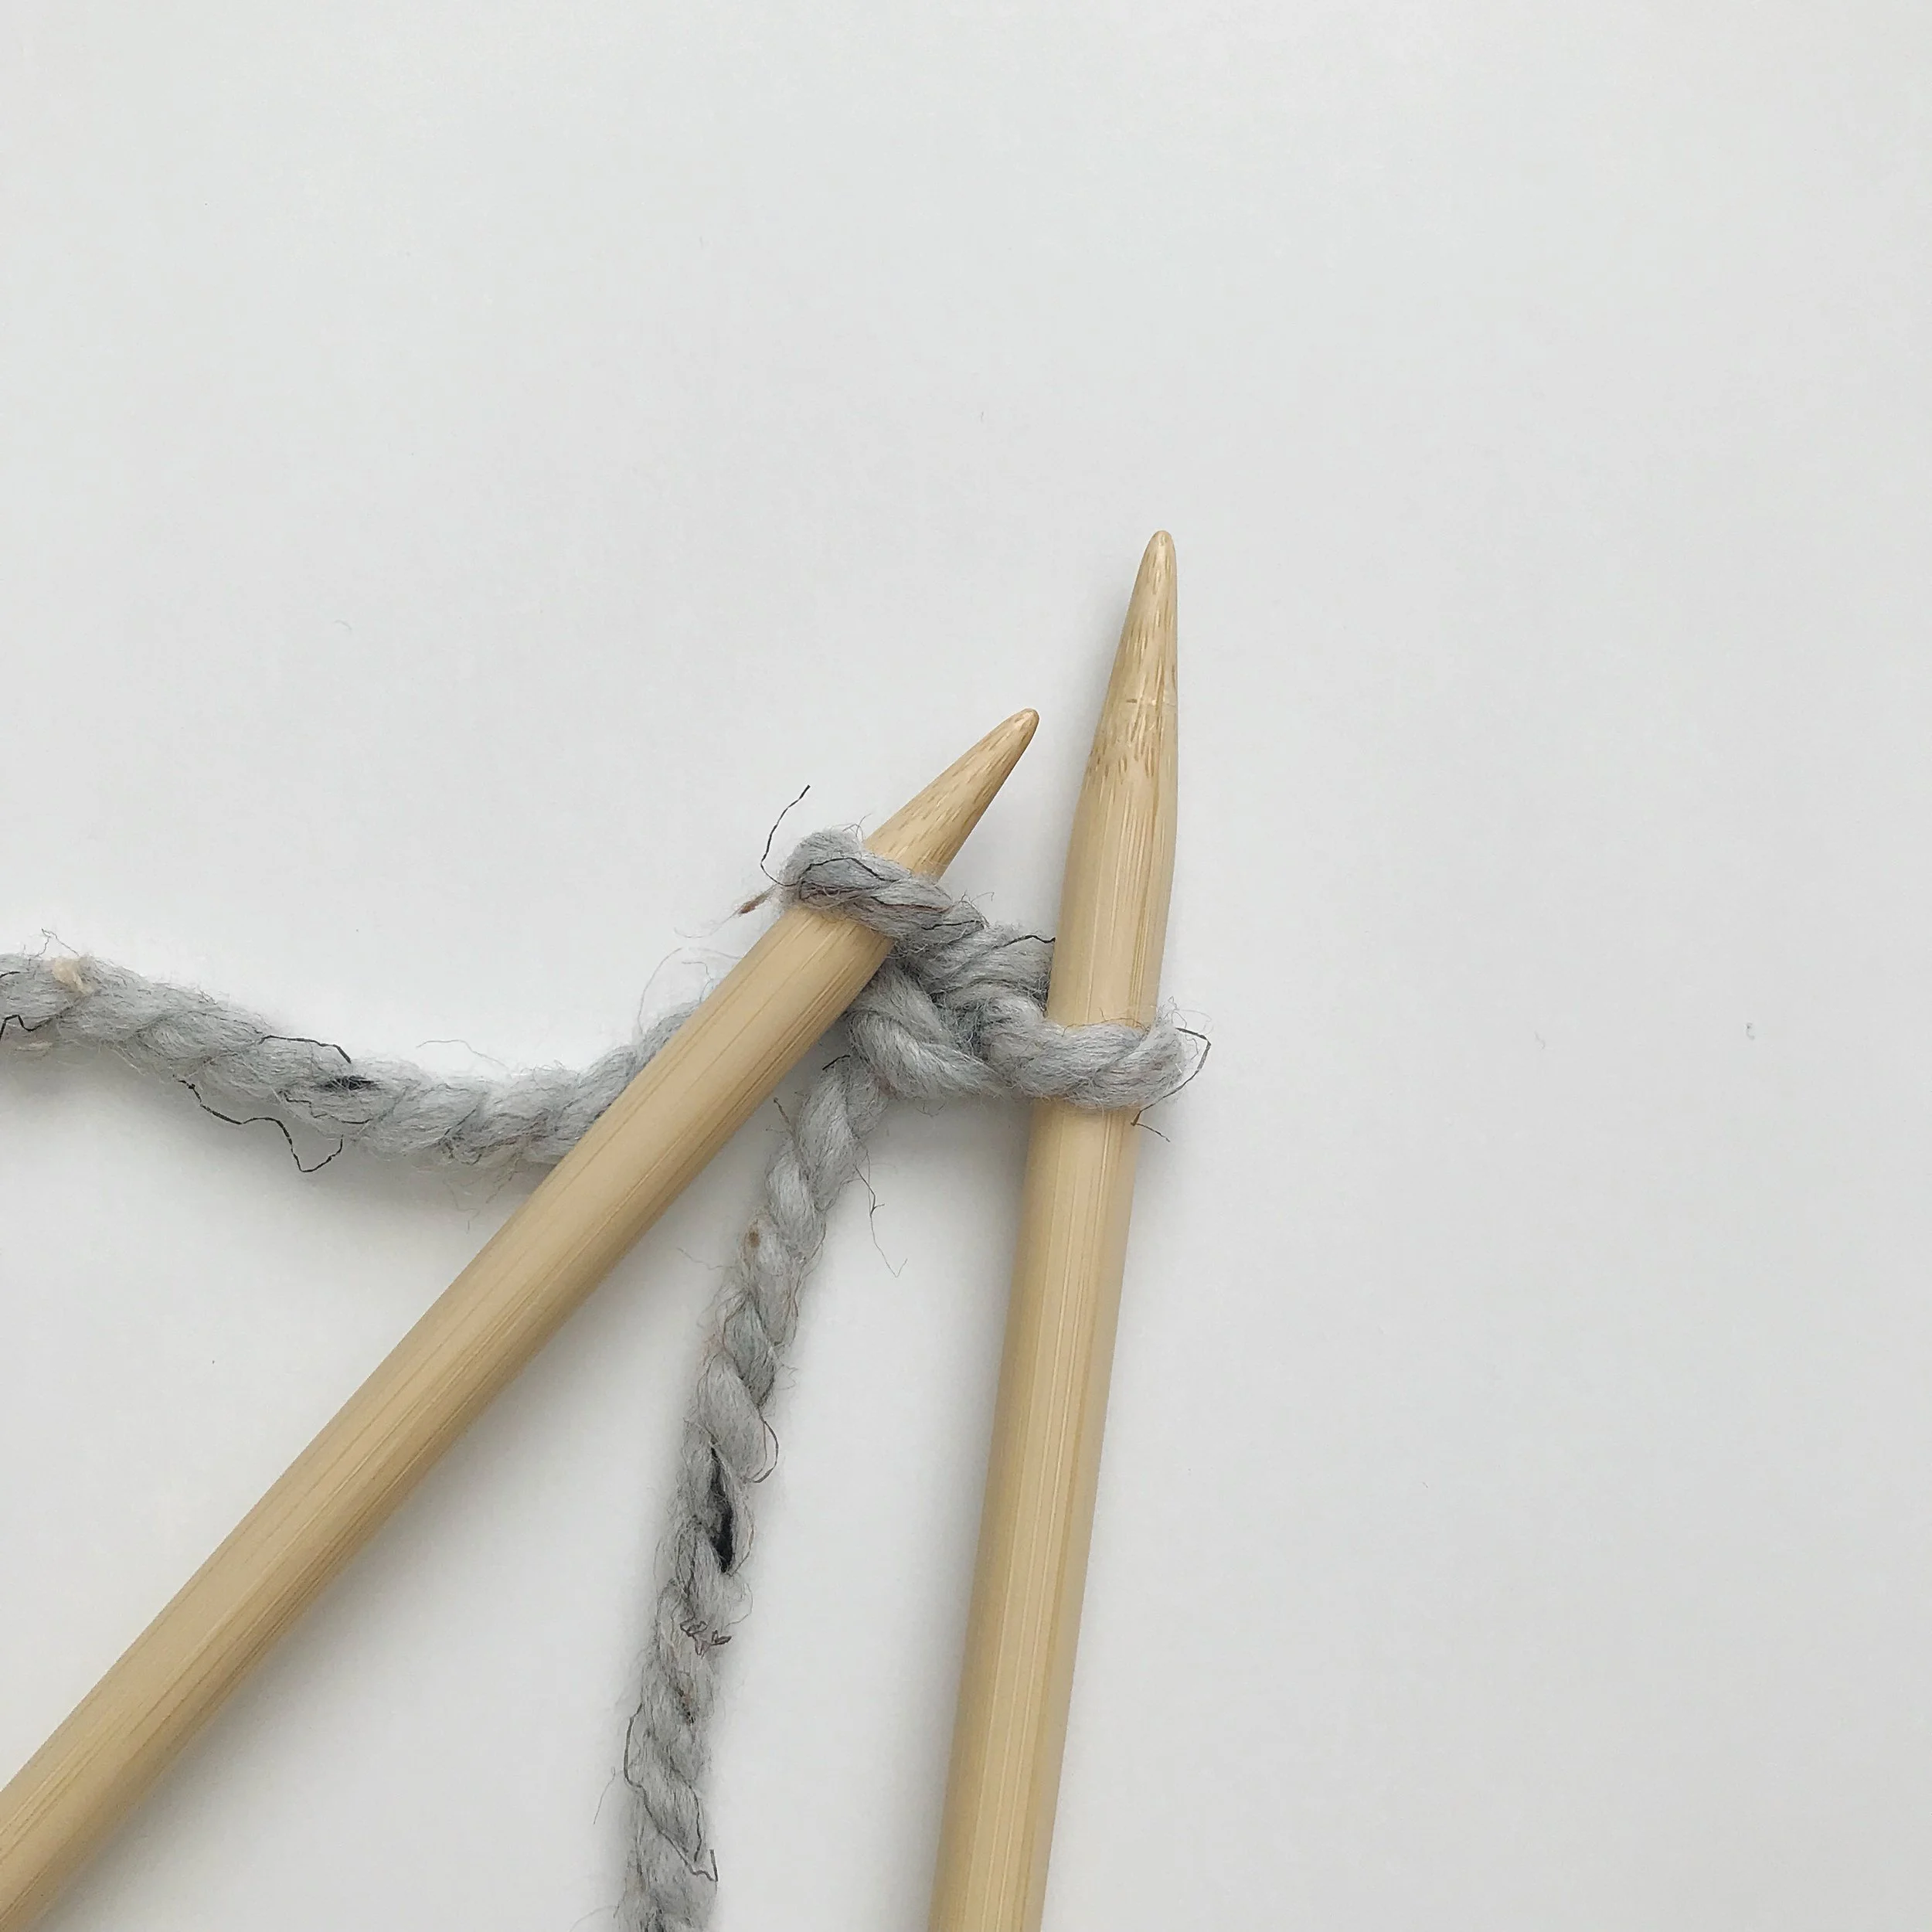
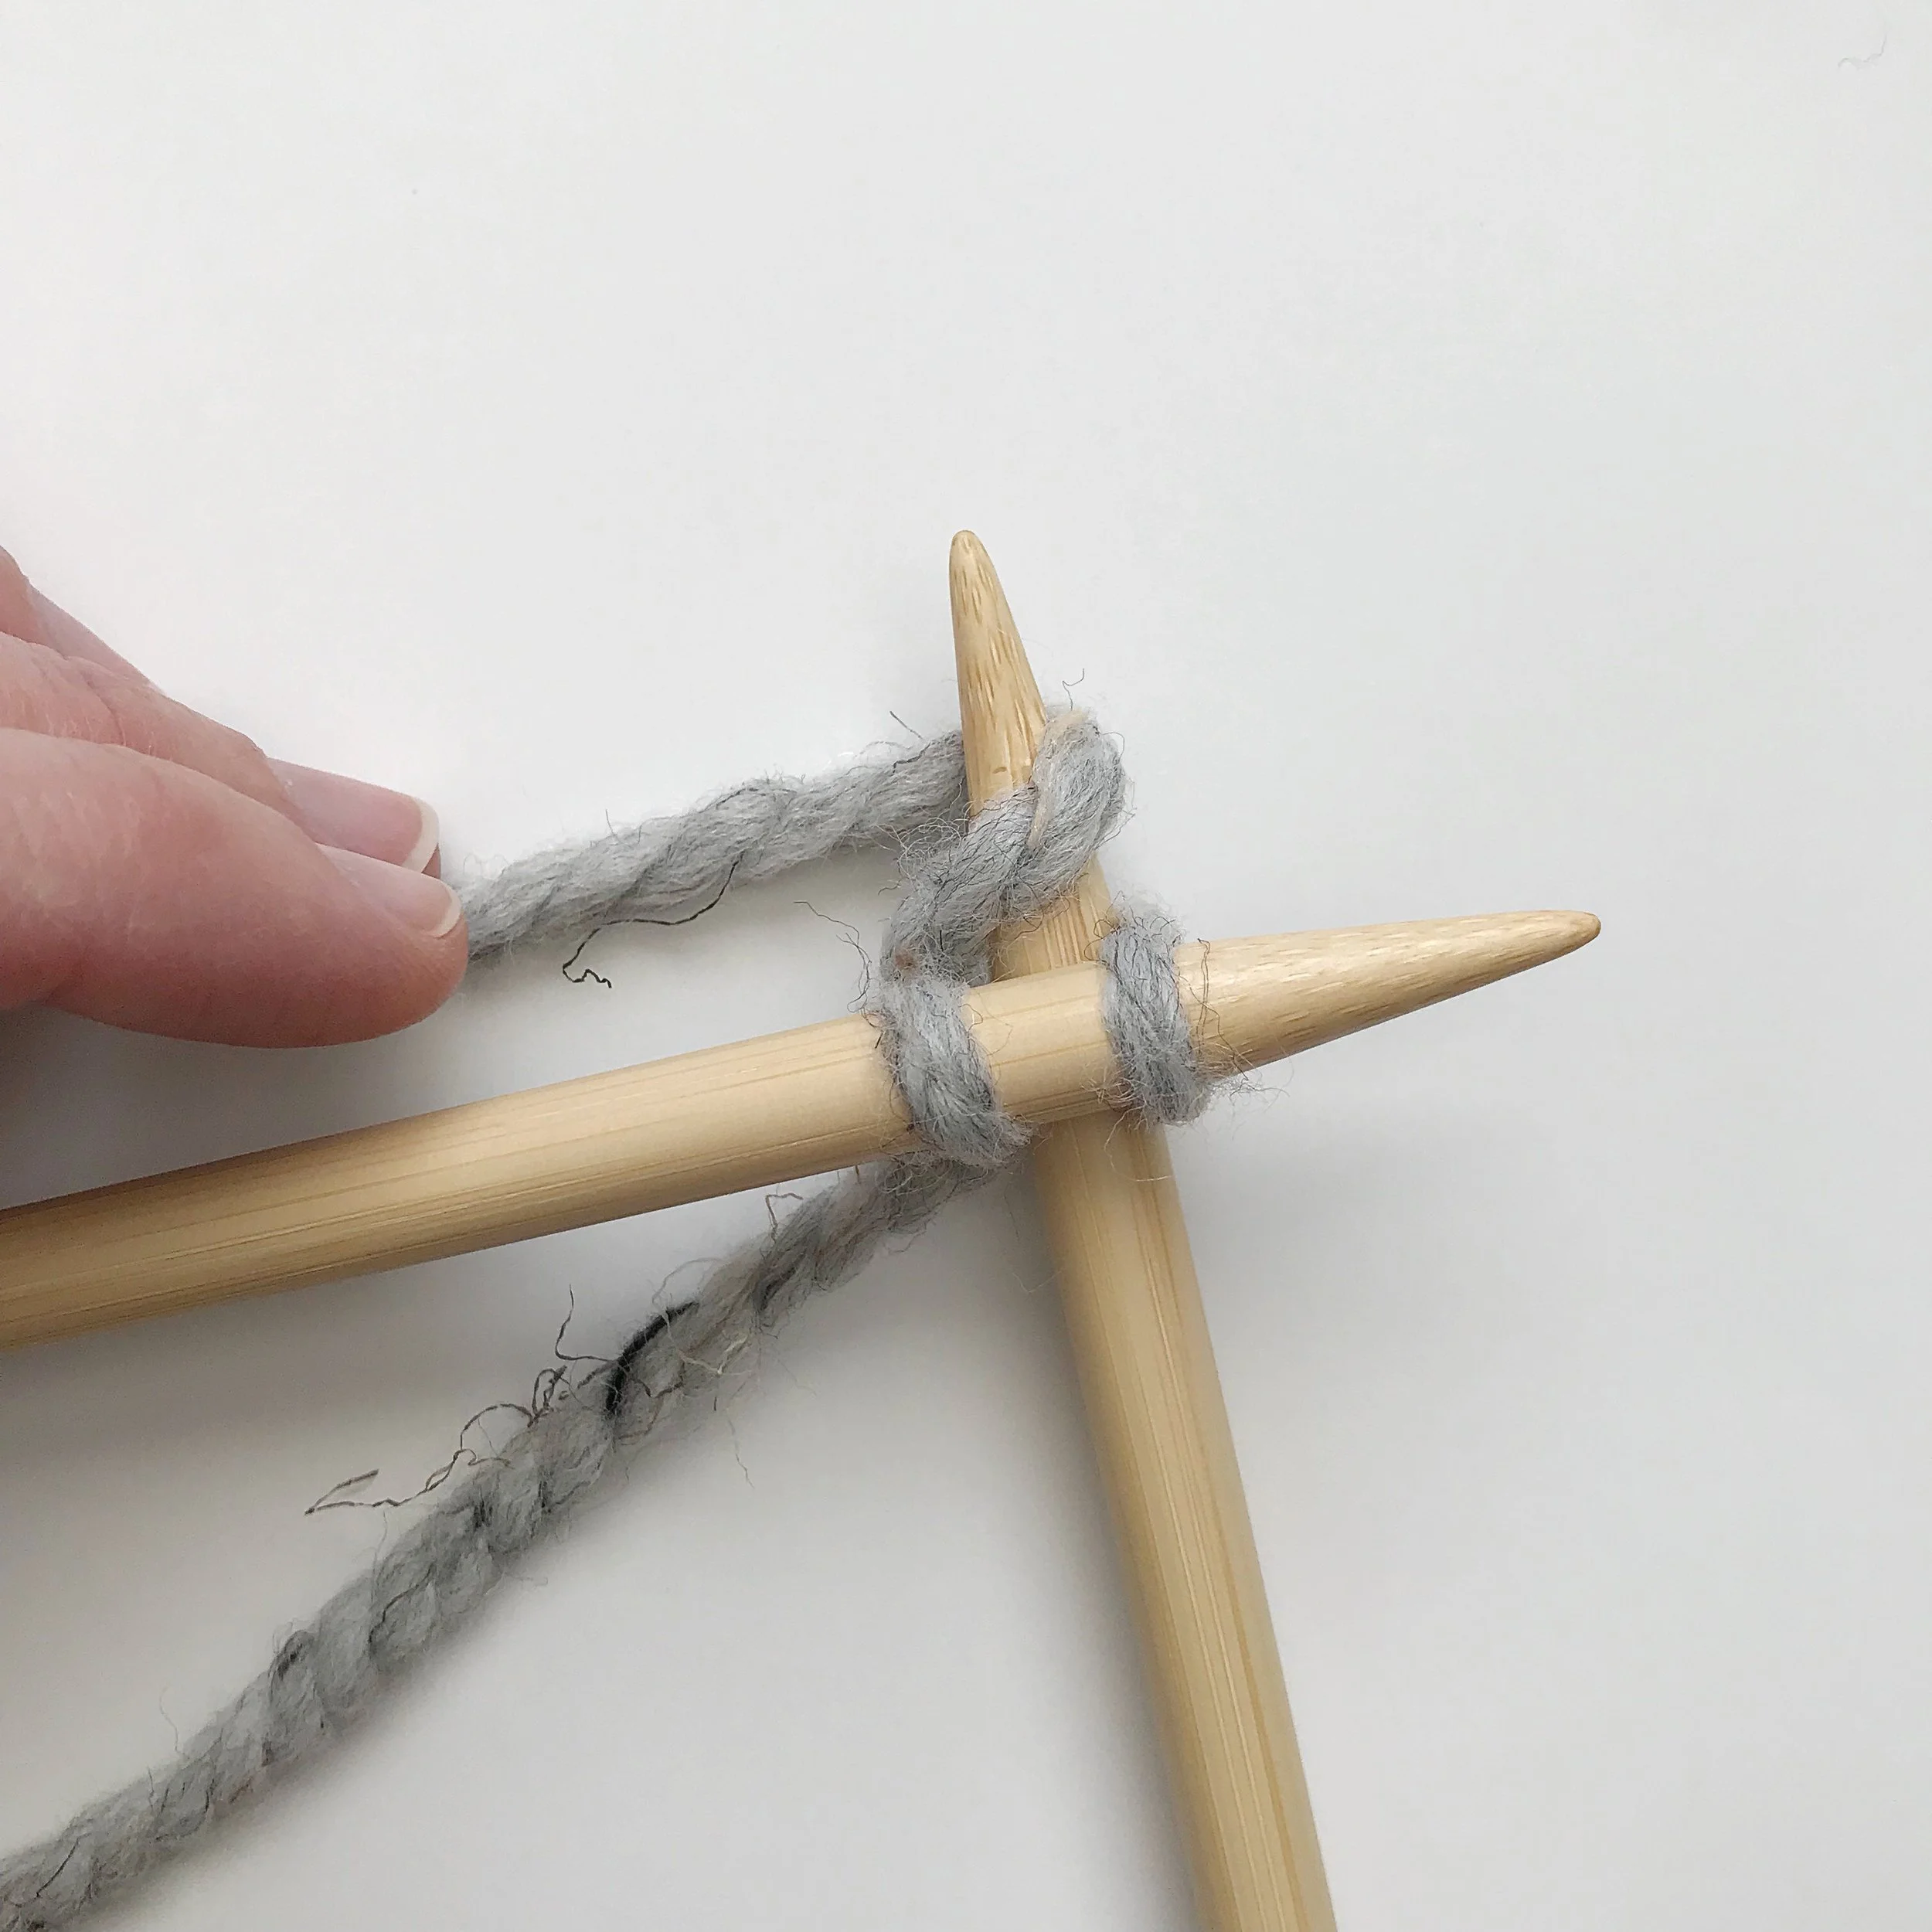
special stitches:
K3TOG (knit 3 together) - insert needle through three STS instead of one (photo 1 below) and knit as you normally would. This will decrease your ST count by two. (photo 2 below).
special stitches continued:
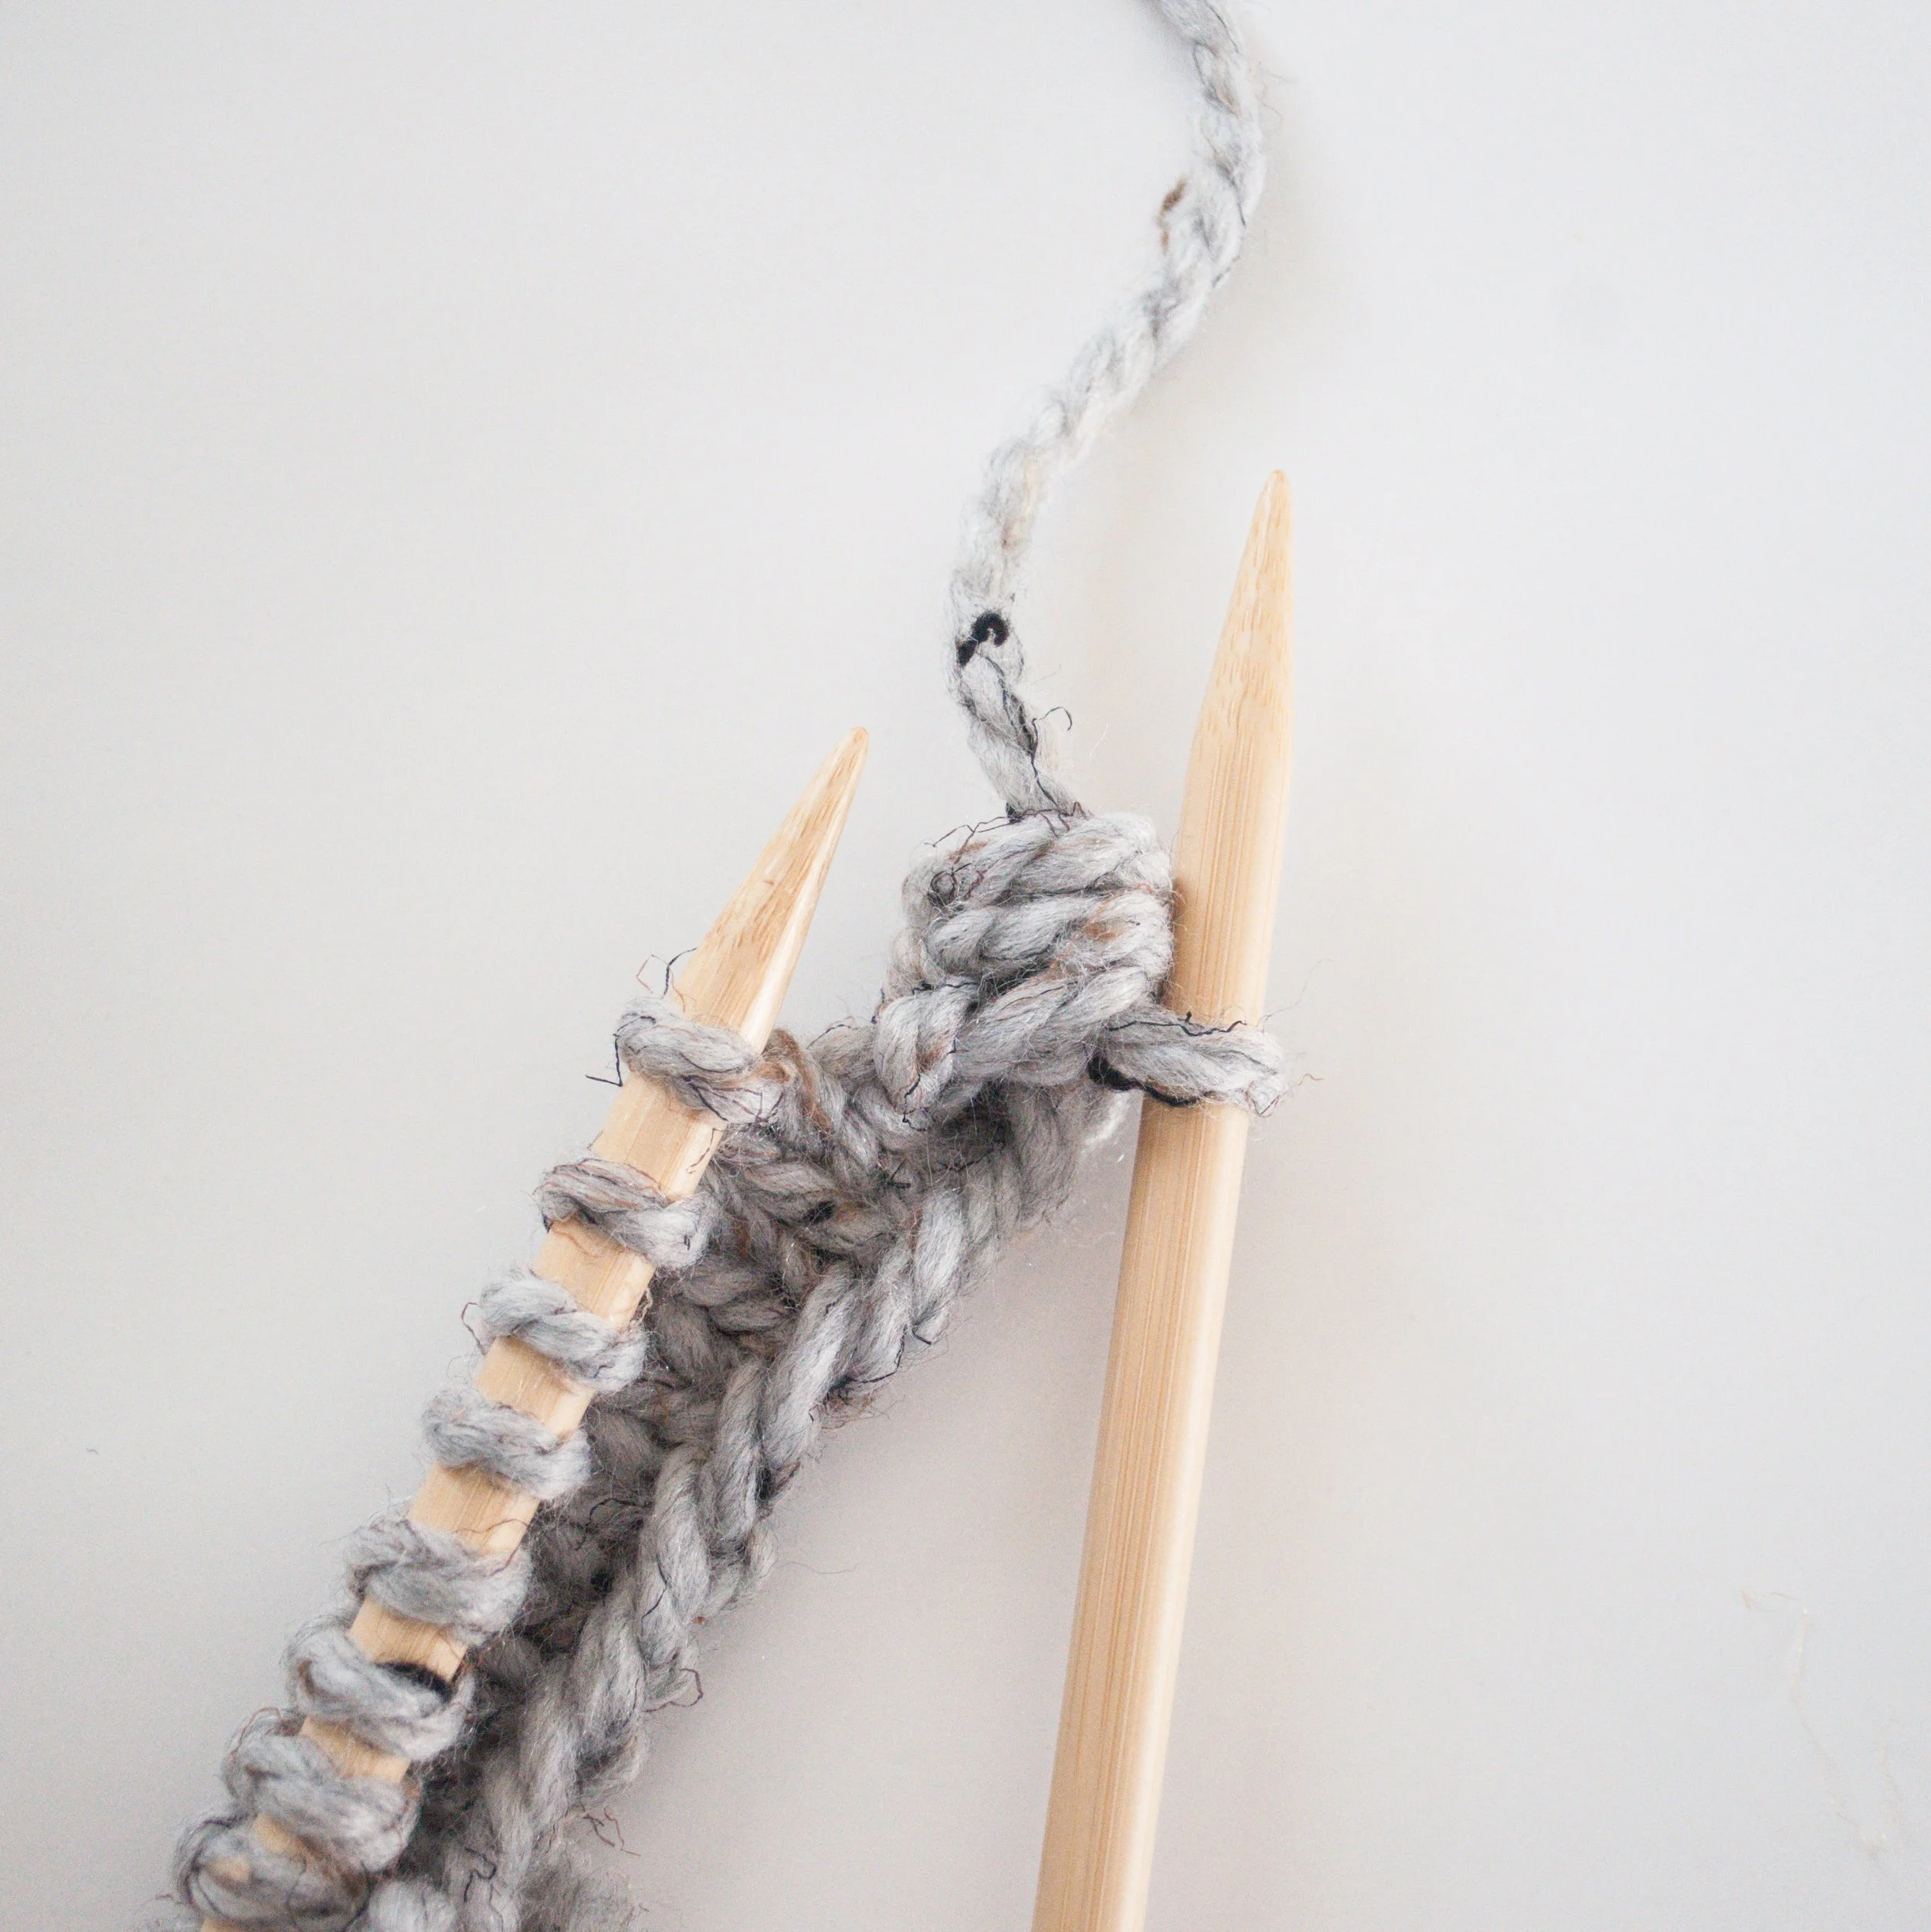
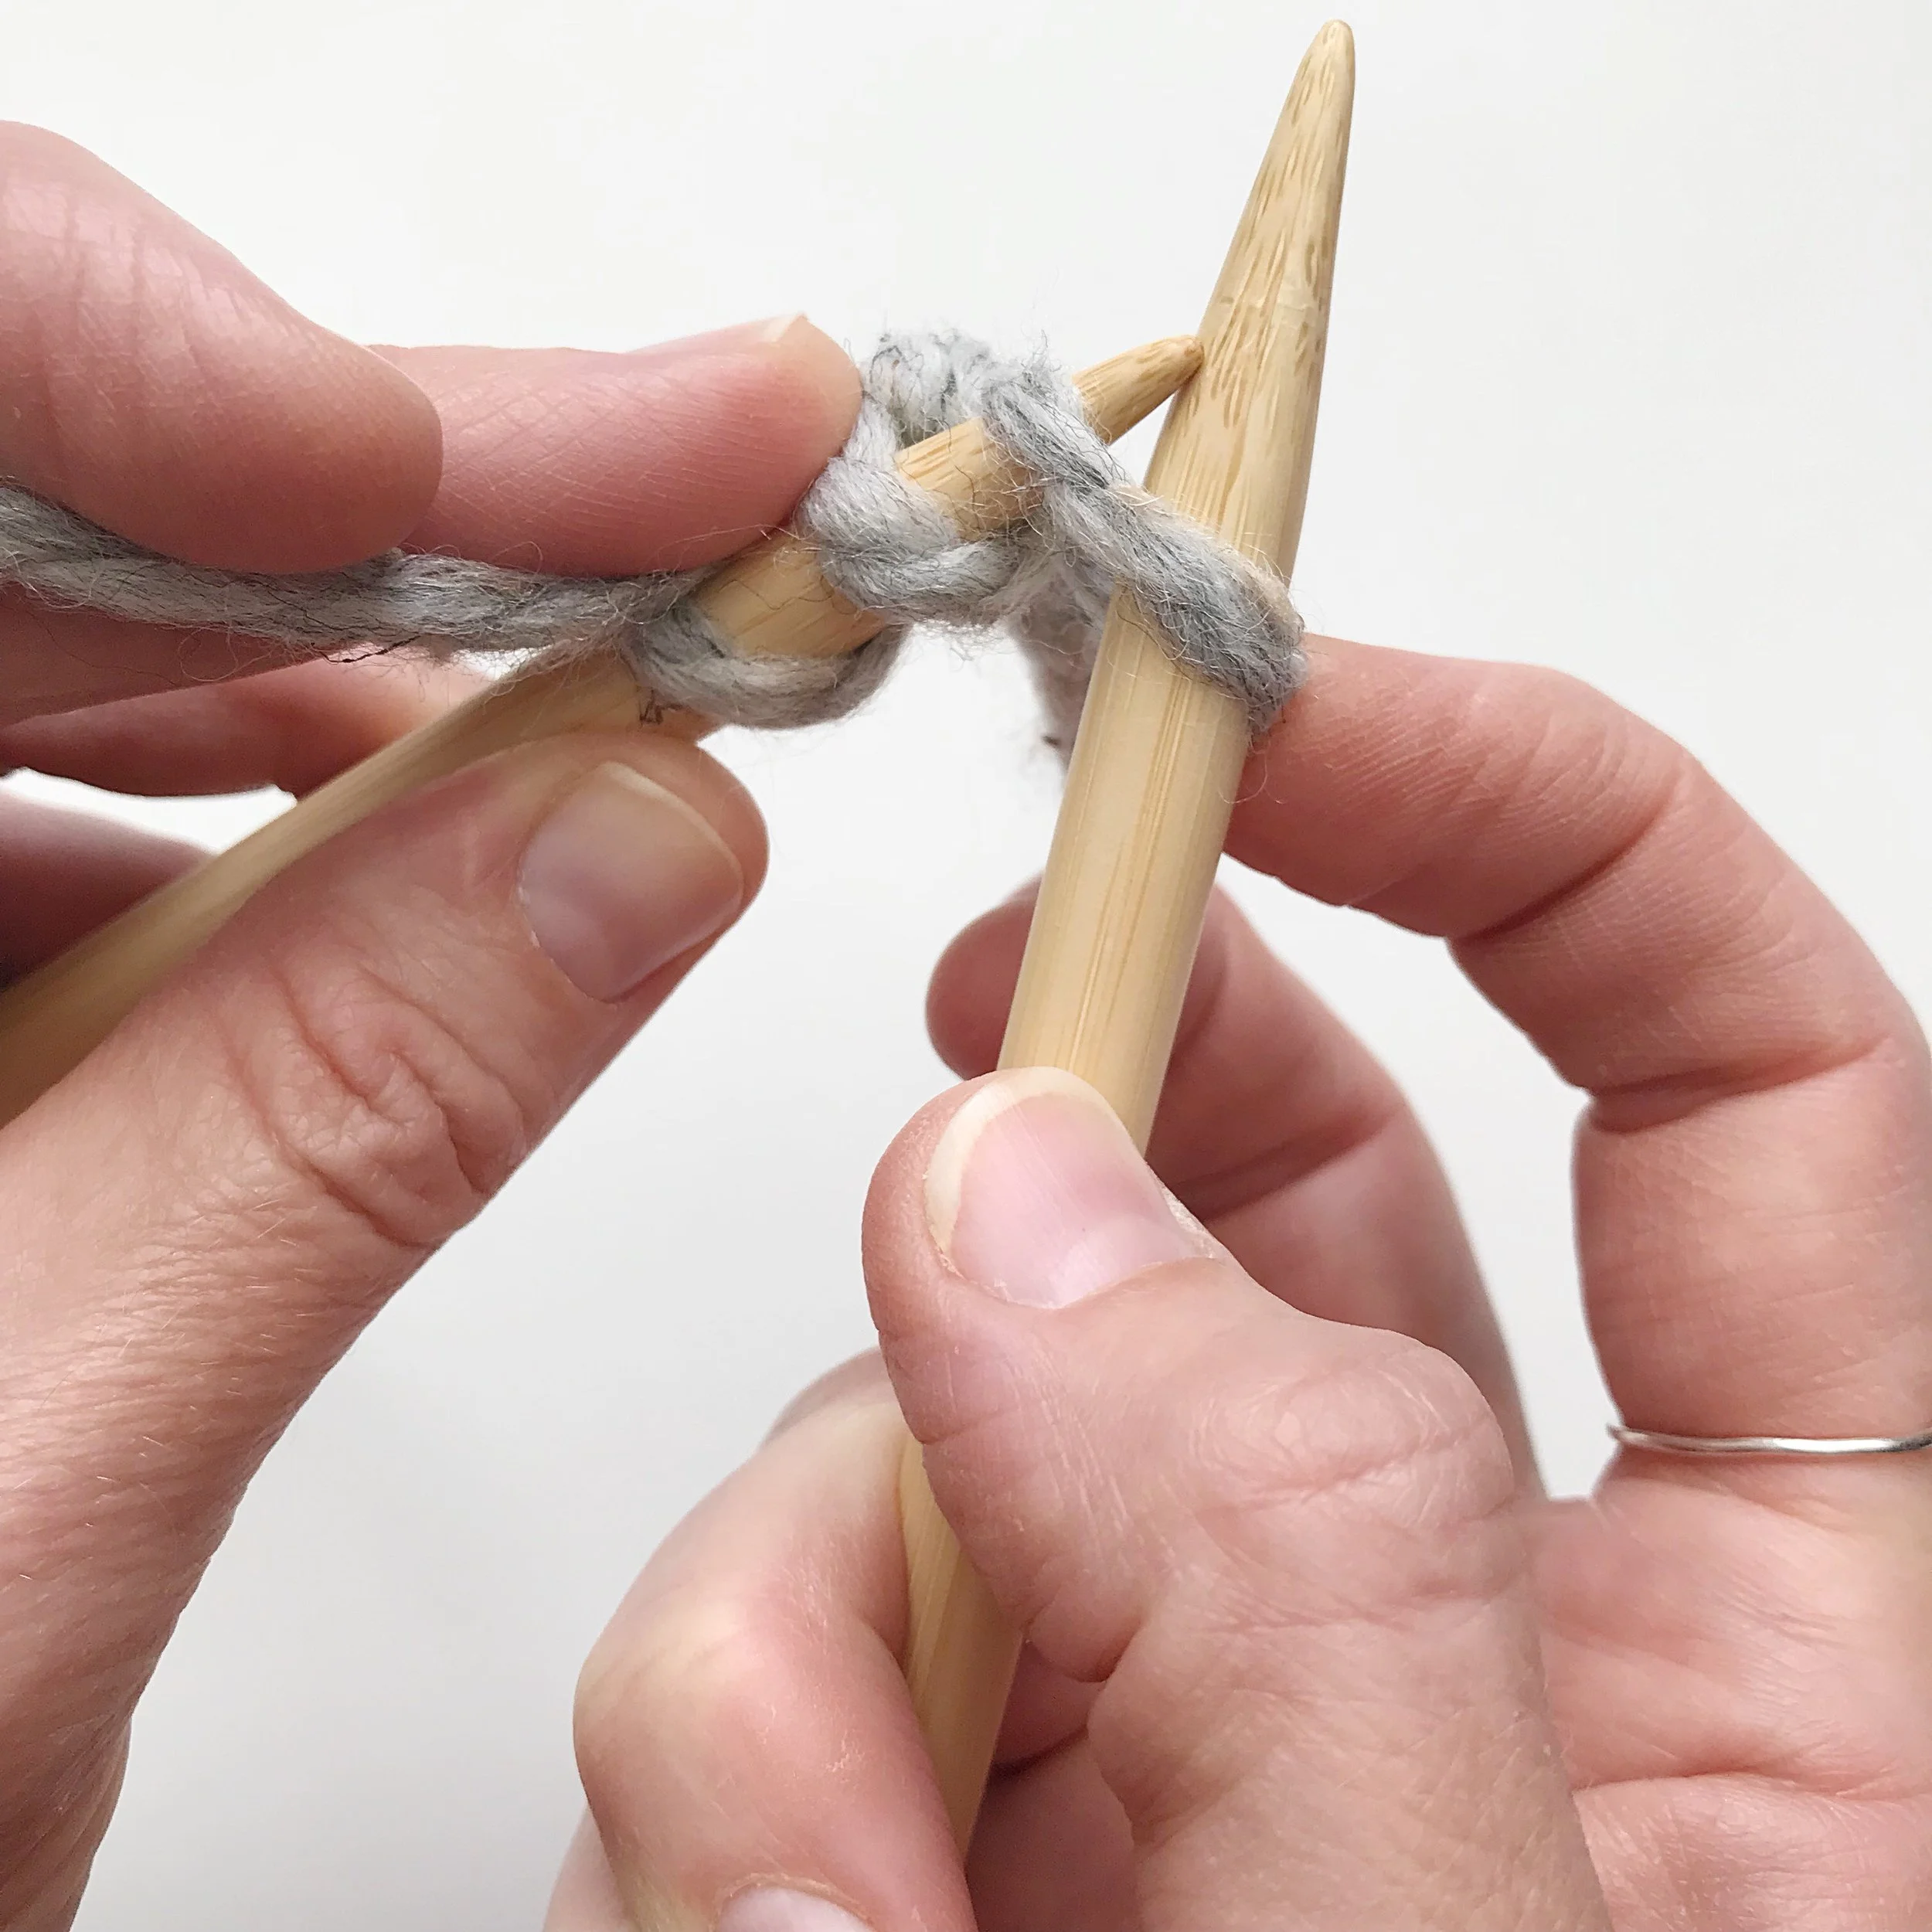
KFB (knit front and back) - begin to knit a ST as you normally would, (photos 1 - 4 below) but do not slip that ST off of the needle.

1 - begin to knit a ST

2

4
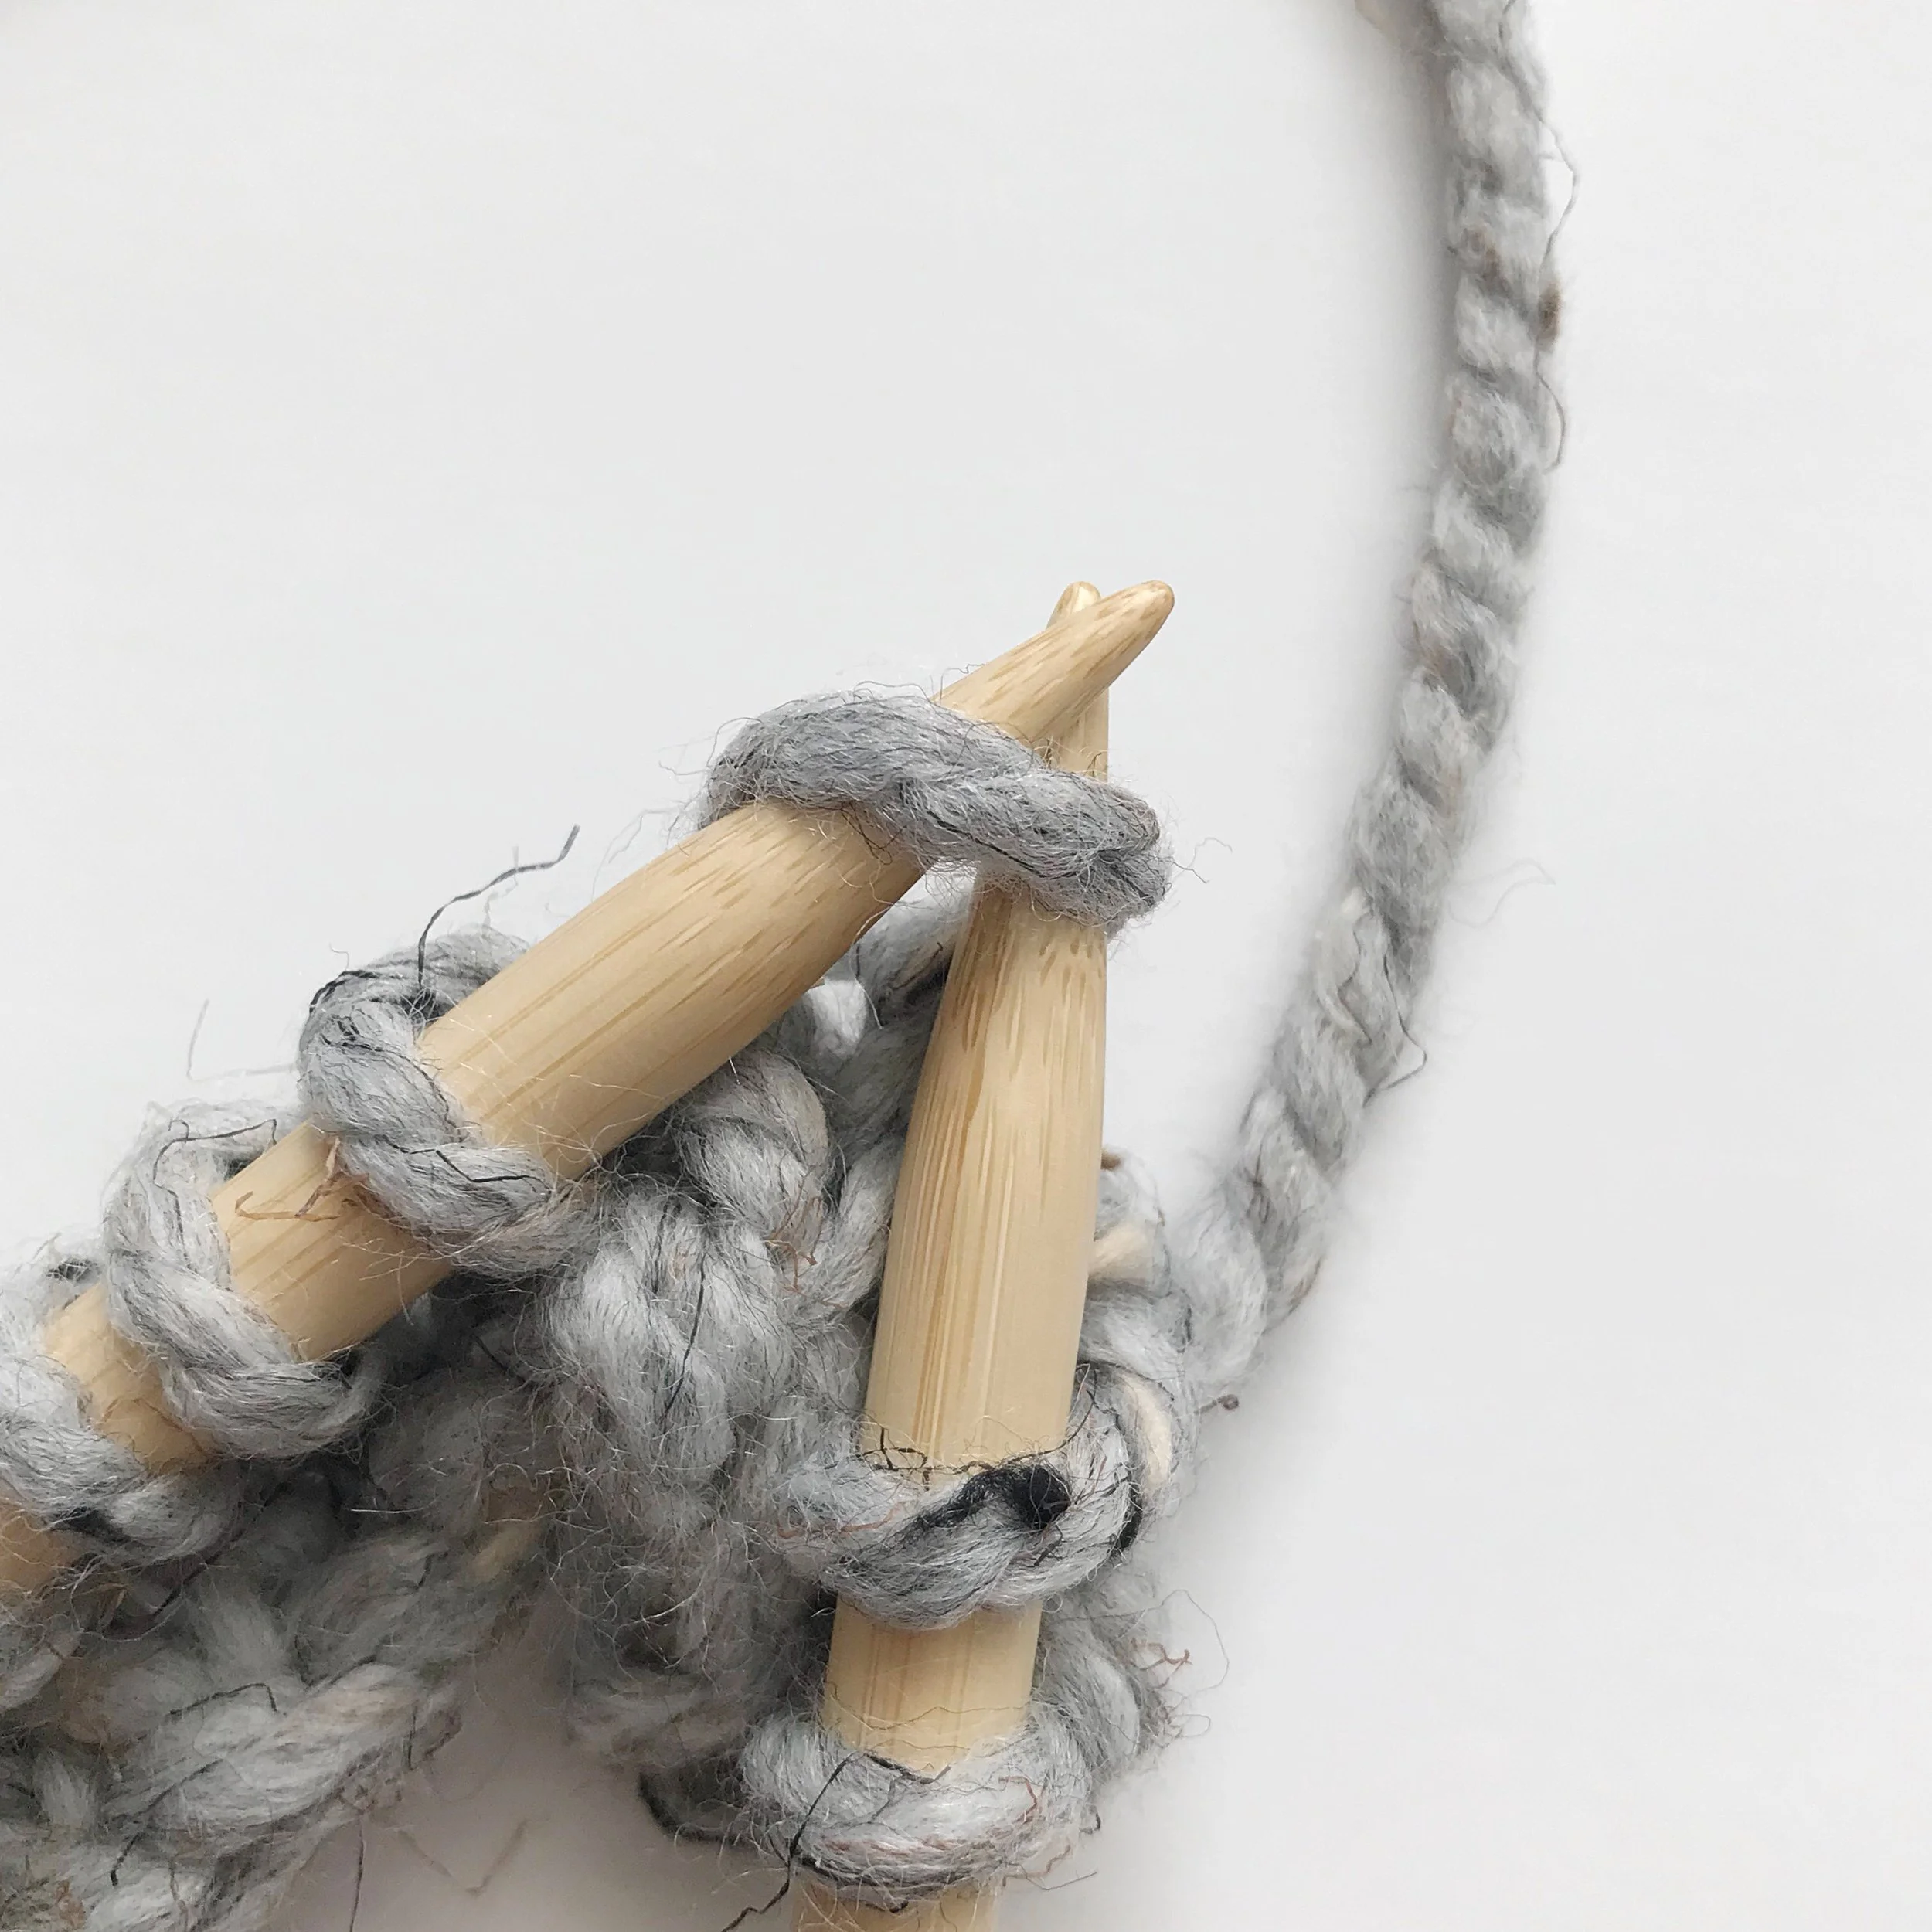
Instead, insert right needle in the back of that same ST (photo 5 below). Yarn over and knit the back of the ST as well(photos 6 and 7 below). Slip the two STS just made onto right needle (photo 8 below). You have now increased your ST count by one.

6 - yarn over

8 - increased ST count by 1
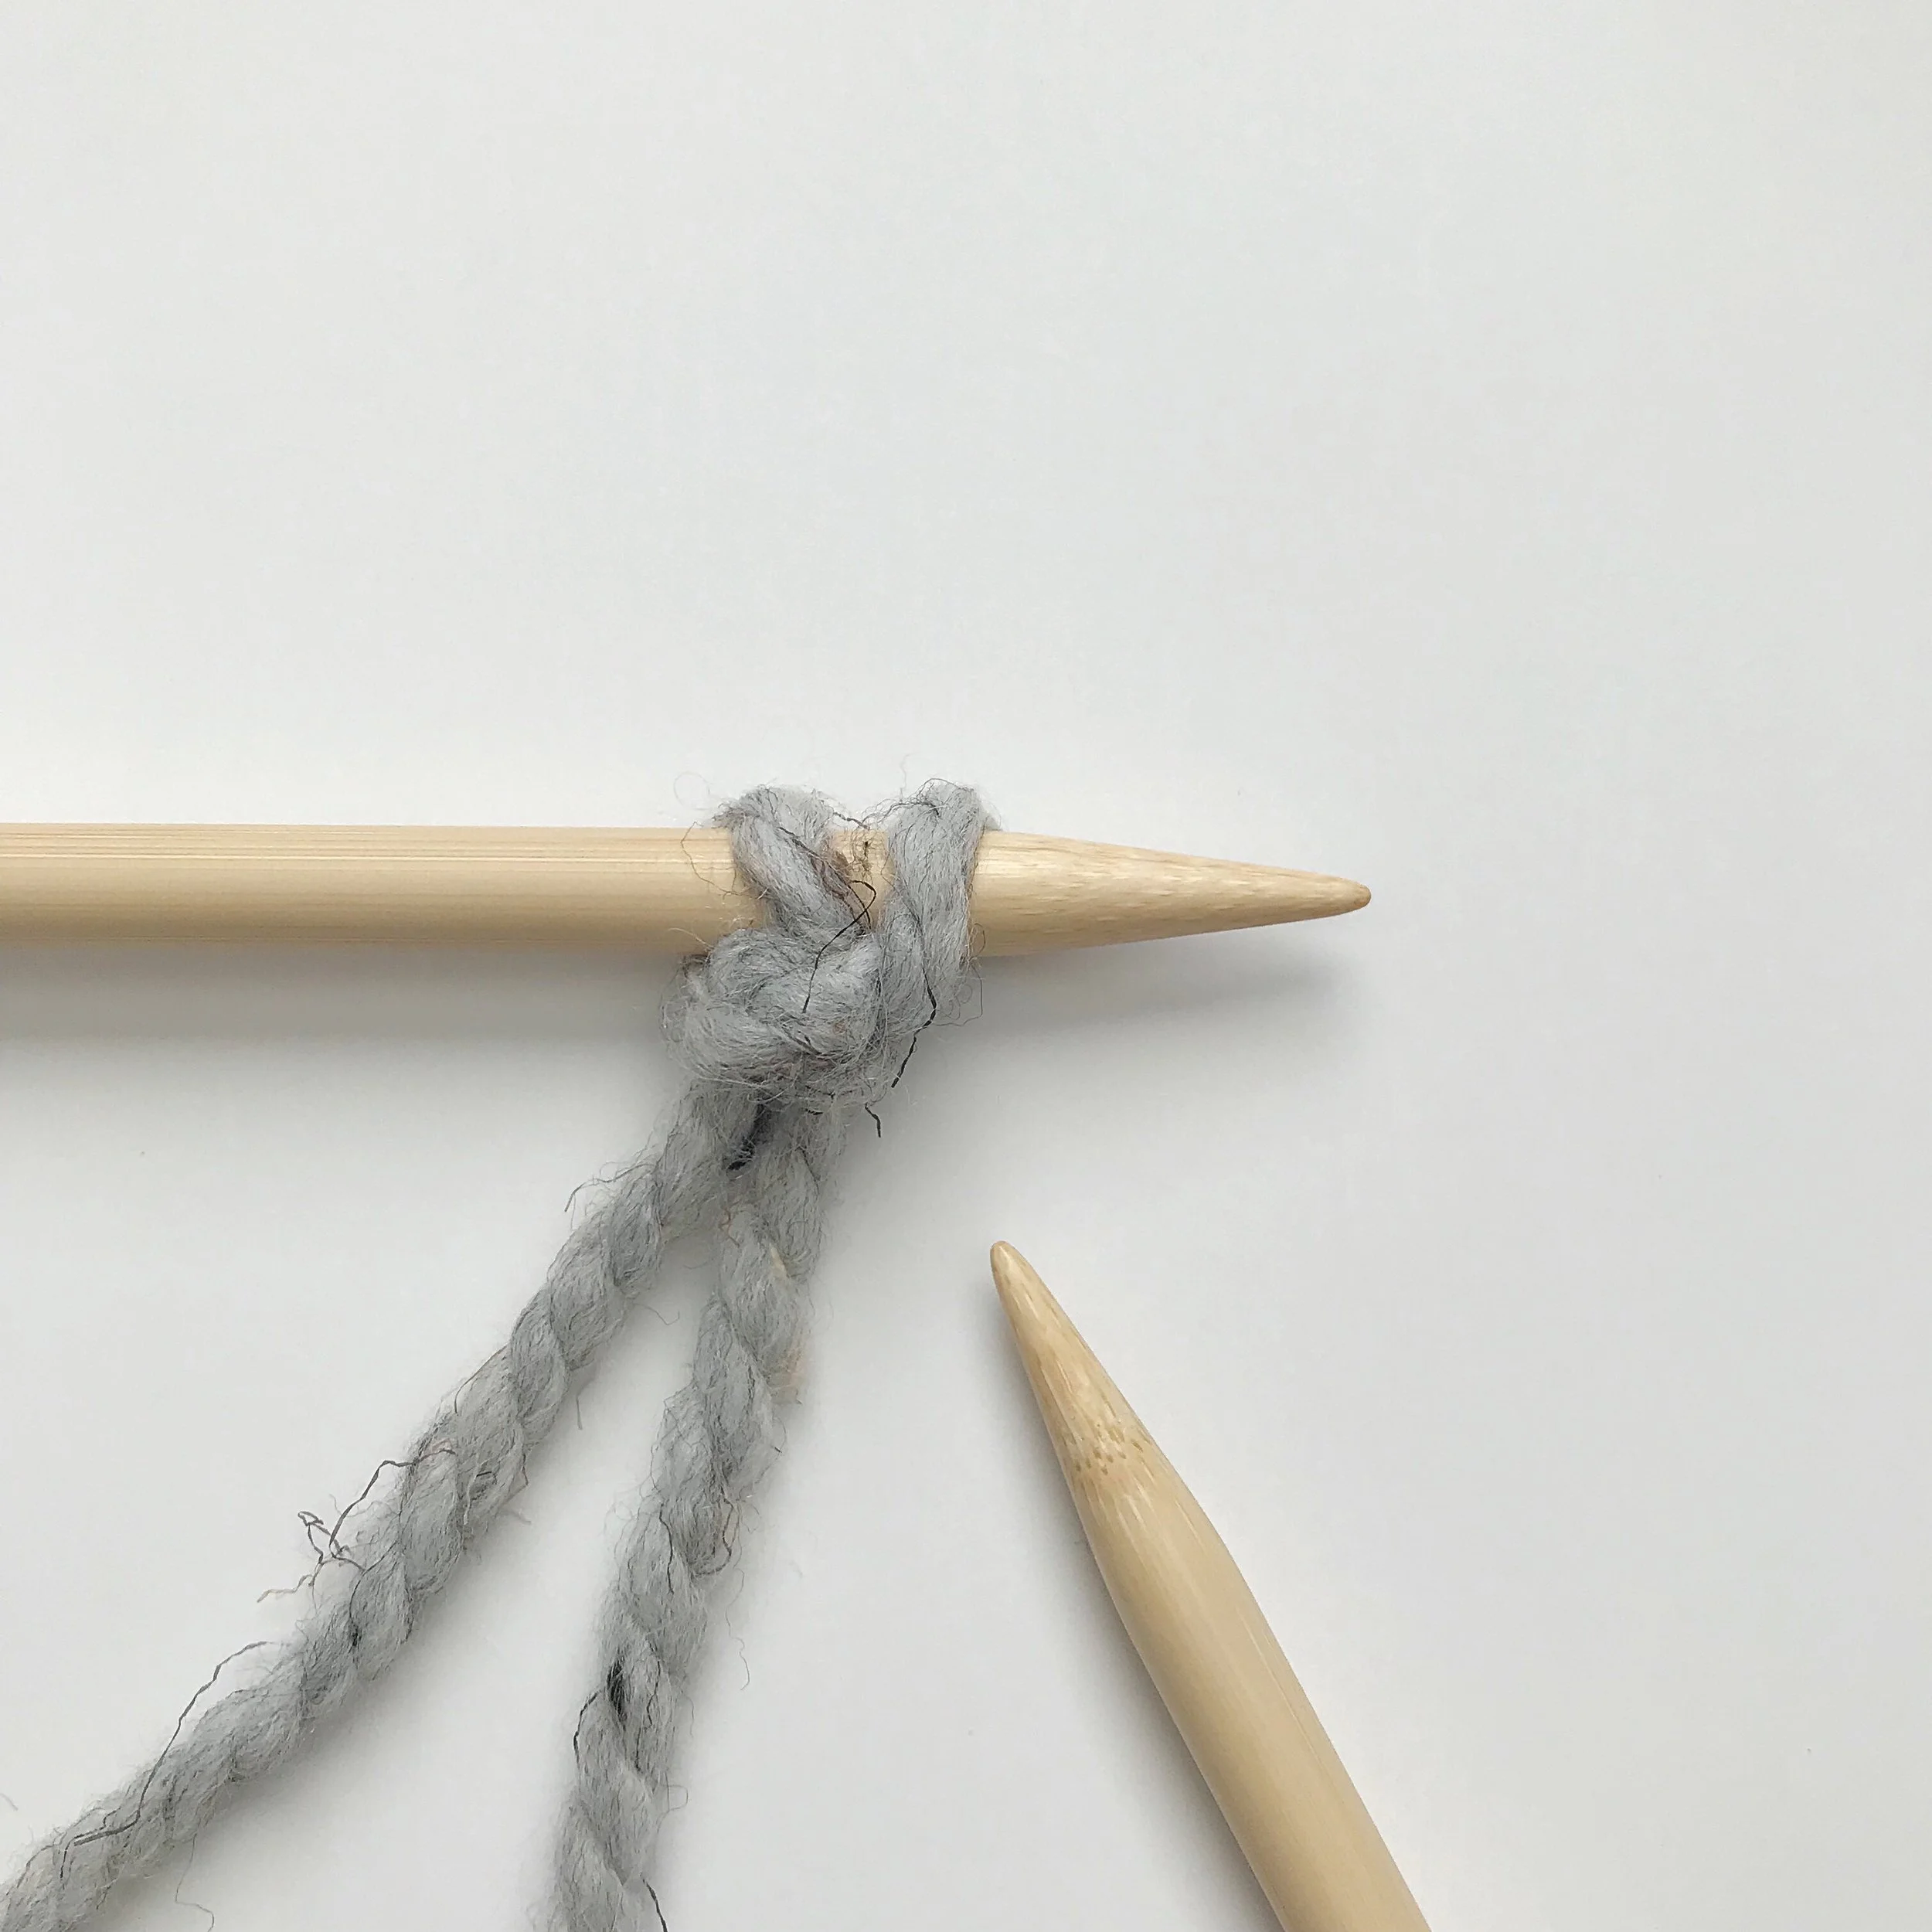
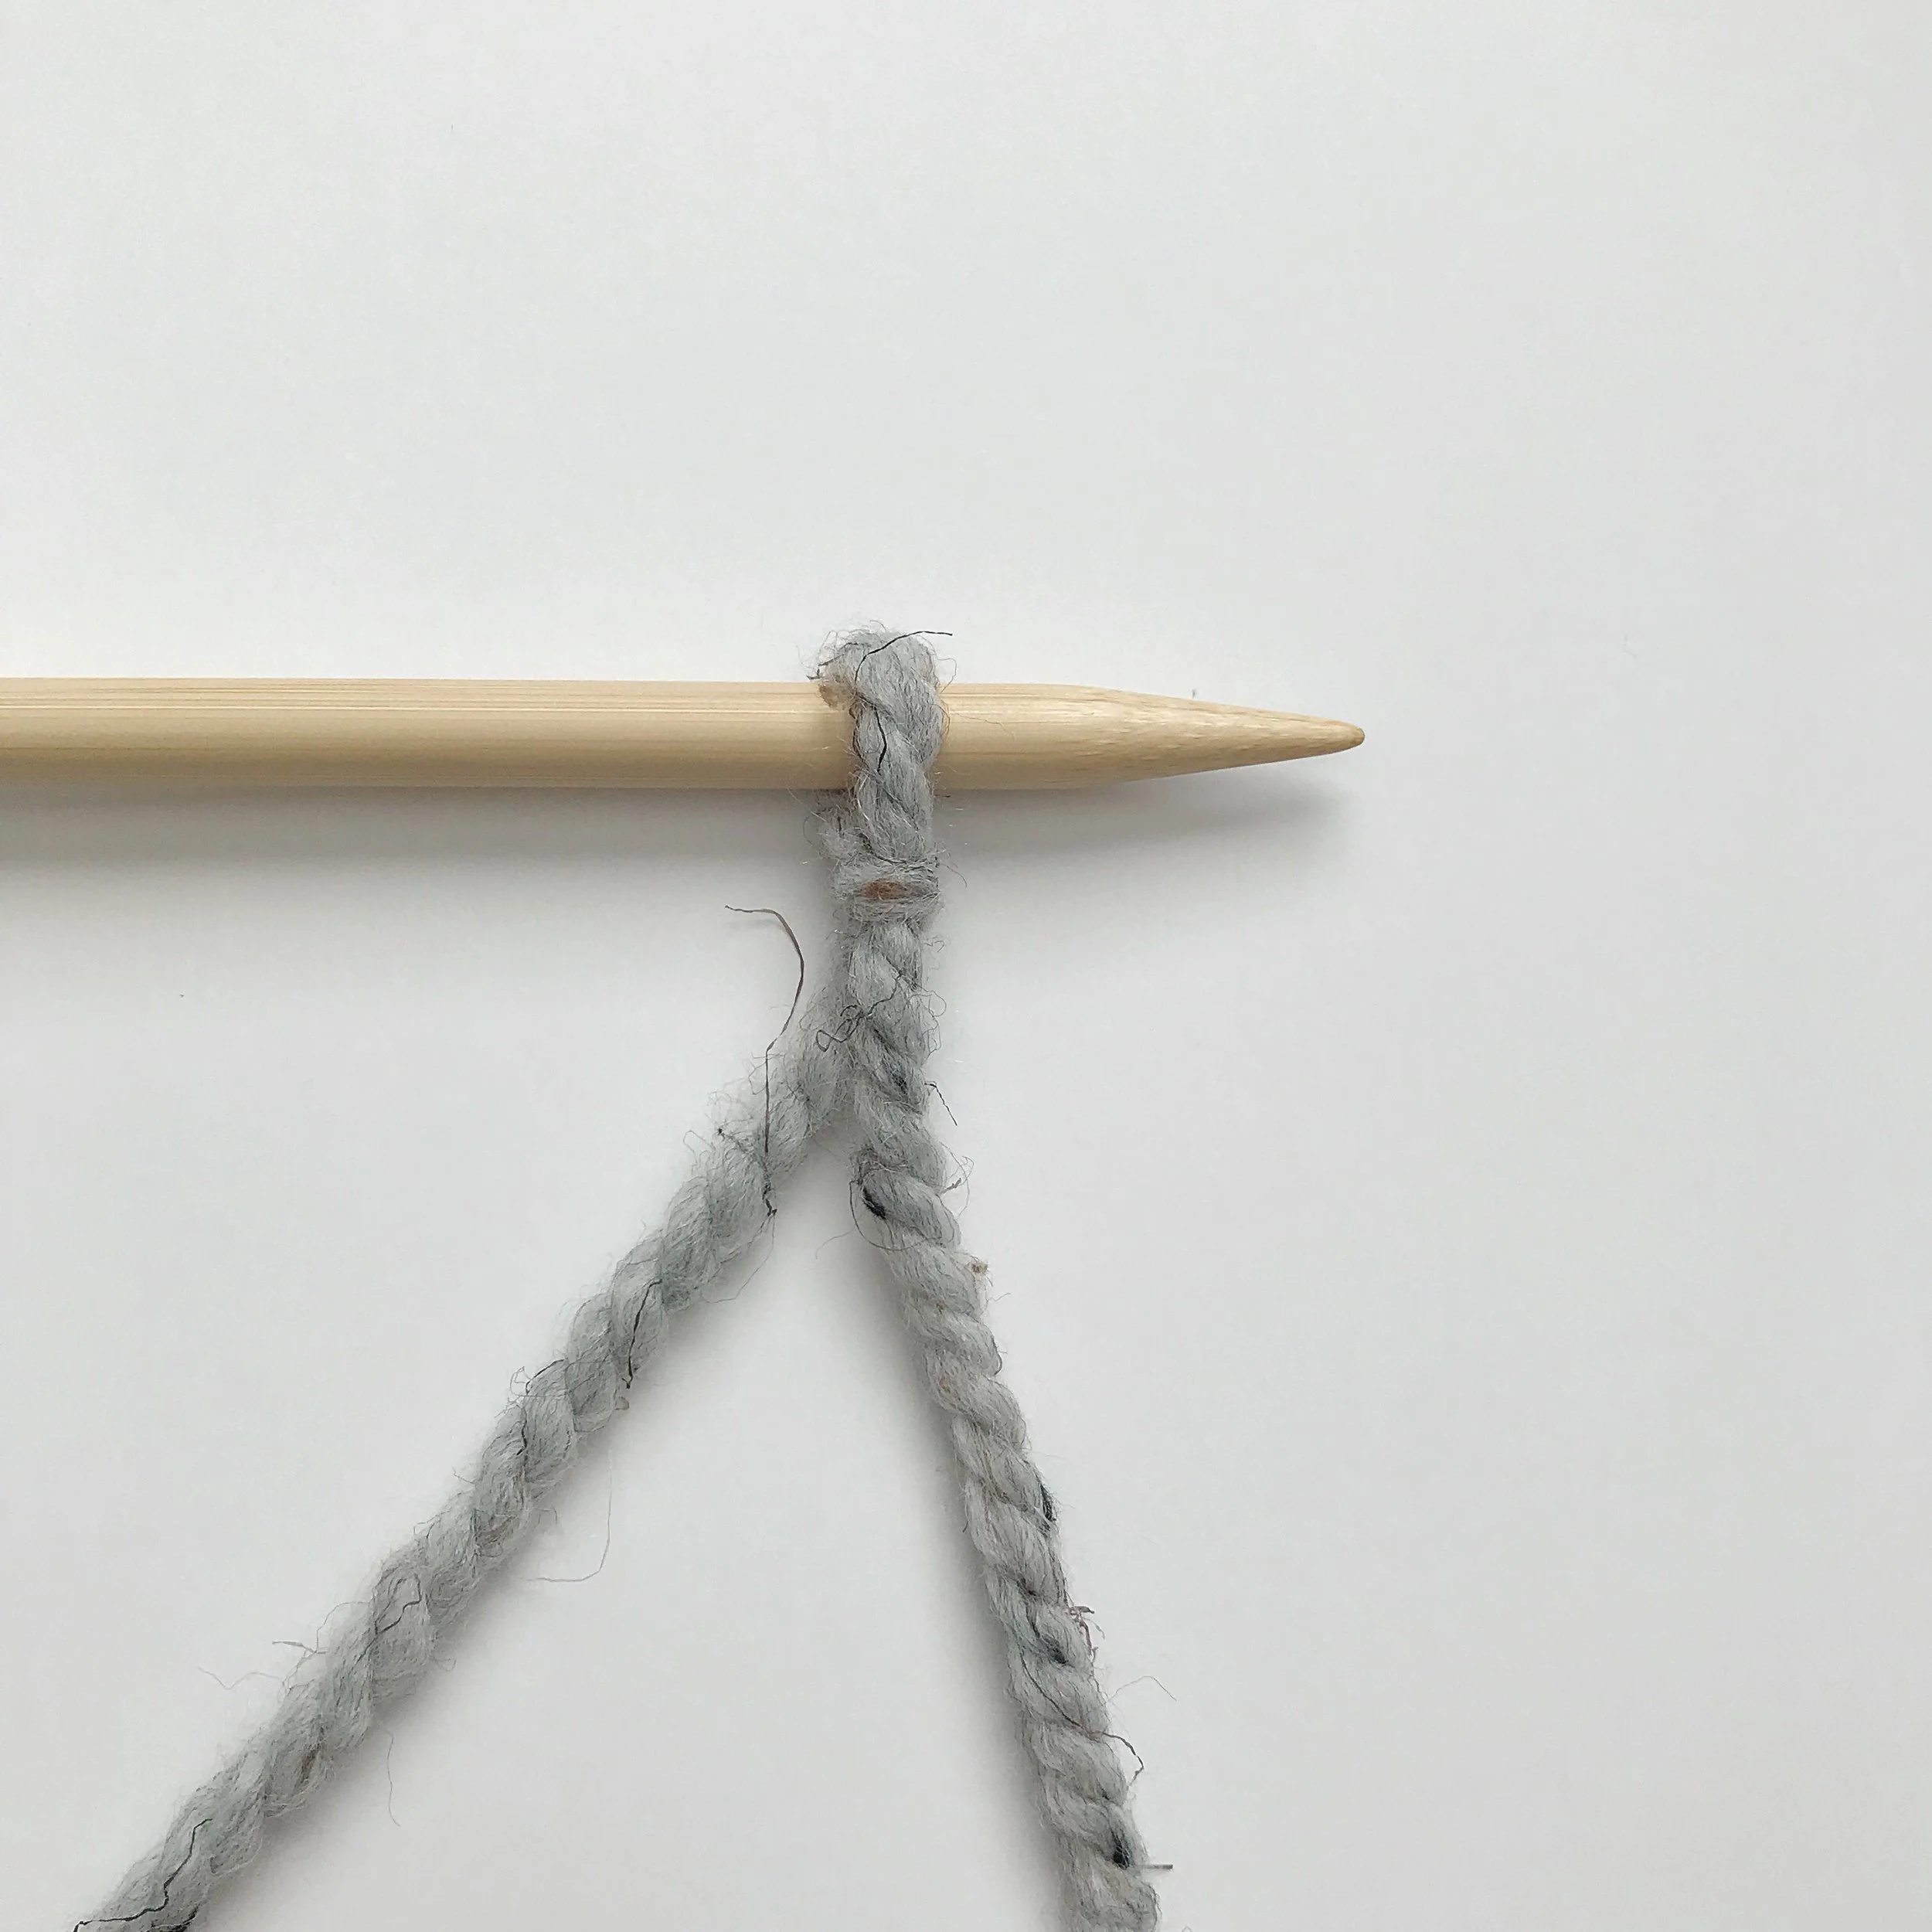
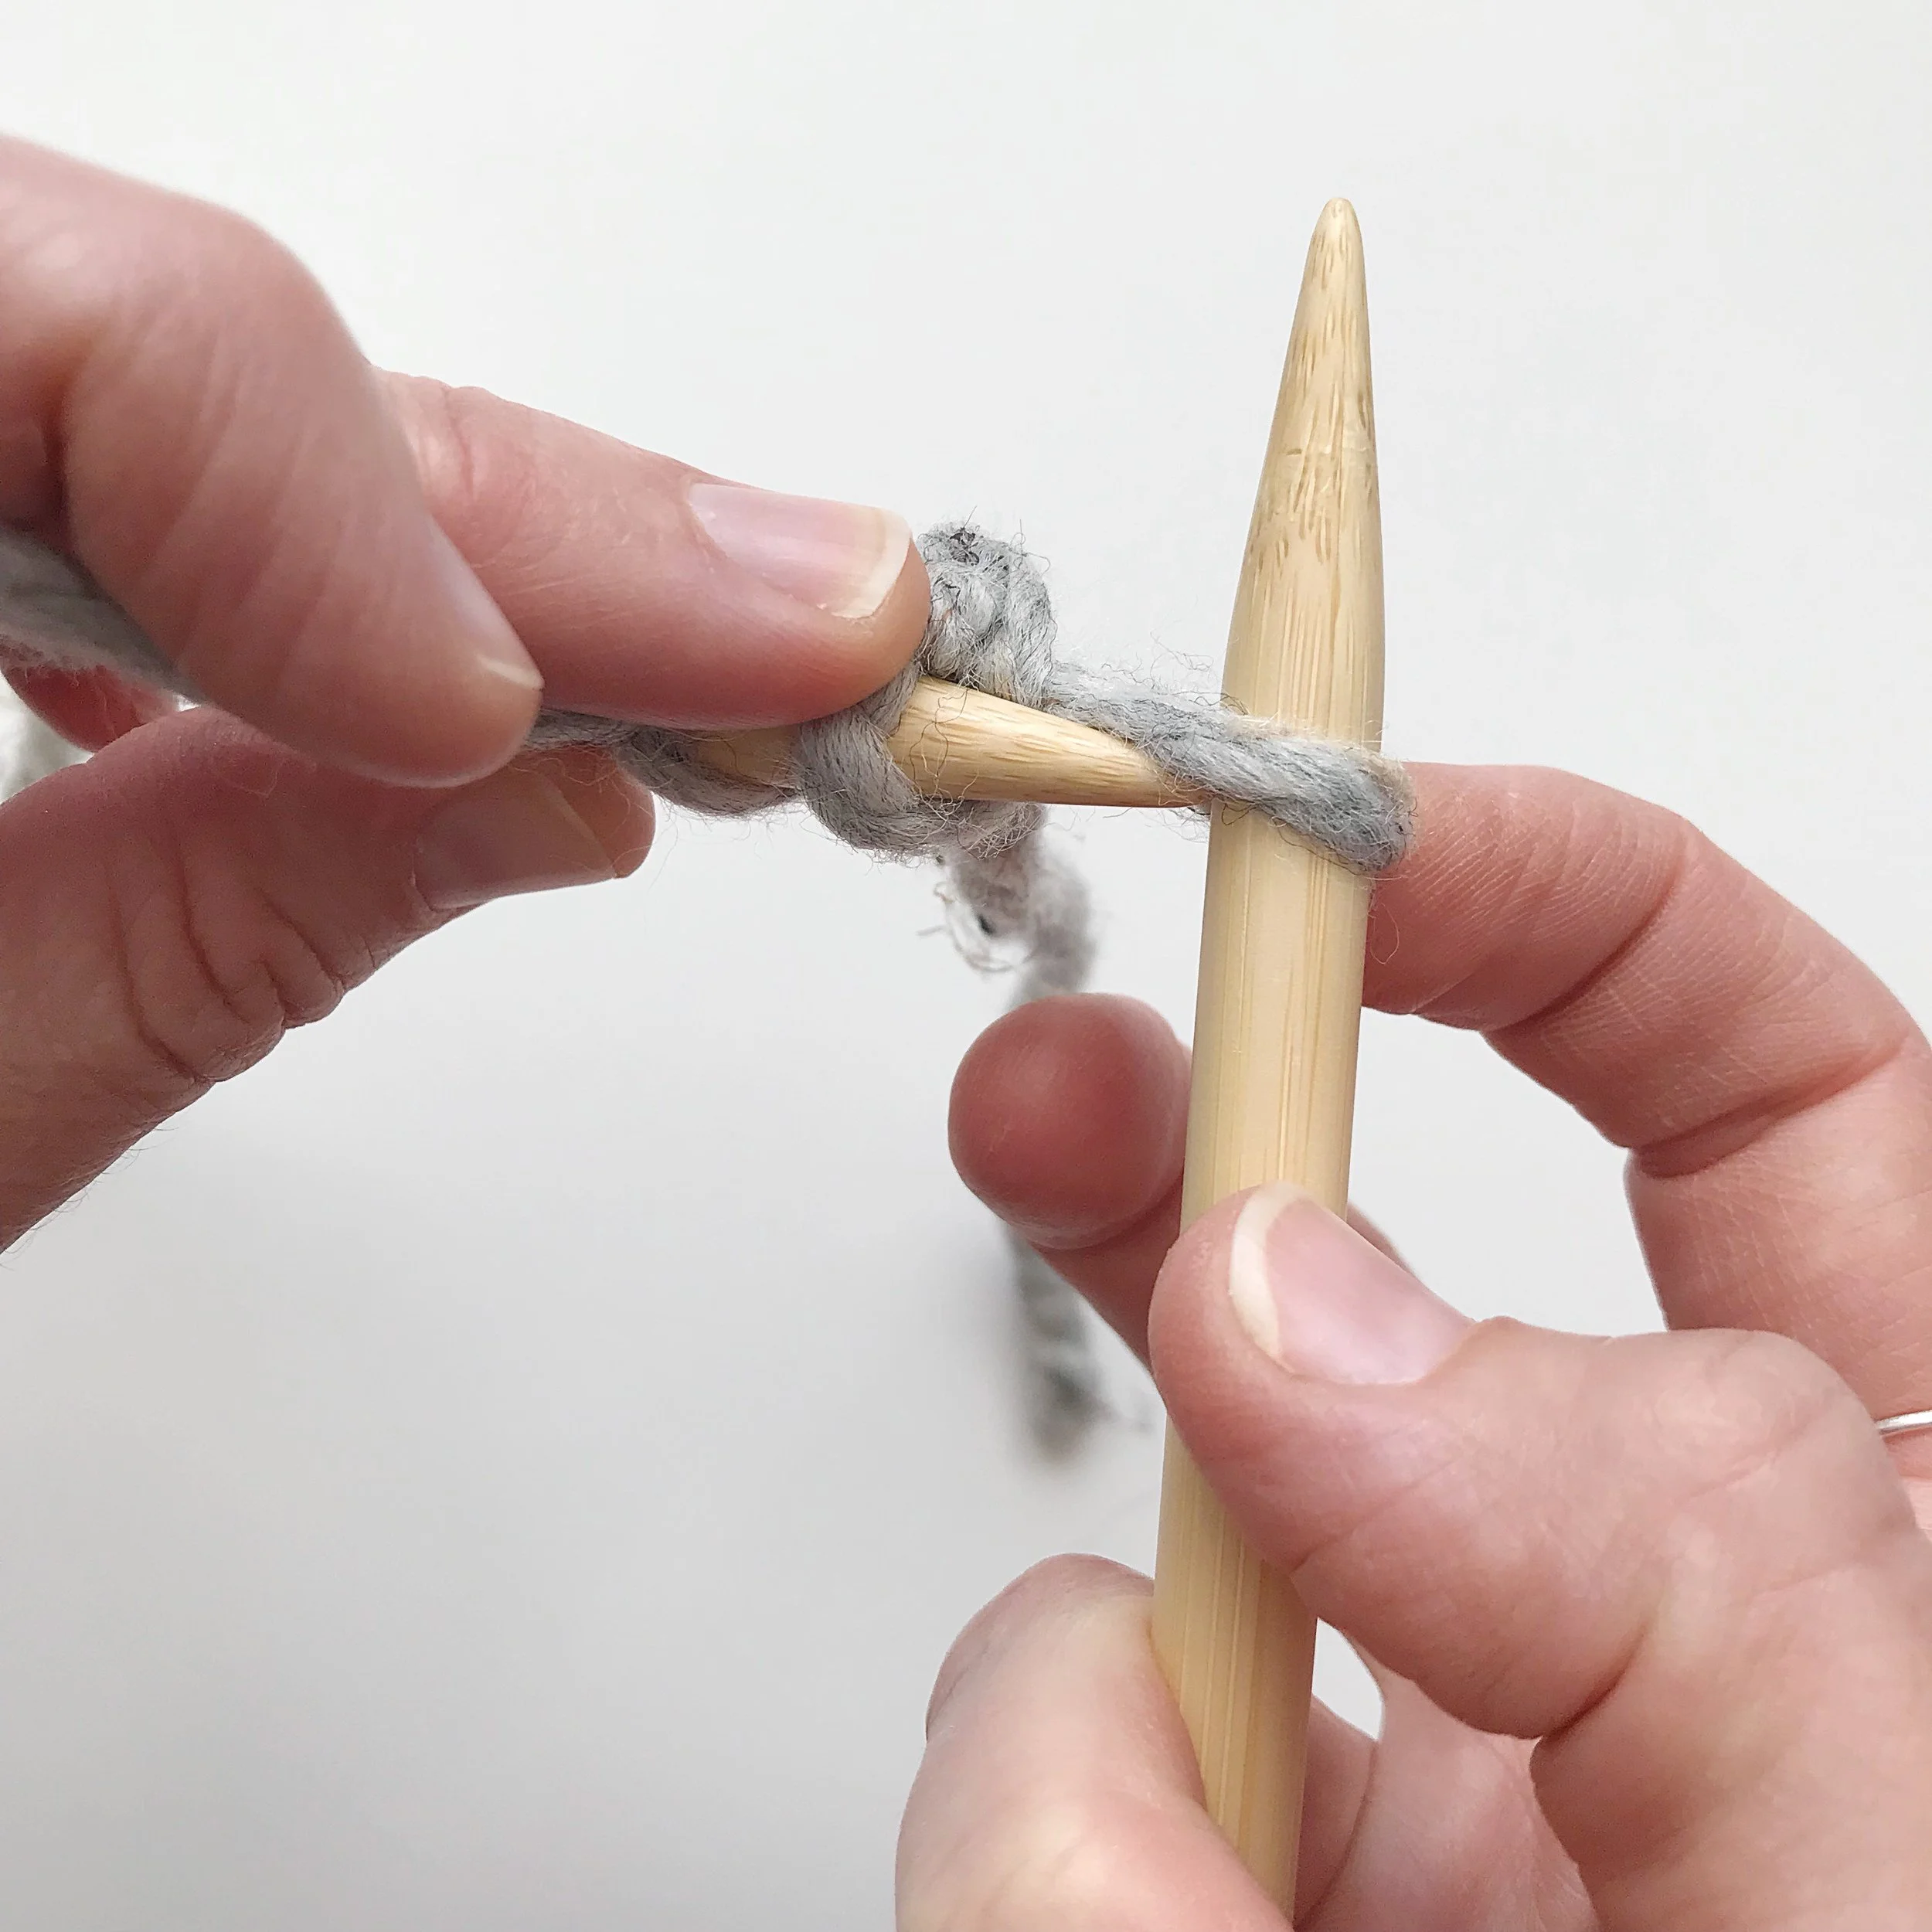
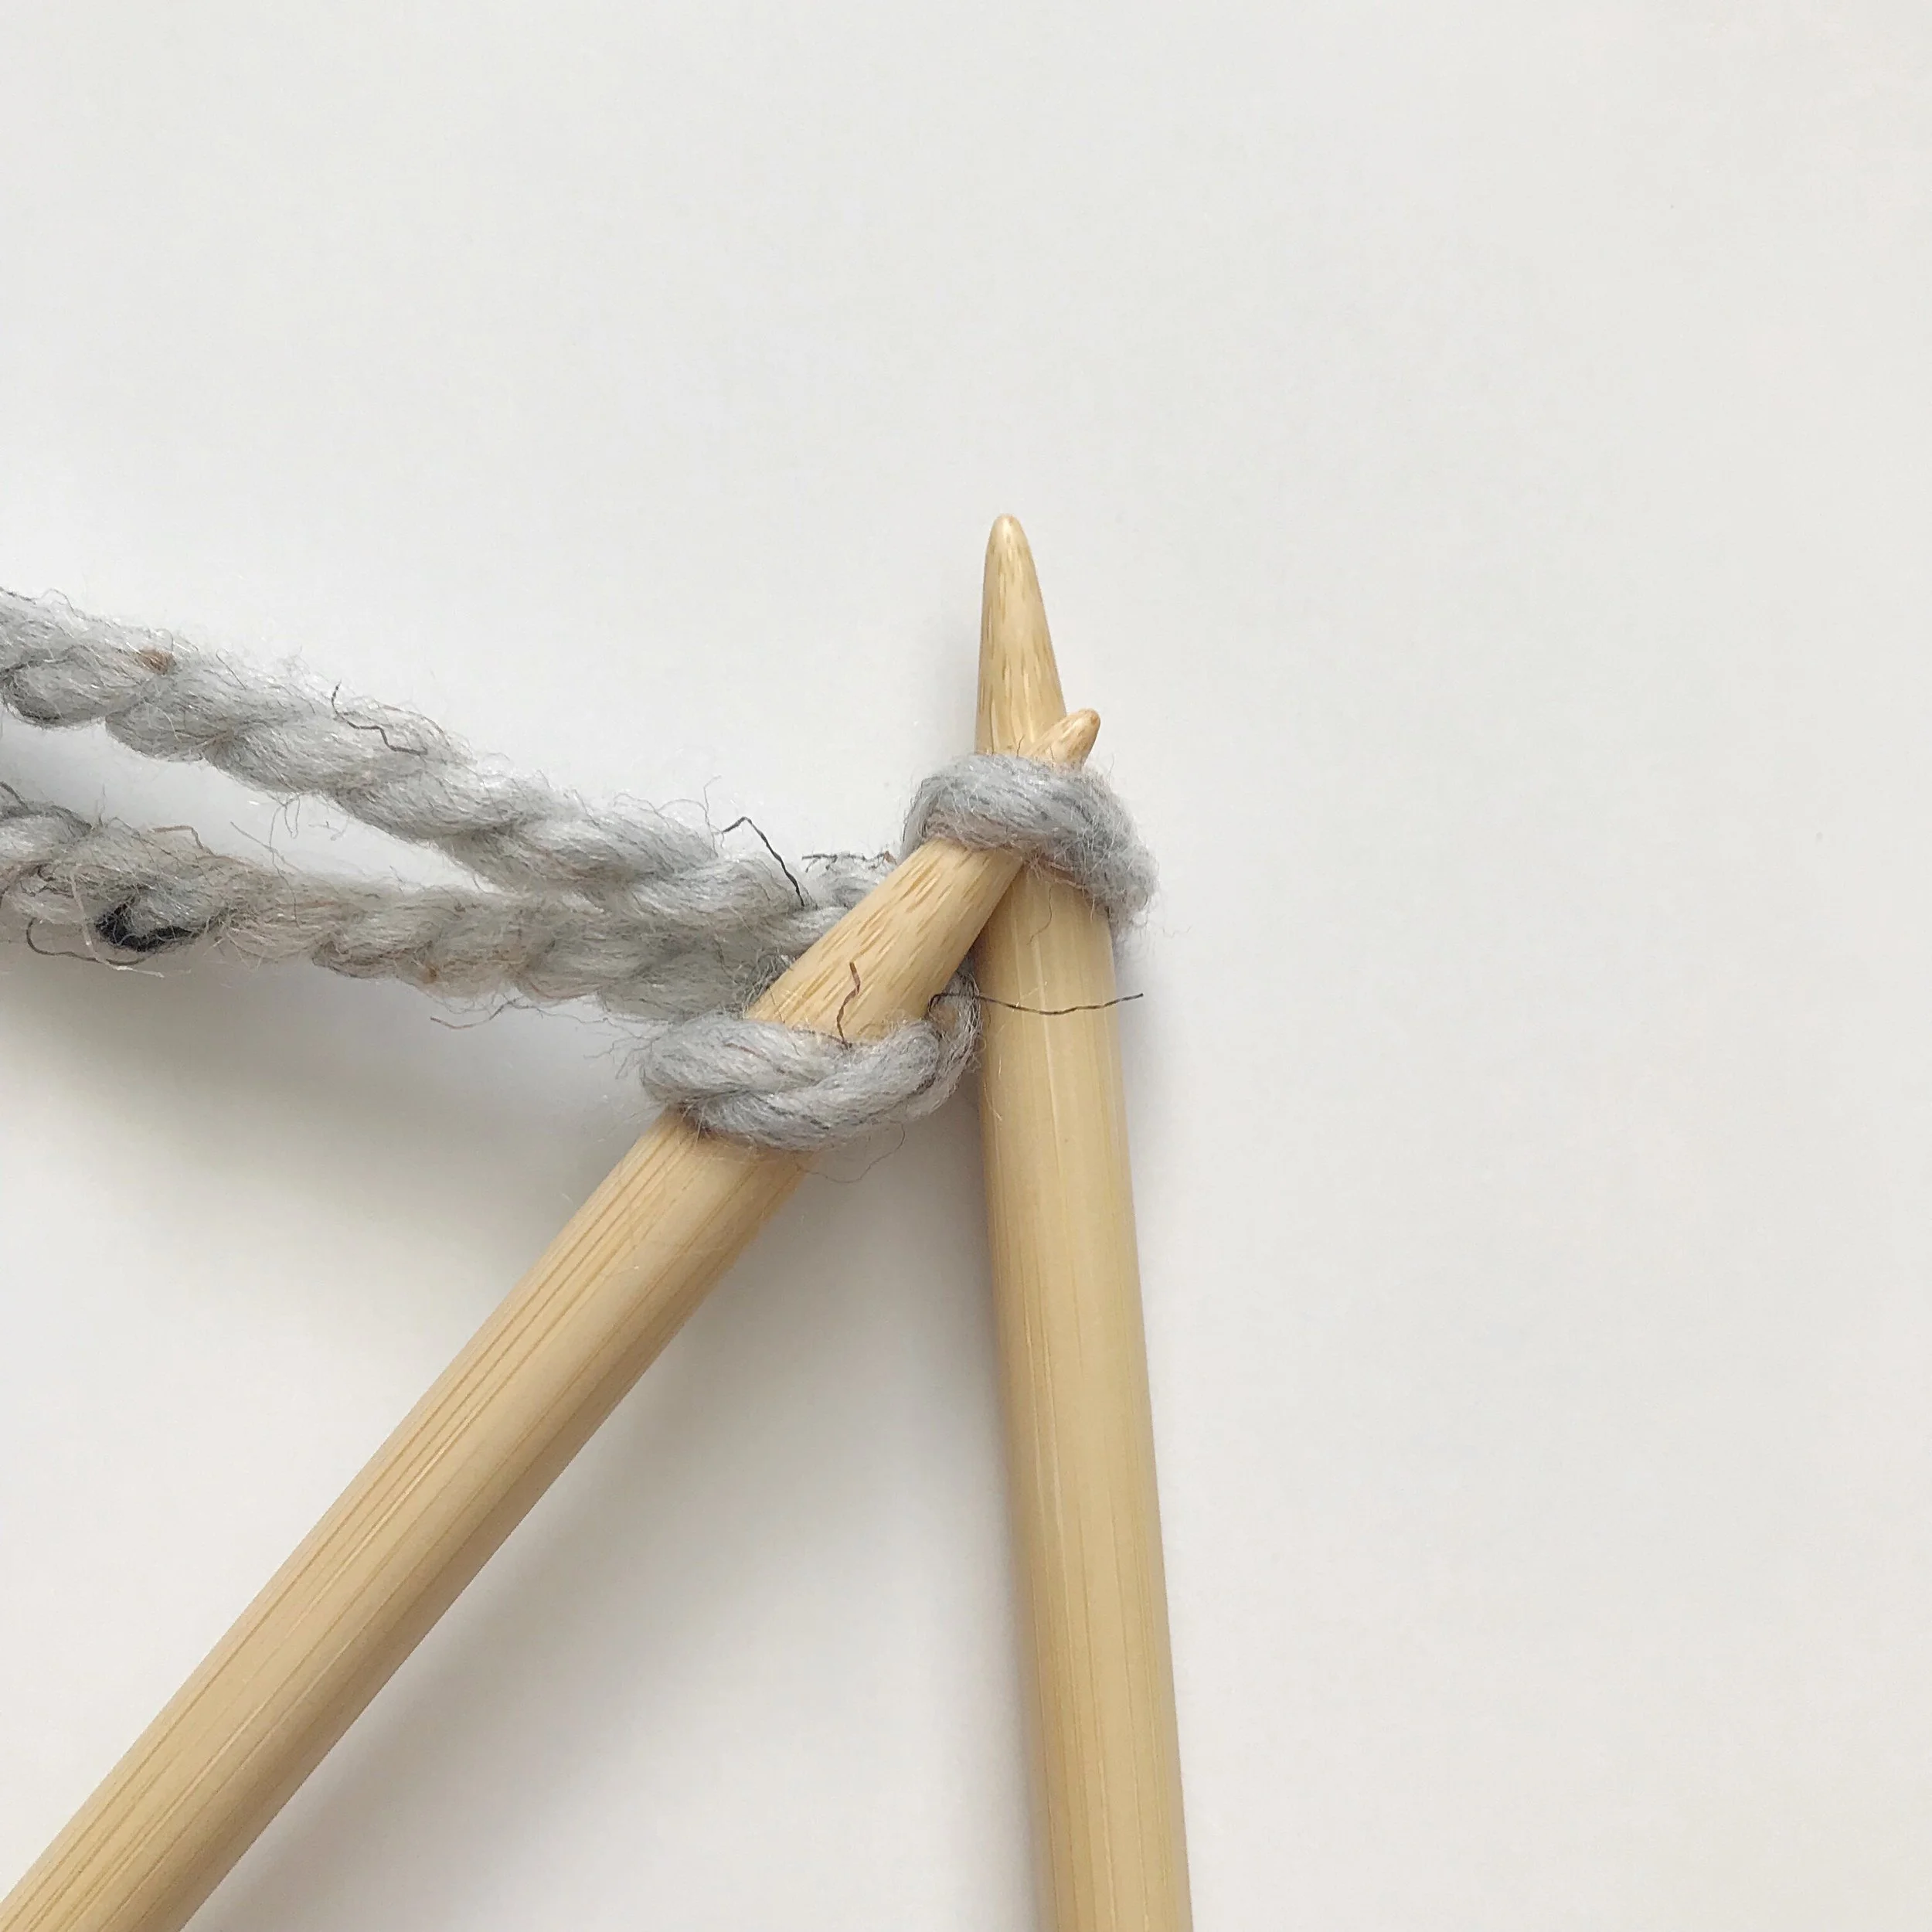
cable cast on method:
I love the cable cast on method for beanies and have used it for a couple of my designs. It creates a beautiful and sturdy edge for the brim of your hat. It is a little more snug than other CO methods and takes a bit longer, but it's worth it! Here's a short tutorial if you decide to go for it! Be sure to keep your STS loose as you cast them on your needle.
2

8

10
special stitches continued:
SL1K (slip 1 knitwise) – insert needle knitwise as if you were about to knit a stitch (see photo #1 below) slip that stitch onto right needle without yarning over to knit. (see photo #2 below)
5
3
Begin with a slip knot on your left needle. (photo #1) Start as though you were about to knit this stitch, but do not take your slip knot off your needle. (photo #2) Instead, insert left needle behind the stitch on right needle and slip it onto the left needle. (photo #3)
6
You will now have two stitches. (photo #4) Insert right needle in between the two stitches on left needle (photo #5) yarn over (photo #6) and pull up a loop in between the two stitches. (photo #7)
9
Insert left needle behind the loop you just pulled through (photos #8 and #9) and place it onto left needle. (photo #10)
11
Continue with instructions from photos #5 - #9 until your desired CO stitch count has been achieved. (photo #11)
enjoy videos more?
If videos are more your jam, here is a step-by-step video tutorial for this stylish knit beanie. Press play! :)
Stylish Knit Beanie
pattern:
CO 50 using the cable cast on method or desired CO method.
Join to knit in the round.
Note: place stitch marker in first ST to keep place.
Round 1: with Color A, K1, P1, around.
Rounds 2-6: REP round 1.
Note: Knitting with Color A, and slipping Color B from previous round is what creates your color variation.
Round 7: join Color B, KFB in first ST; K each of the rest of the STS around. (51 STS)
Round 8: with Color A, *K1, SL1K; REP from * around until last ST, K last ST.
Round 9: with Color B, K around.
Round 10: with Color A, *SL1K, K1; REP from * around until last ST, SL1K last ST.
Round 11: with Color B, K around.
Rounds 12-33: REP rounds 8-11 five more times or until your beanie measures approximately 8“ from brim.
Round 34: with Color A, *K1, SL1K; REP from * around until last ST, K last ST.
Round 35: with Color B, K14, K3TOG, K14, K3TOG, K14, K3TOG (45 STS)
Round 36: with Color A, *SL1K, K1; REP from * around until last ST, SL1K last ST.
Round 37: with Color B, K12, K3TOG, K12, K3TOG, K12, K3TOG. (39 STS)
Round 38: with Color A, *K1, SL1K; REP from * around until last ST, K last ST.
Round 39: with Color B, K10, K3TOG, K10, K3TOG, K10, K3TOG. (33 STS)
Round 40: with Color A, *SL1K, K1; REP from * around until last ST, SL1K last ST.
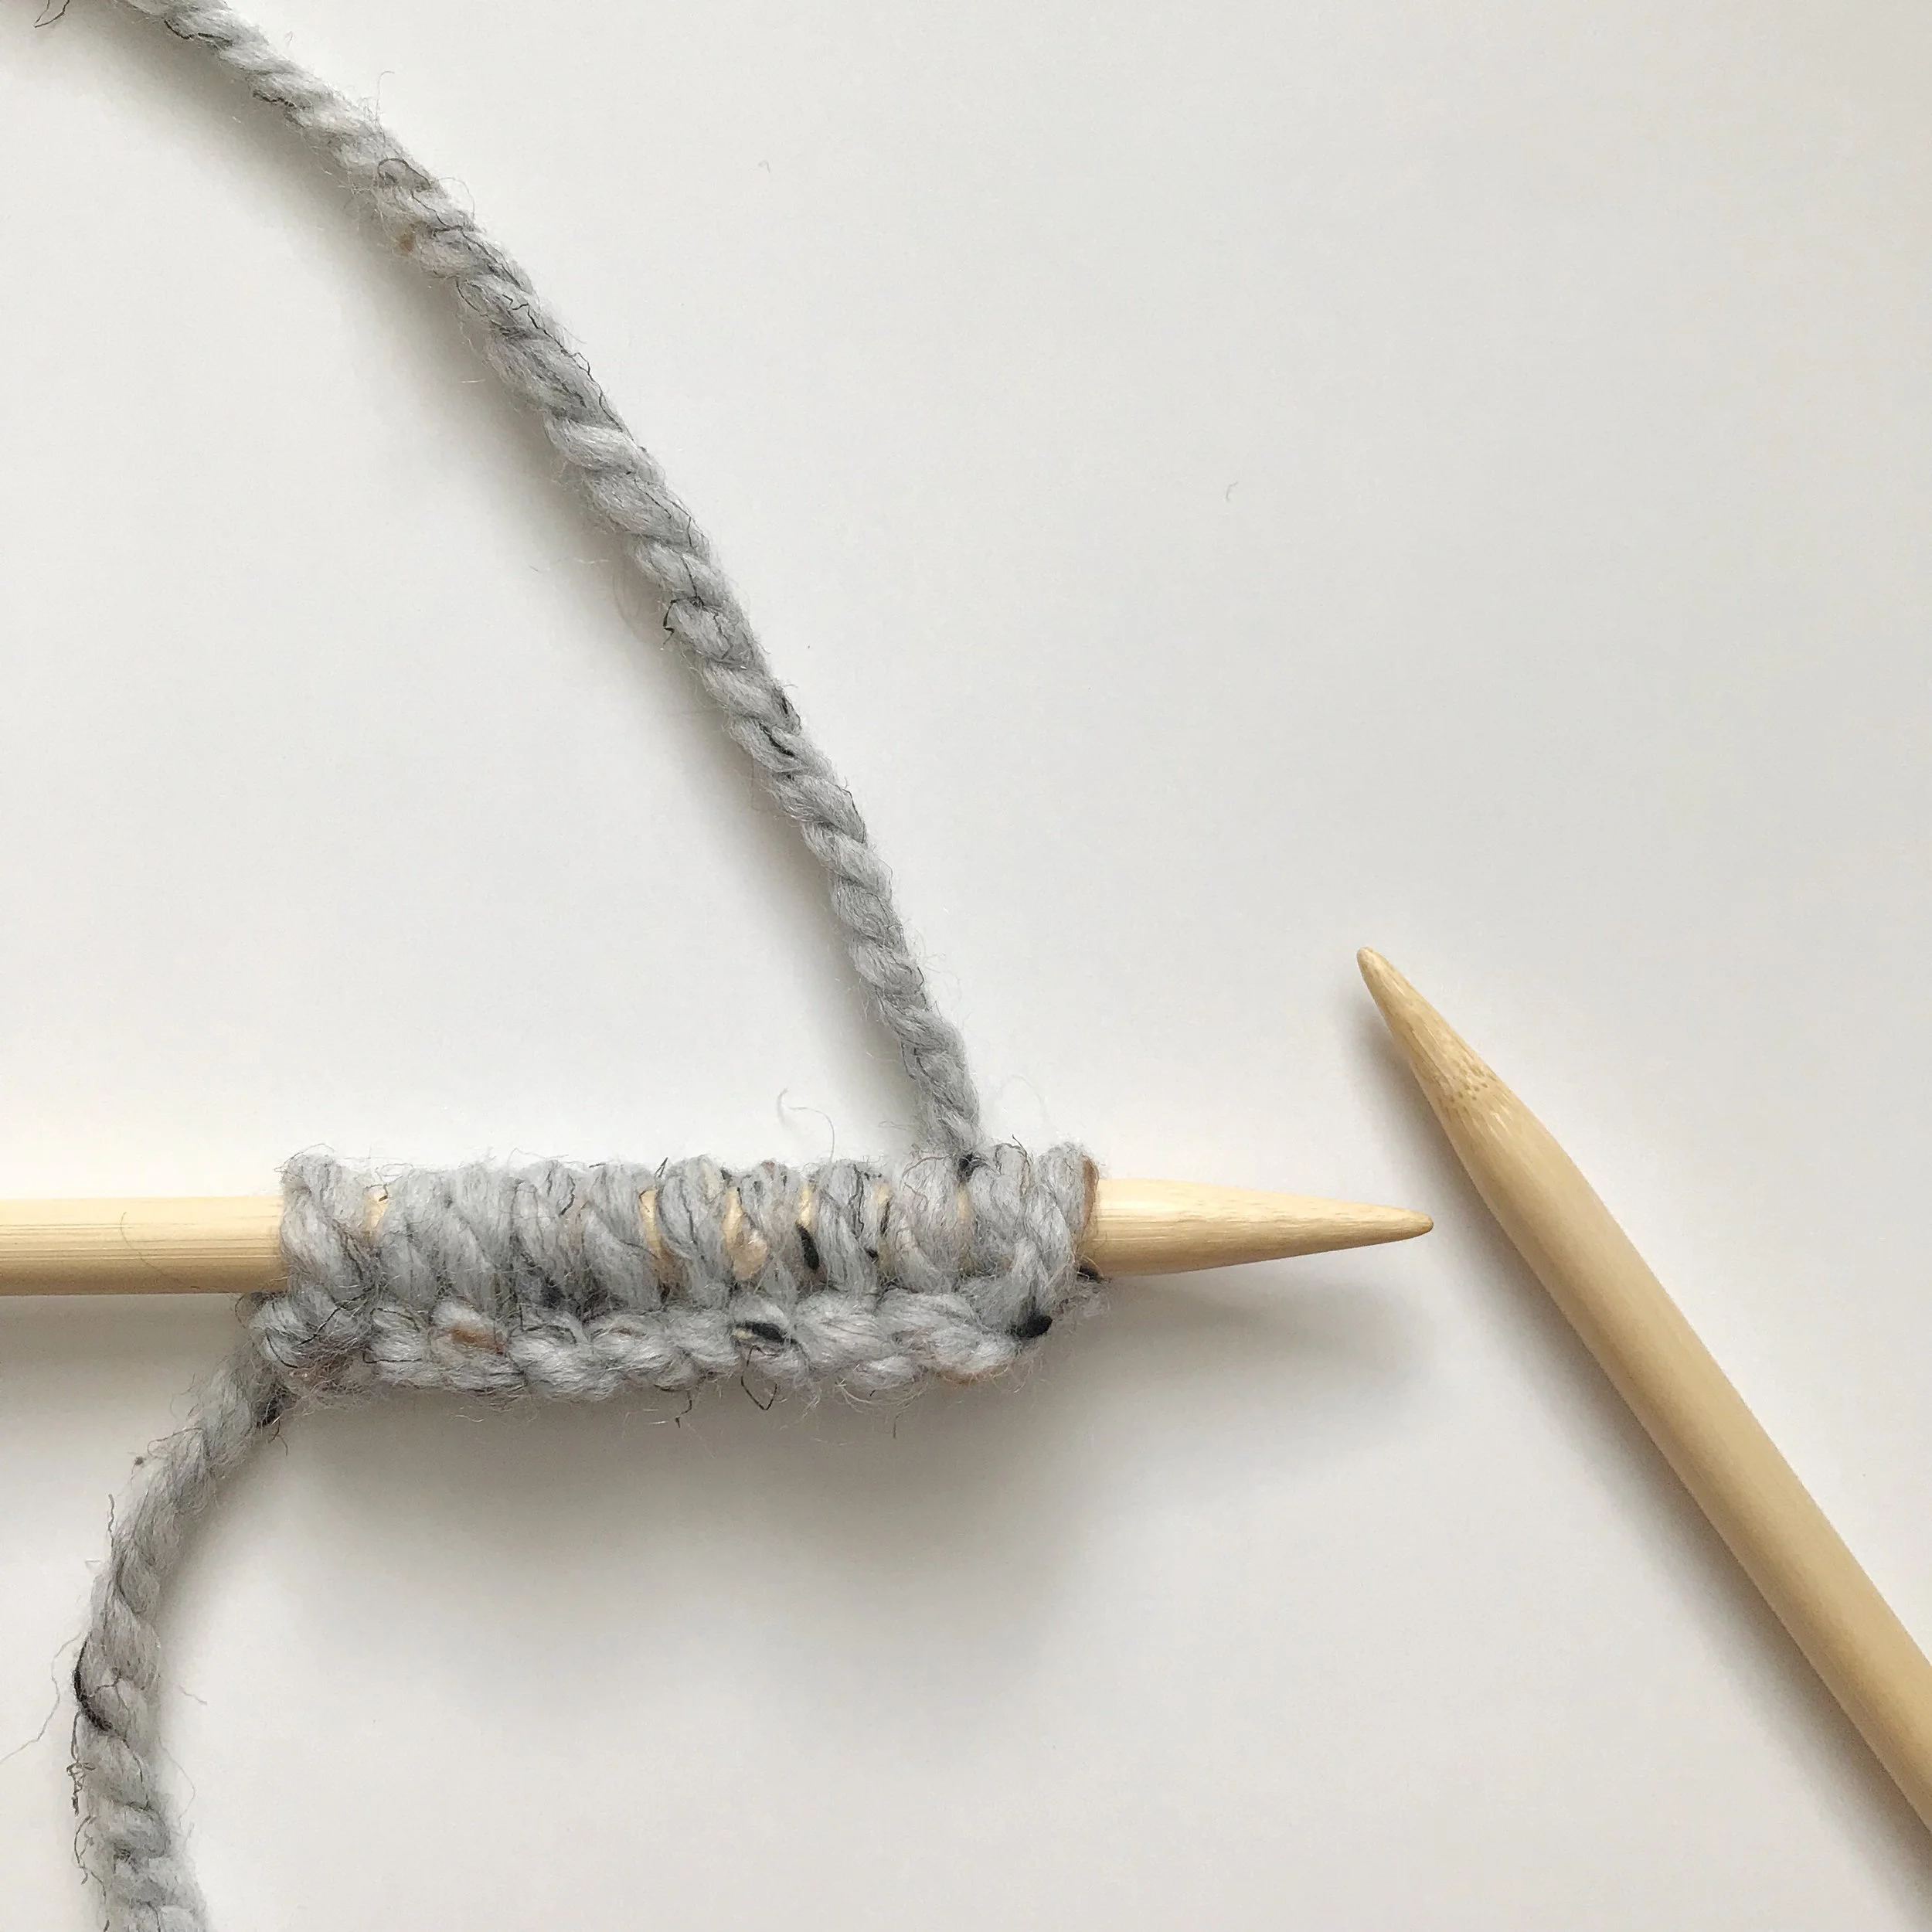
Break yarn, but leave beanie on needles. Secure Color A and Color B by tying them together in a knot.
finishing:
With tapestry needle and approximately 20” of Color B, string through all 33 loops on needles. Remove needles. Pull yarn tightly together to form circle at the top of your beanie. Be careful not to tear yarn. Secure and fasten off.
pom pom:
If using a pom pom maker
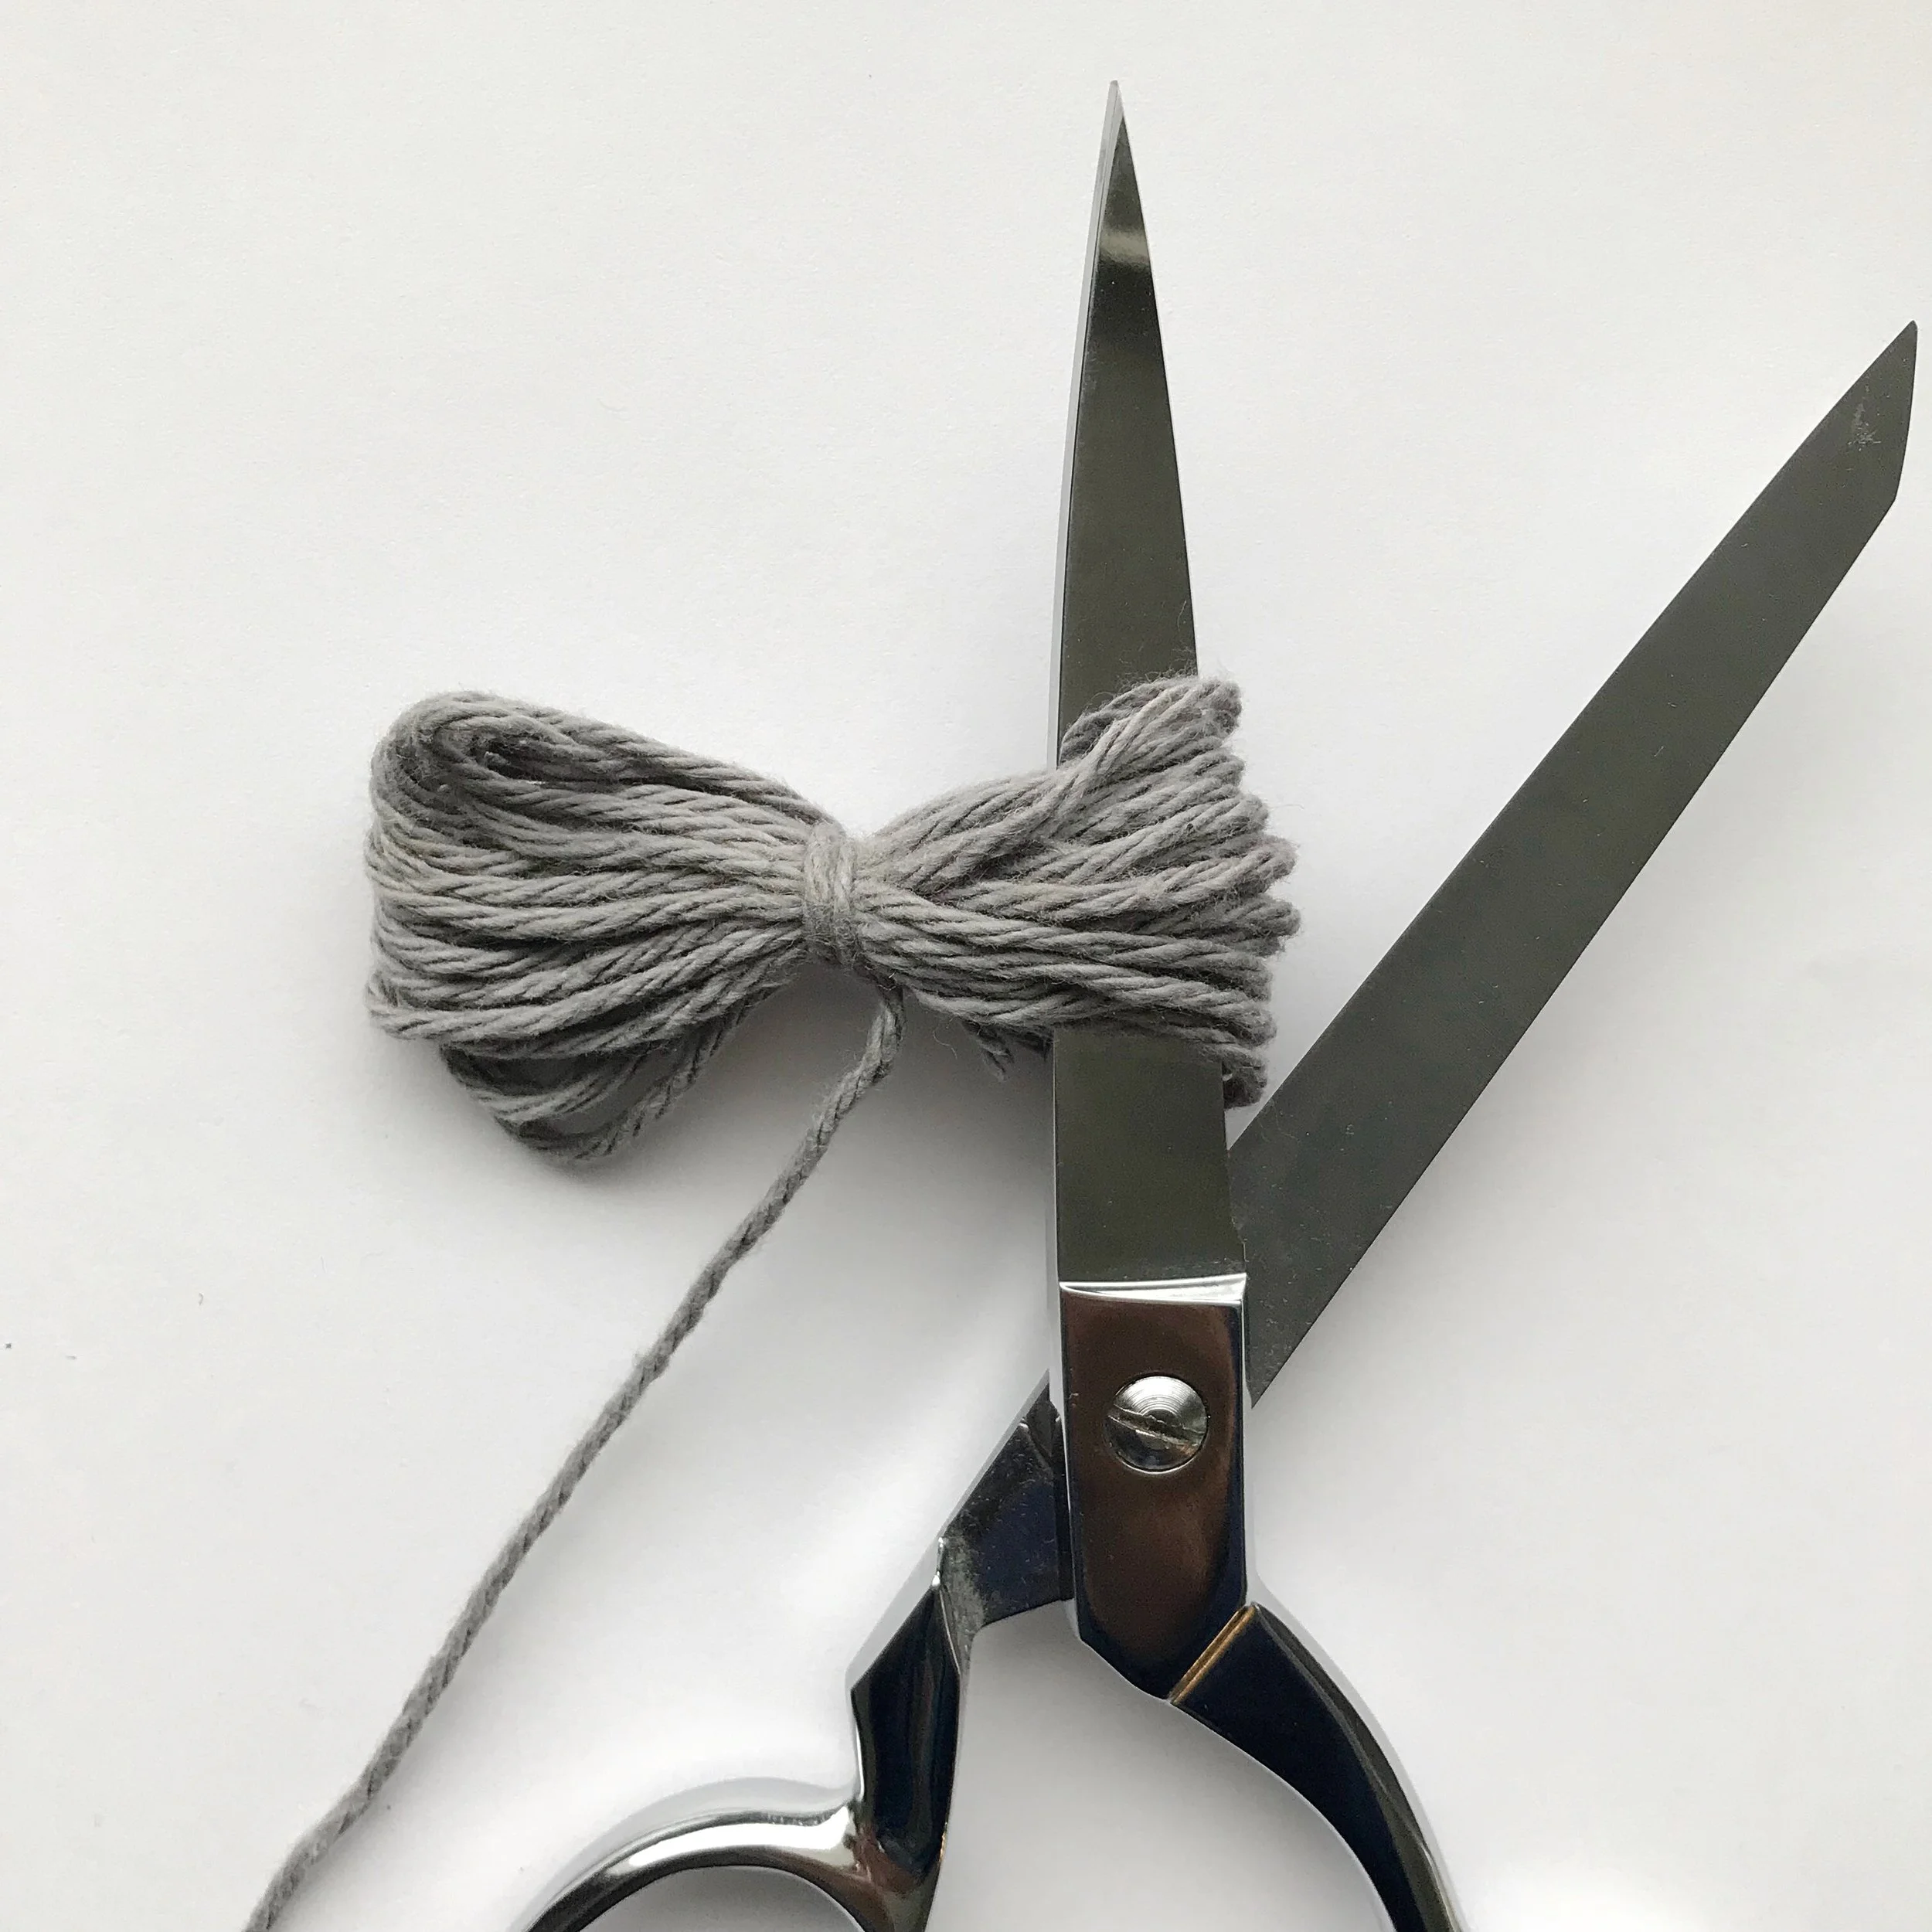
Wrap yarn around three times on each side of 3-3/8” (85mm) pom pom maker to achieve optimal thickness. Trim pom pom (fluff as you go, and be careful not to cut yarn tail) until pom pom looks uniform all around.
If you are NOT using a pom pom maker
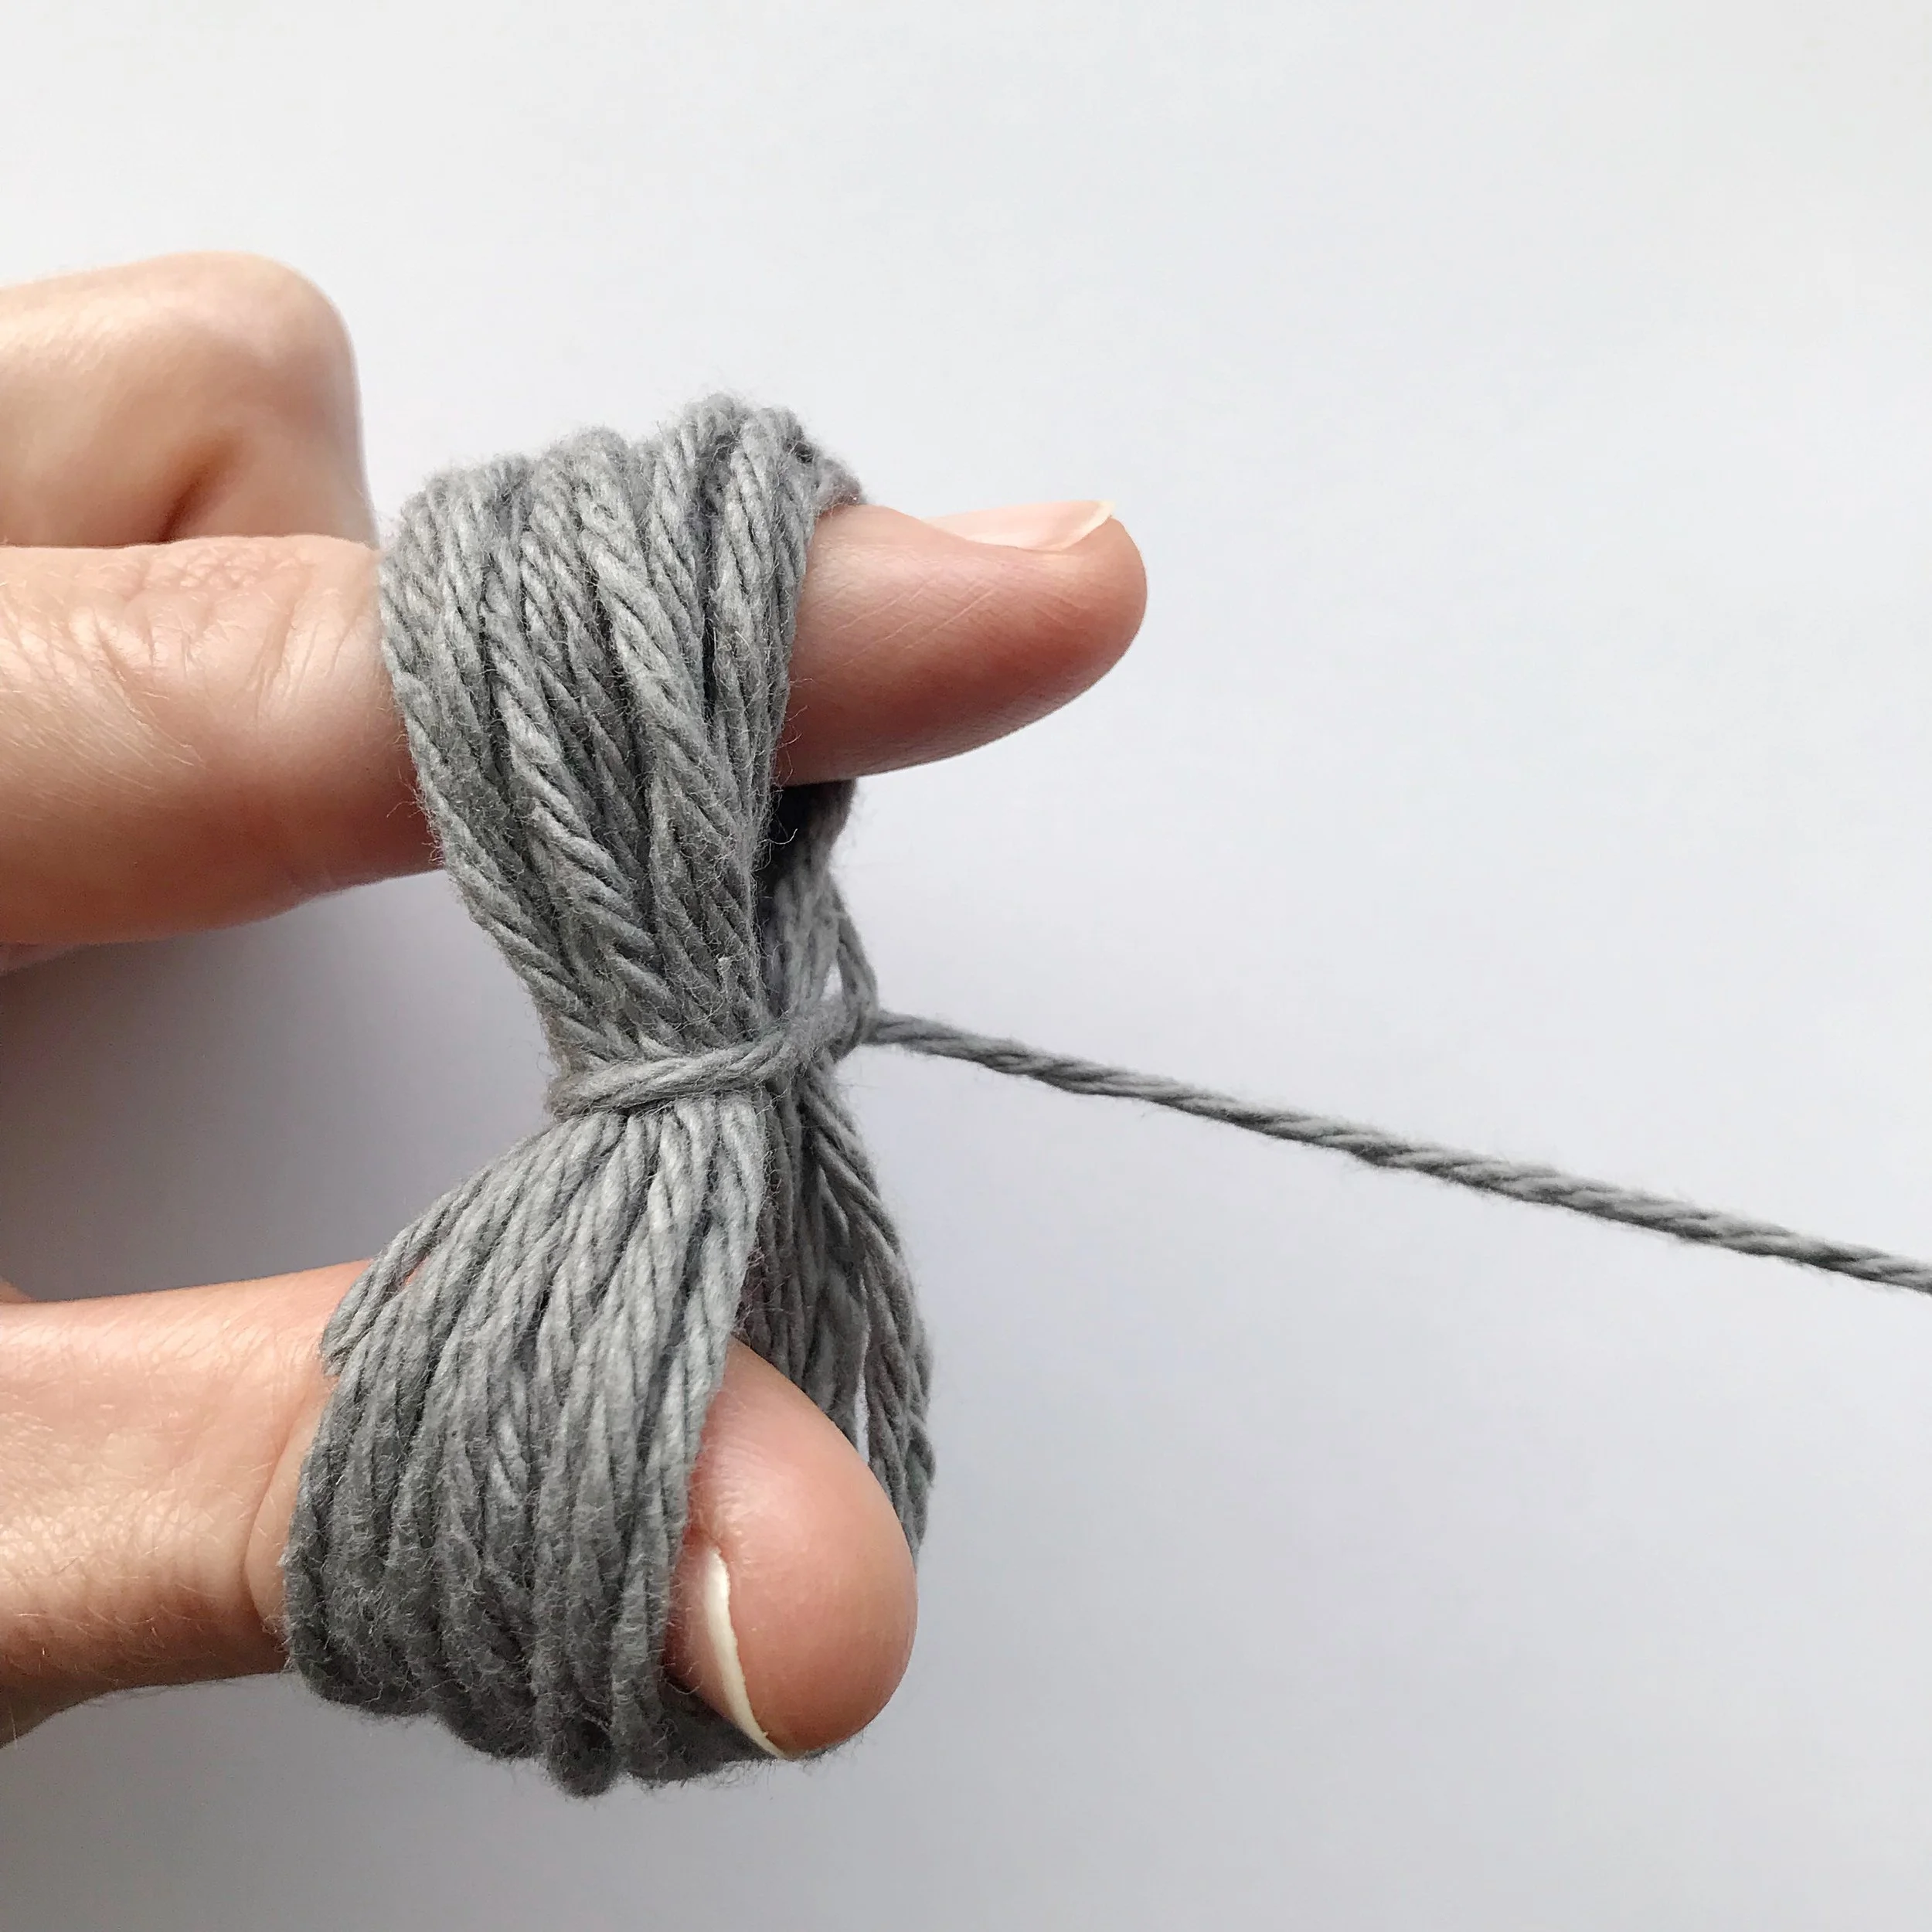
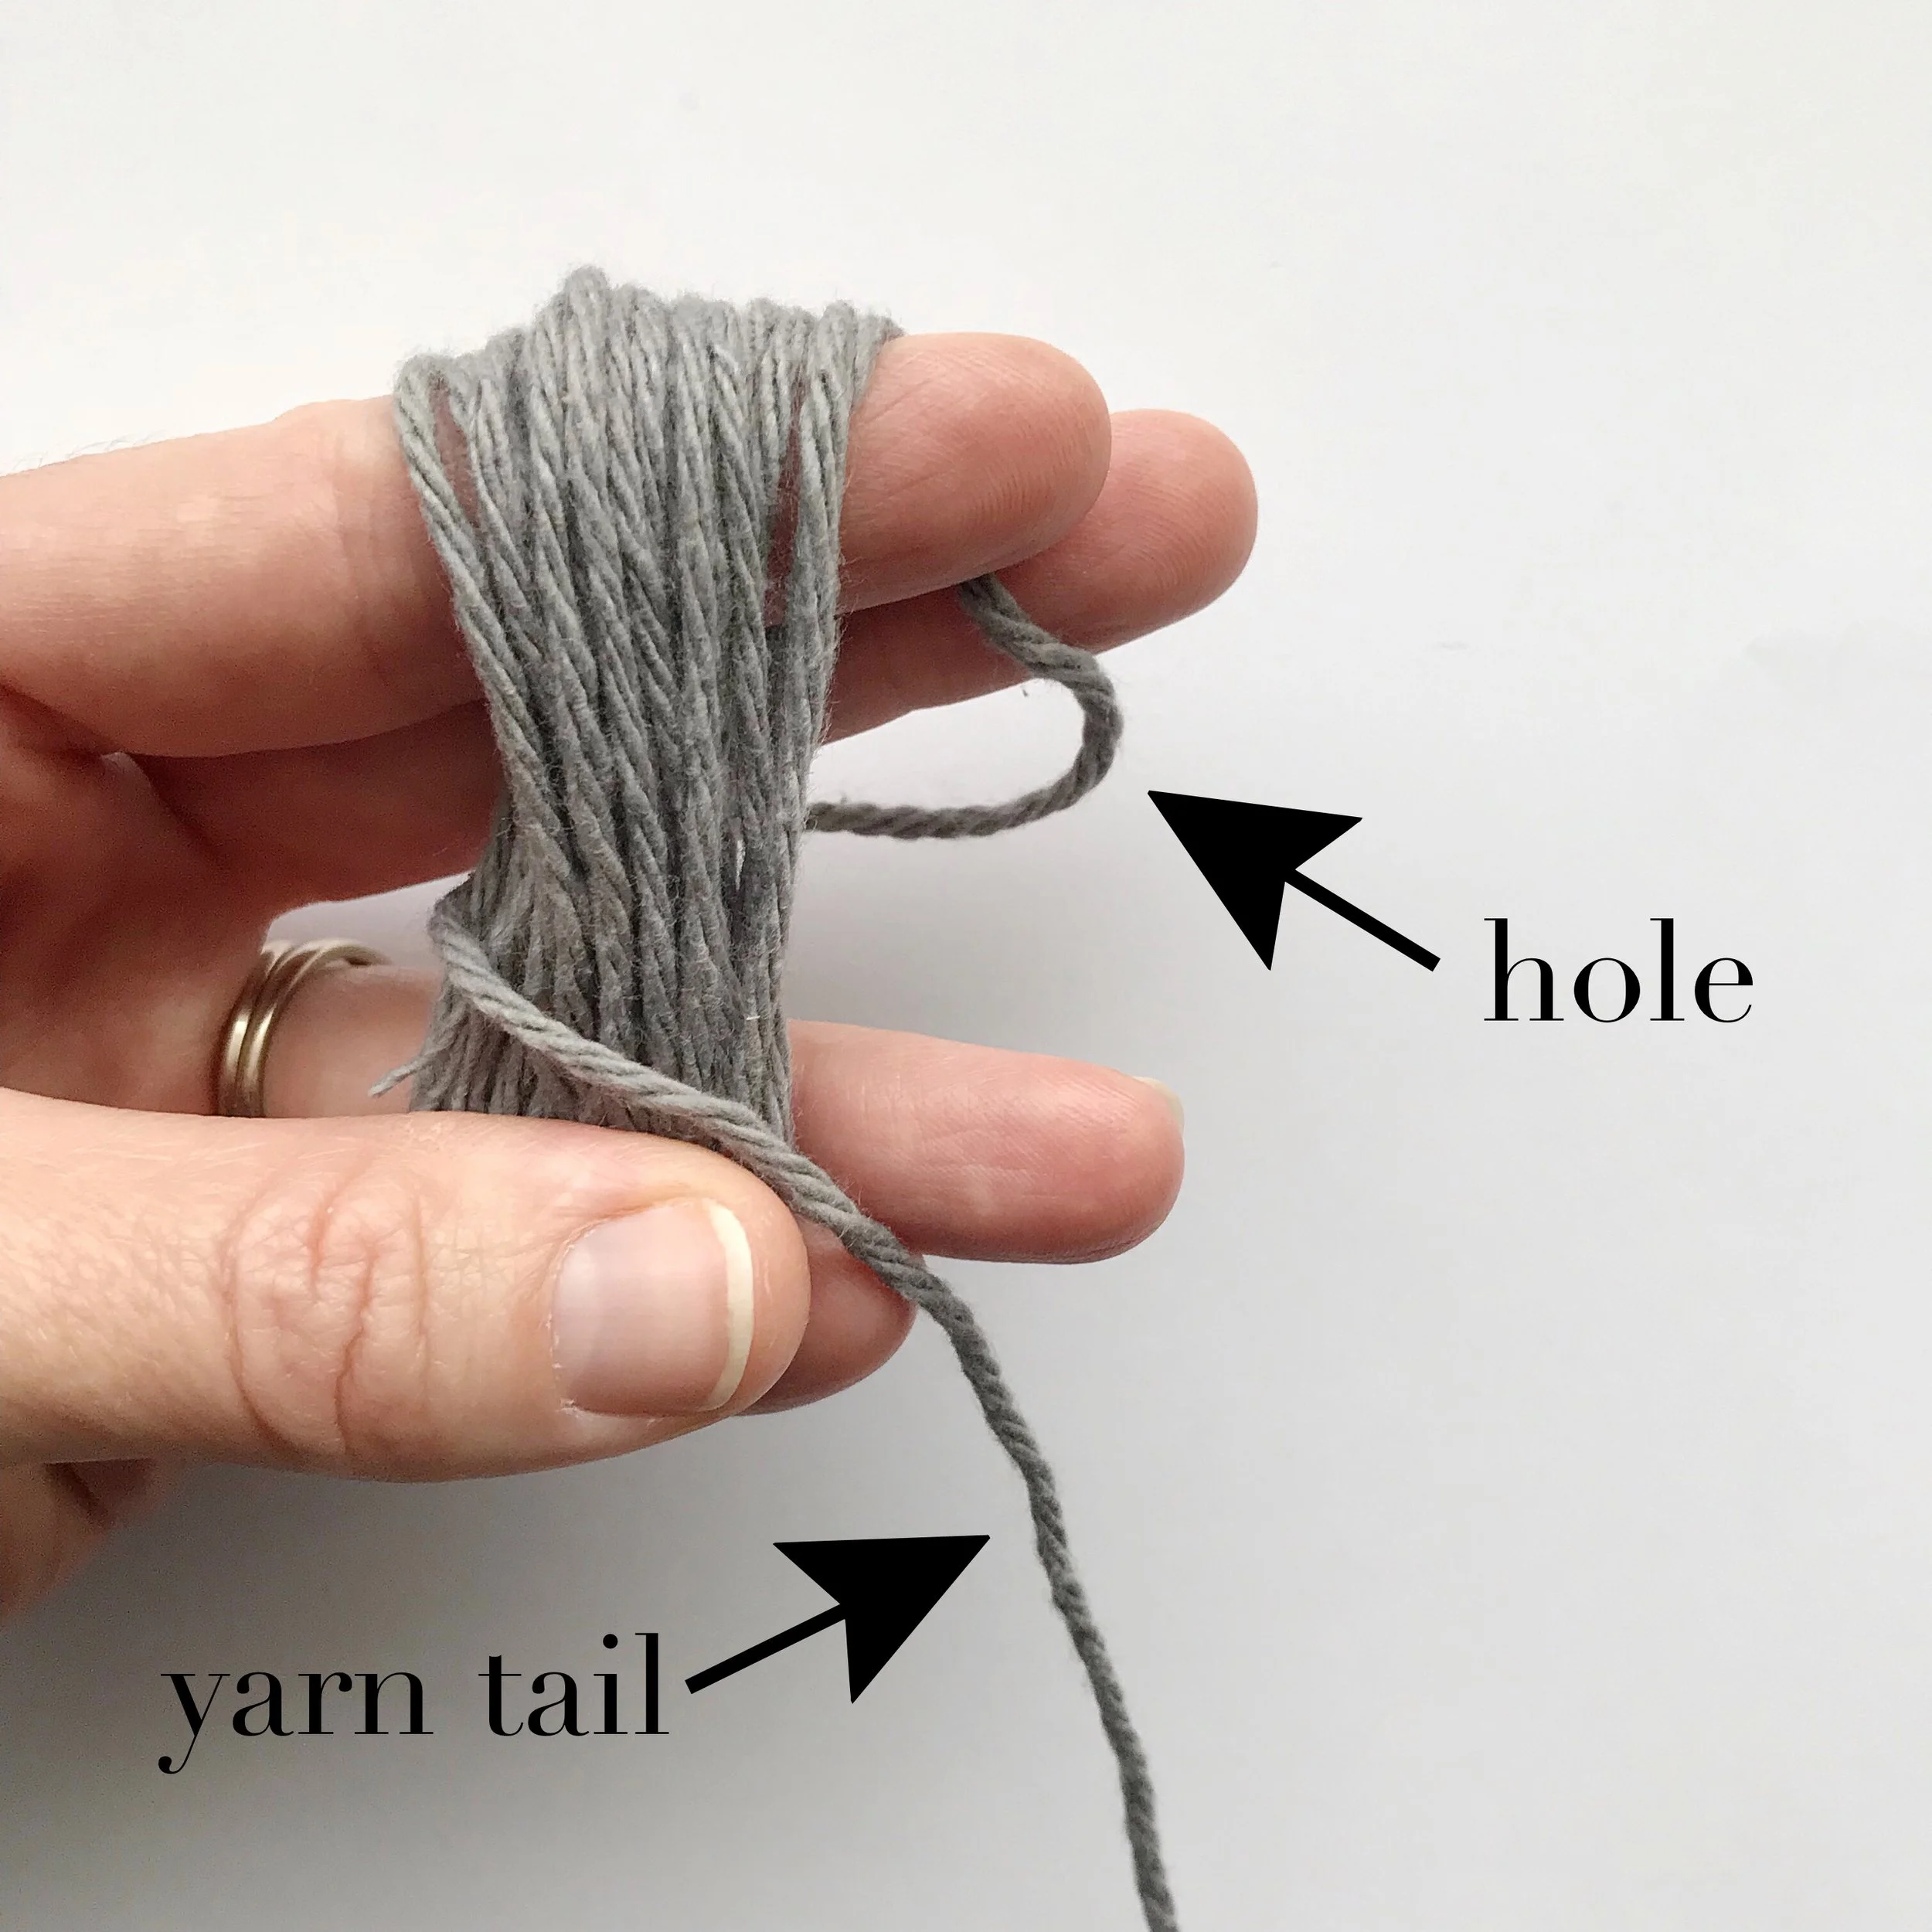
Starting with the end of yarn in the palm of your hand, wrap yarn loosely around 4 fingers approximately 50 times or until desired thickness is achieved. (See photo #1. Photo is just an example of placement and not wrapped 50 times.

1
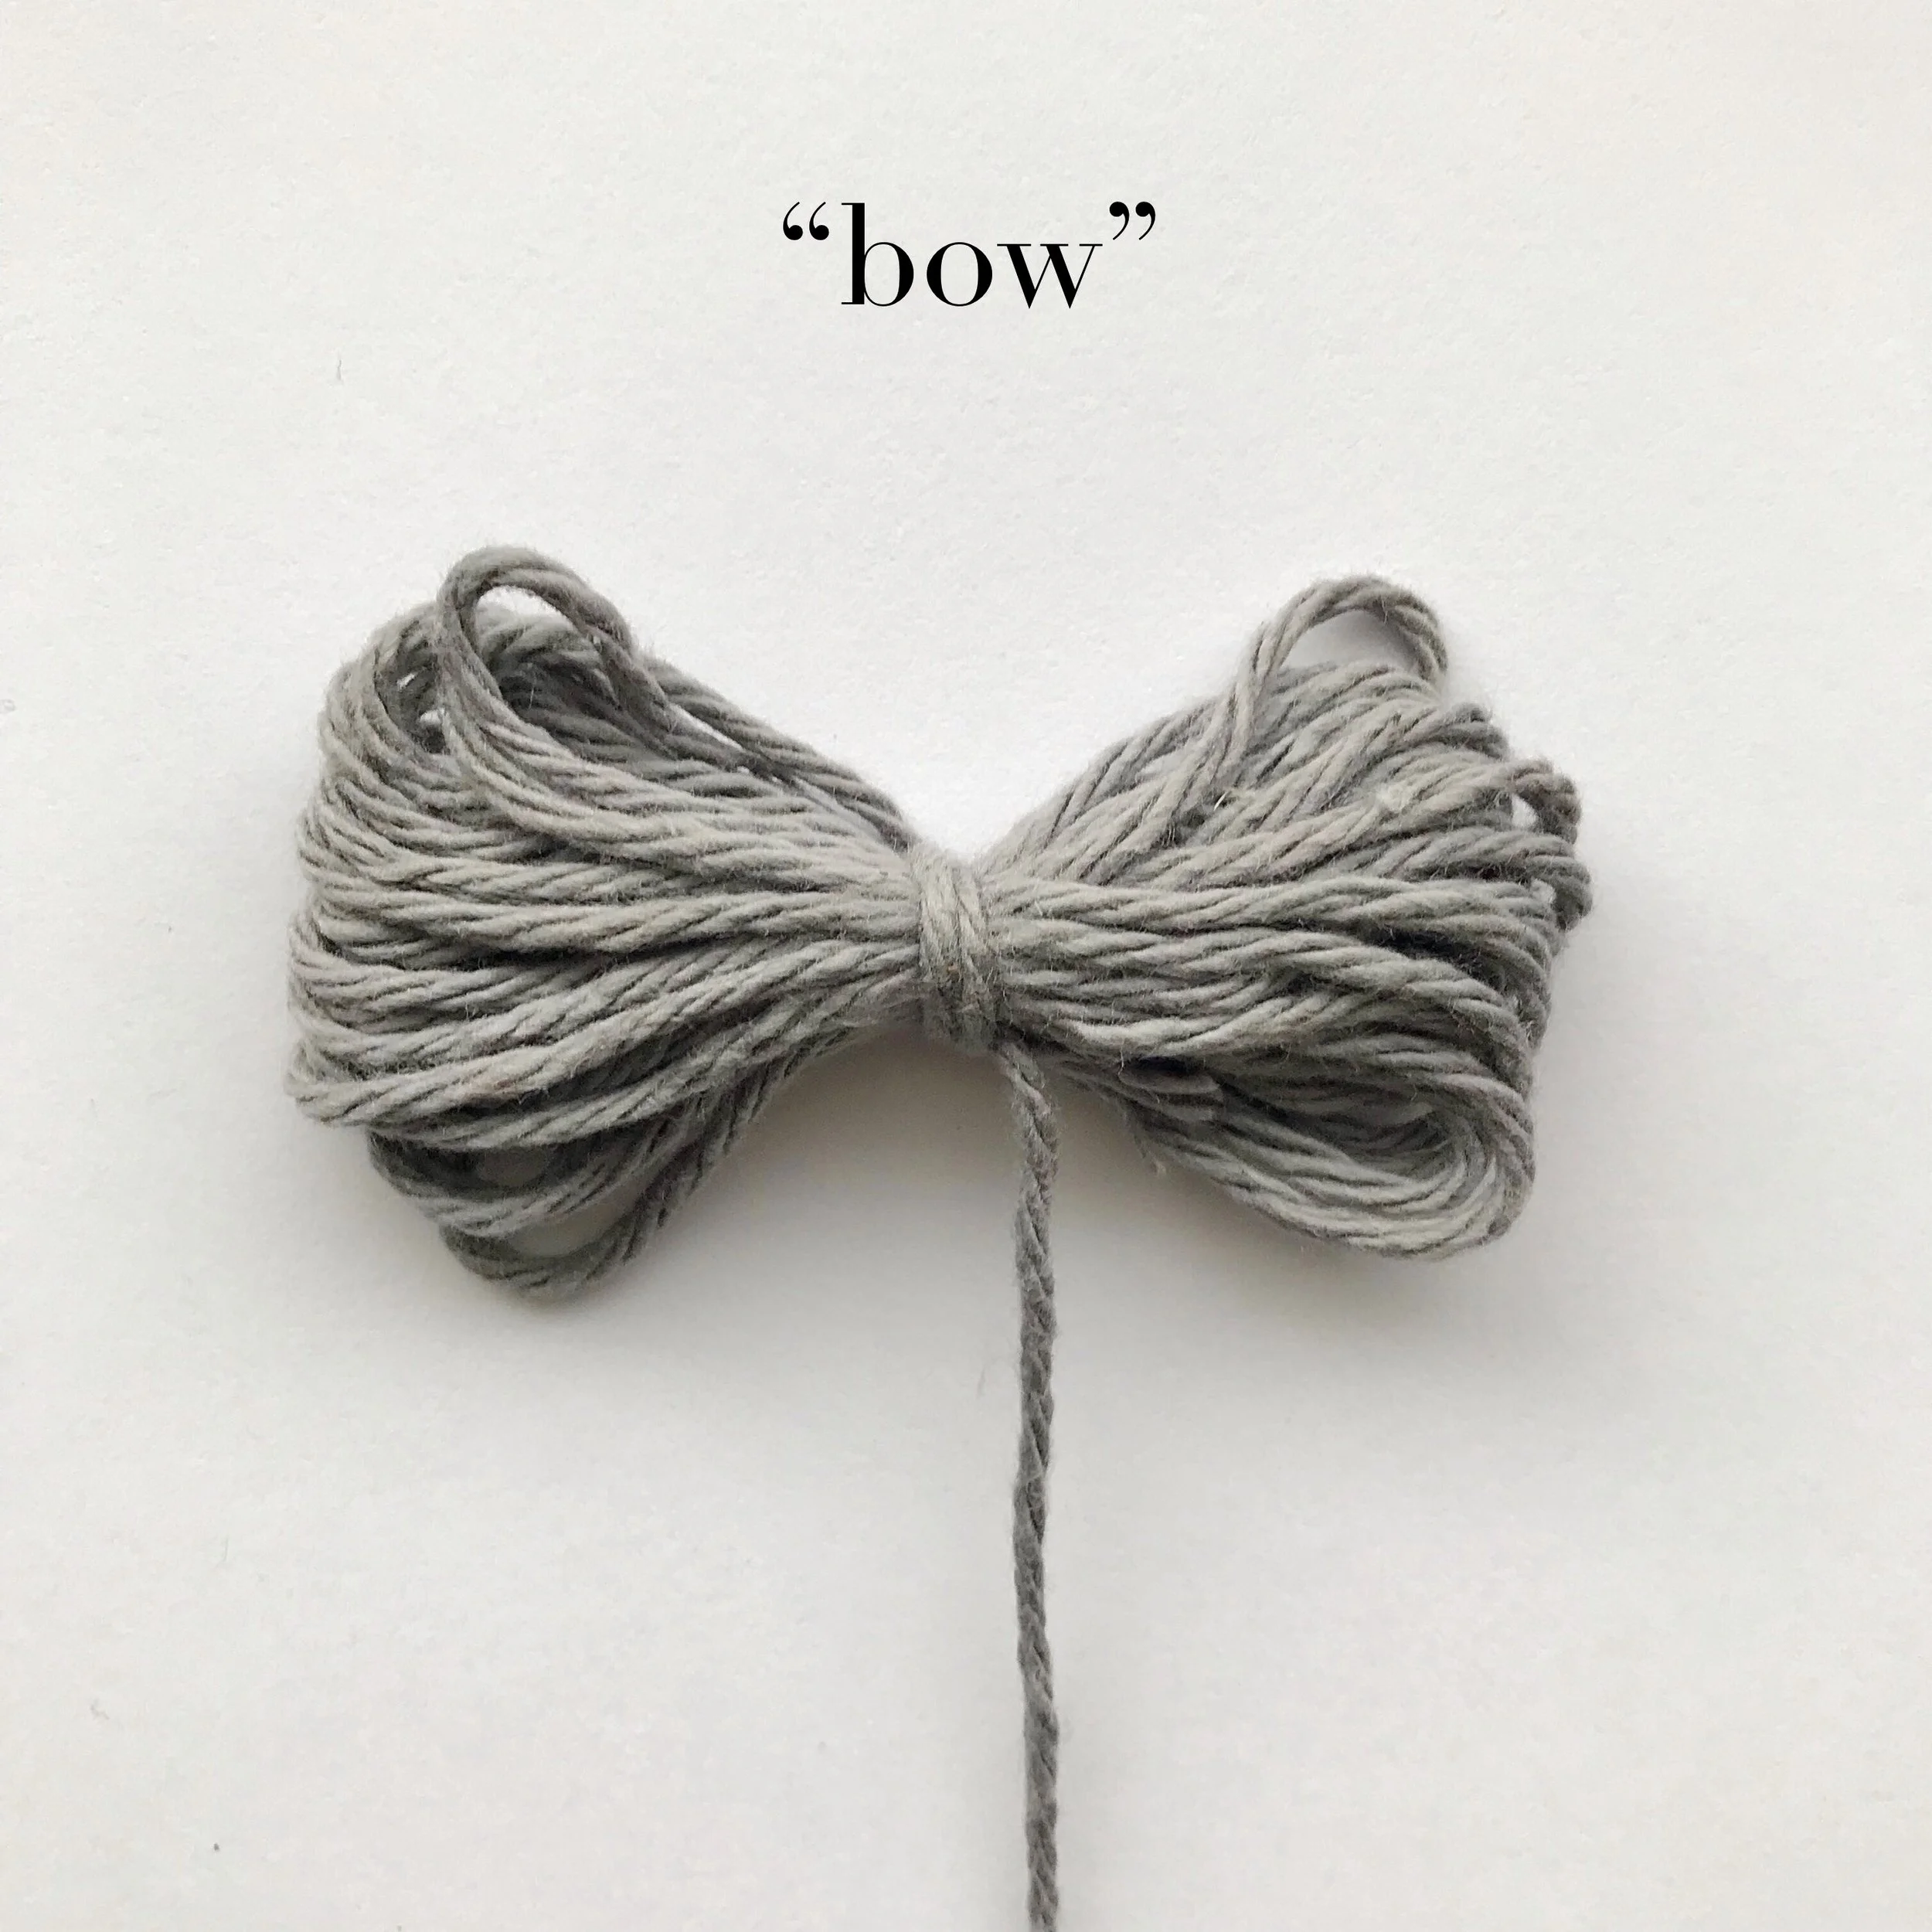
Leave long tail (around 30”) with remaining yarn. With opposite hand, pinching yarn in the middle, slide wrapped yarn off of 3 of 4 fingers. *Form hole with yarn tail at the back of your wrapped yarn. Being careful not to disrupt hole, bring yarn tail around back of wrapped yarn (photo #2). Place thumb inside wrapped yarn for stability and bring yarn tail through the hole. (photo #3)
4
2
5
3
6
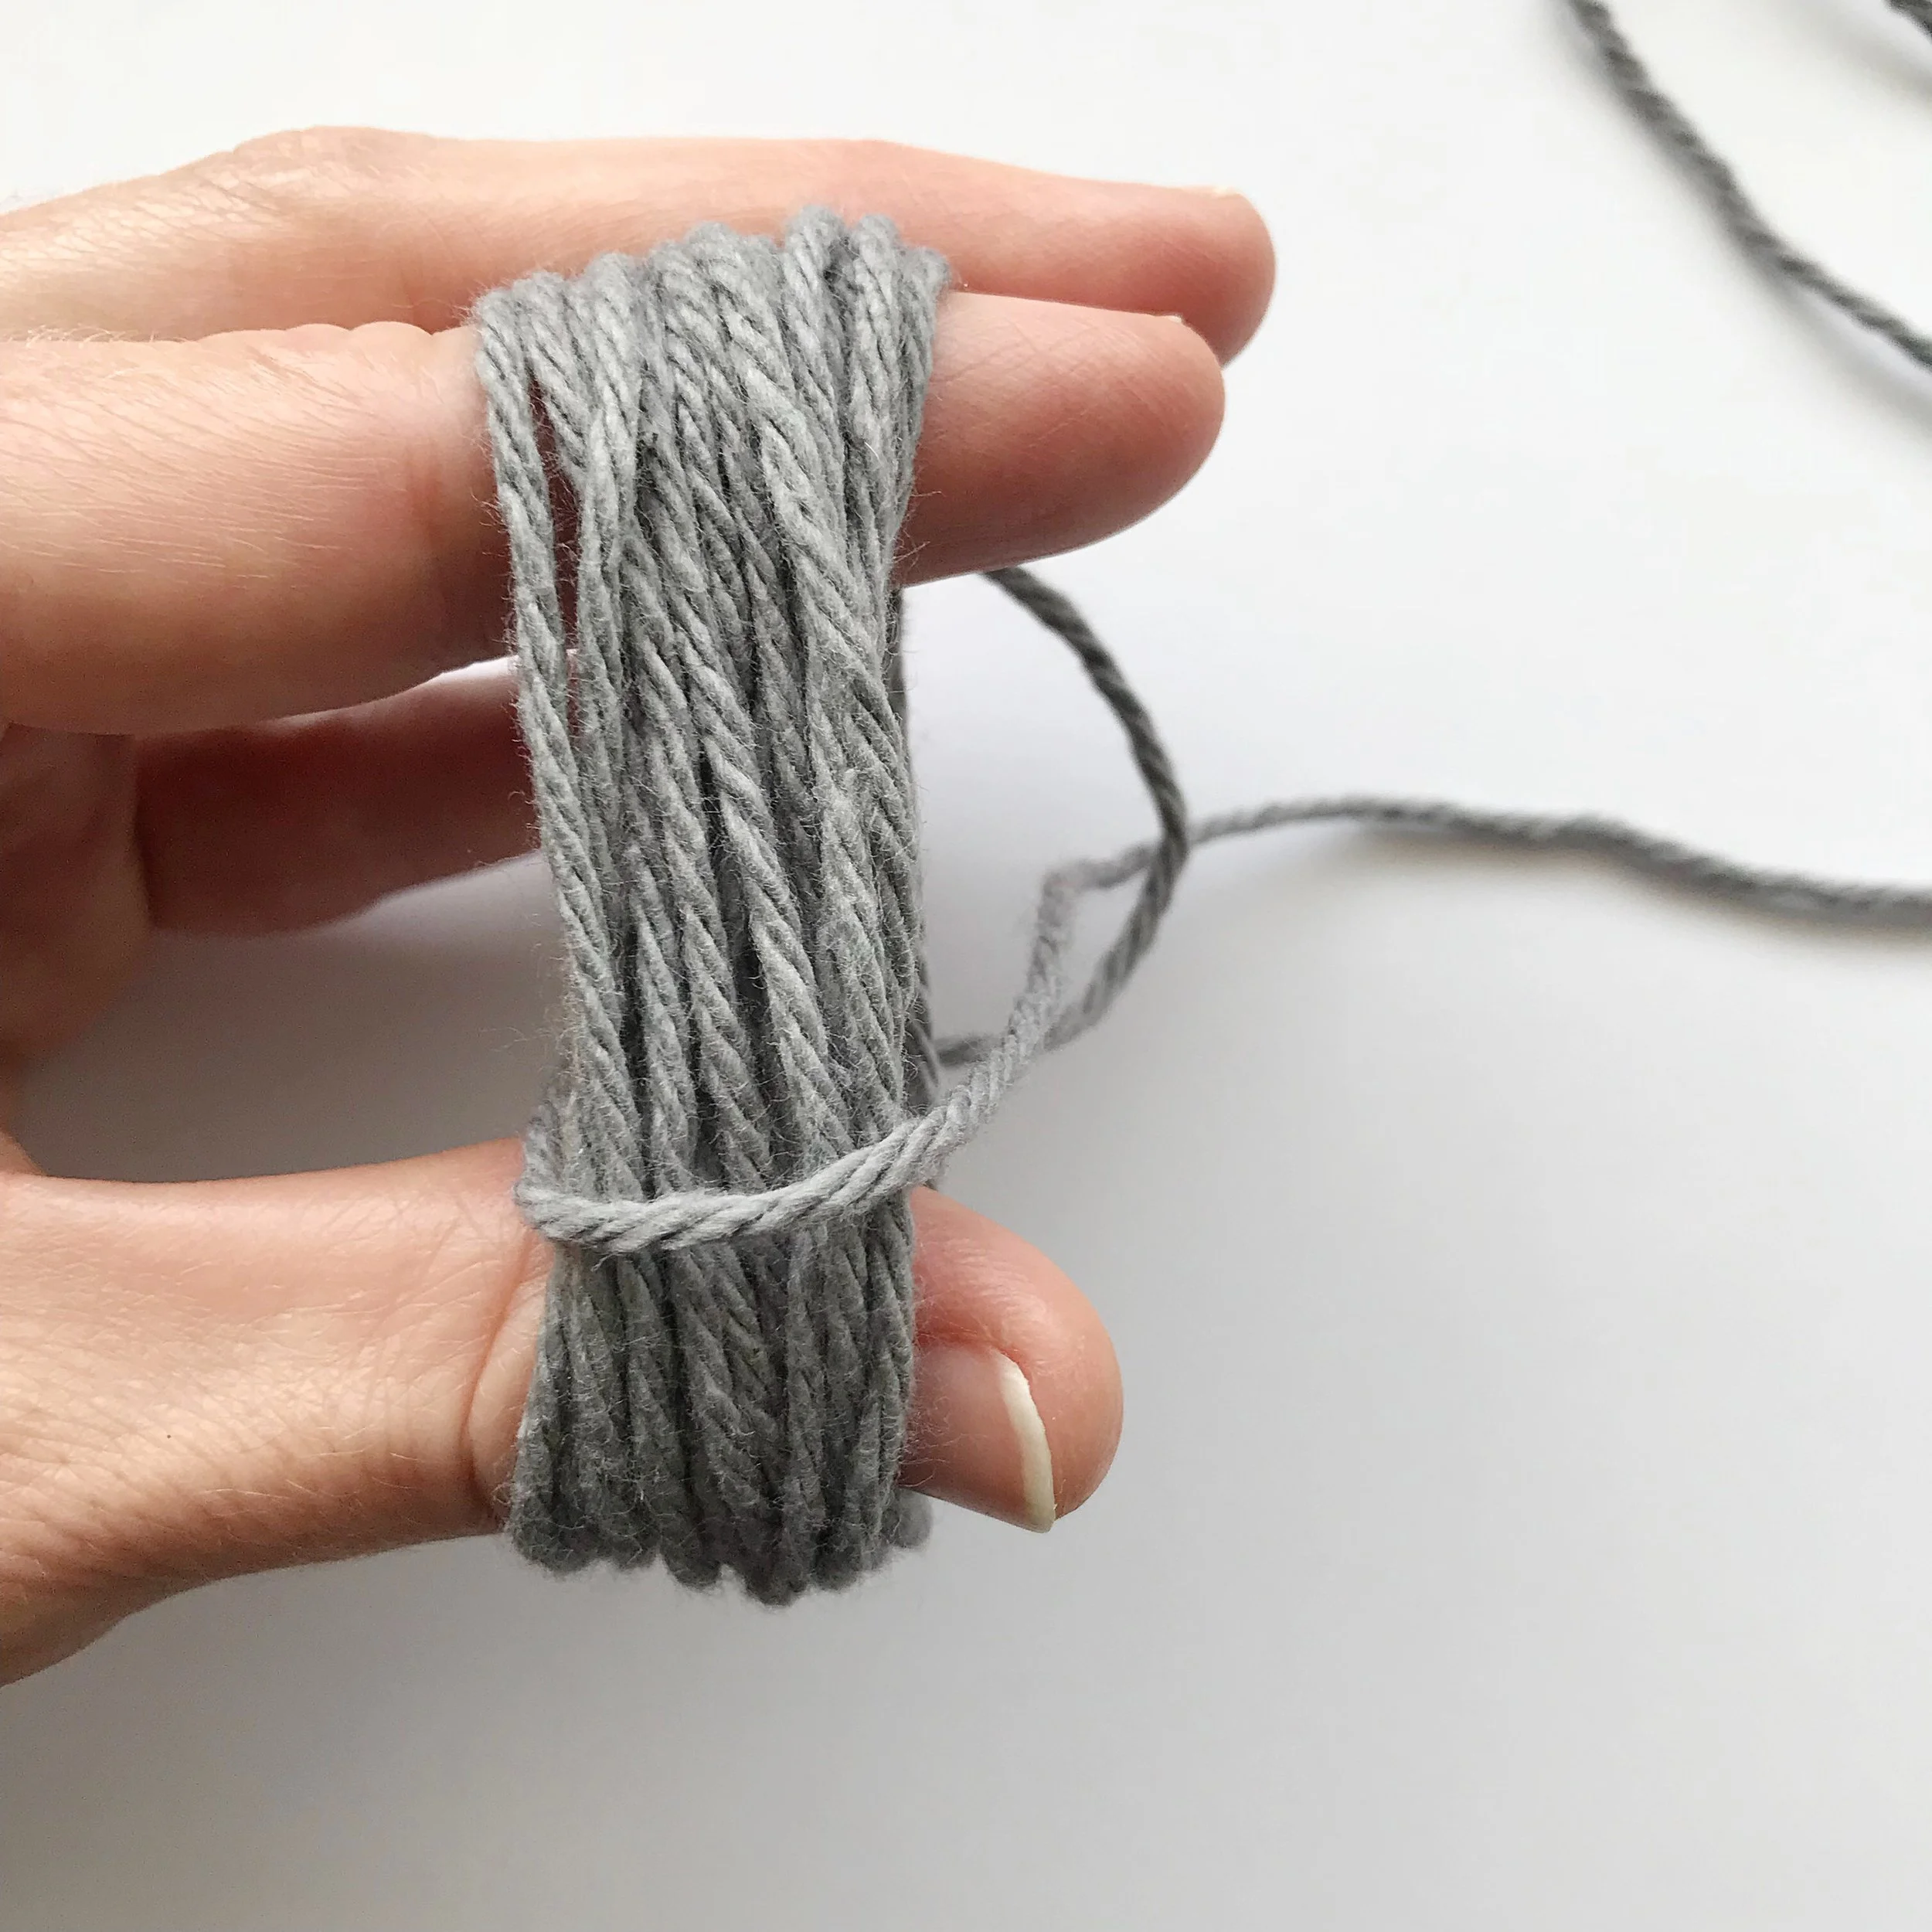
Pull tightly being careful not to break yarn (photo #4). Repeat from * three times. Your yarn will look like a bow. (photo #5) Make sure your “bow” is even on each side. Trim loops on both sides of your “bow”. (photo #6)
Trim pom pom (fluff as you go and be careful not to cut yarn tail) until pom pom looks uniform all around.
Attaching pom pom
If using a pom pom maker:
You will have 2 yarn tails. Working from the top, with pom pom on right side of beanie insert one yarn tail on one side of gathering hole and the other yarn tail on the opposite side. Turn beanie inside out and tie the two yarn tails together in a knot tightly. (Make sure your pom pom is firmly in place before tying the knot)
If you are NOT using a pom pom maker:
You will have 1 yarn tail. Working from the top, with pom pom on right side of beanie, thread the pom pom yarn tail through the gathering hole to the wrong side with tapestry needle. Turn beanie inside out and weave the pom pom yarn tail through two or three stitches in gathering around hole. Tie in a knot tightly.
Weave in ends. Turn right side out.
Congrats on your new beanie!