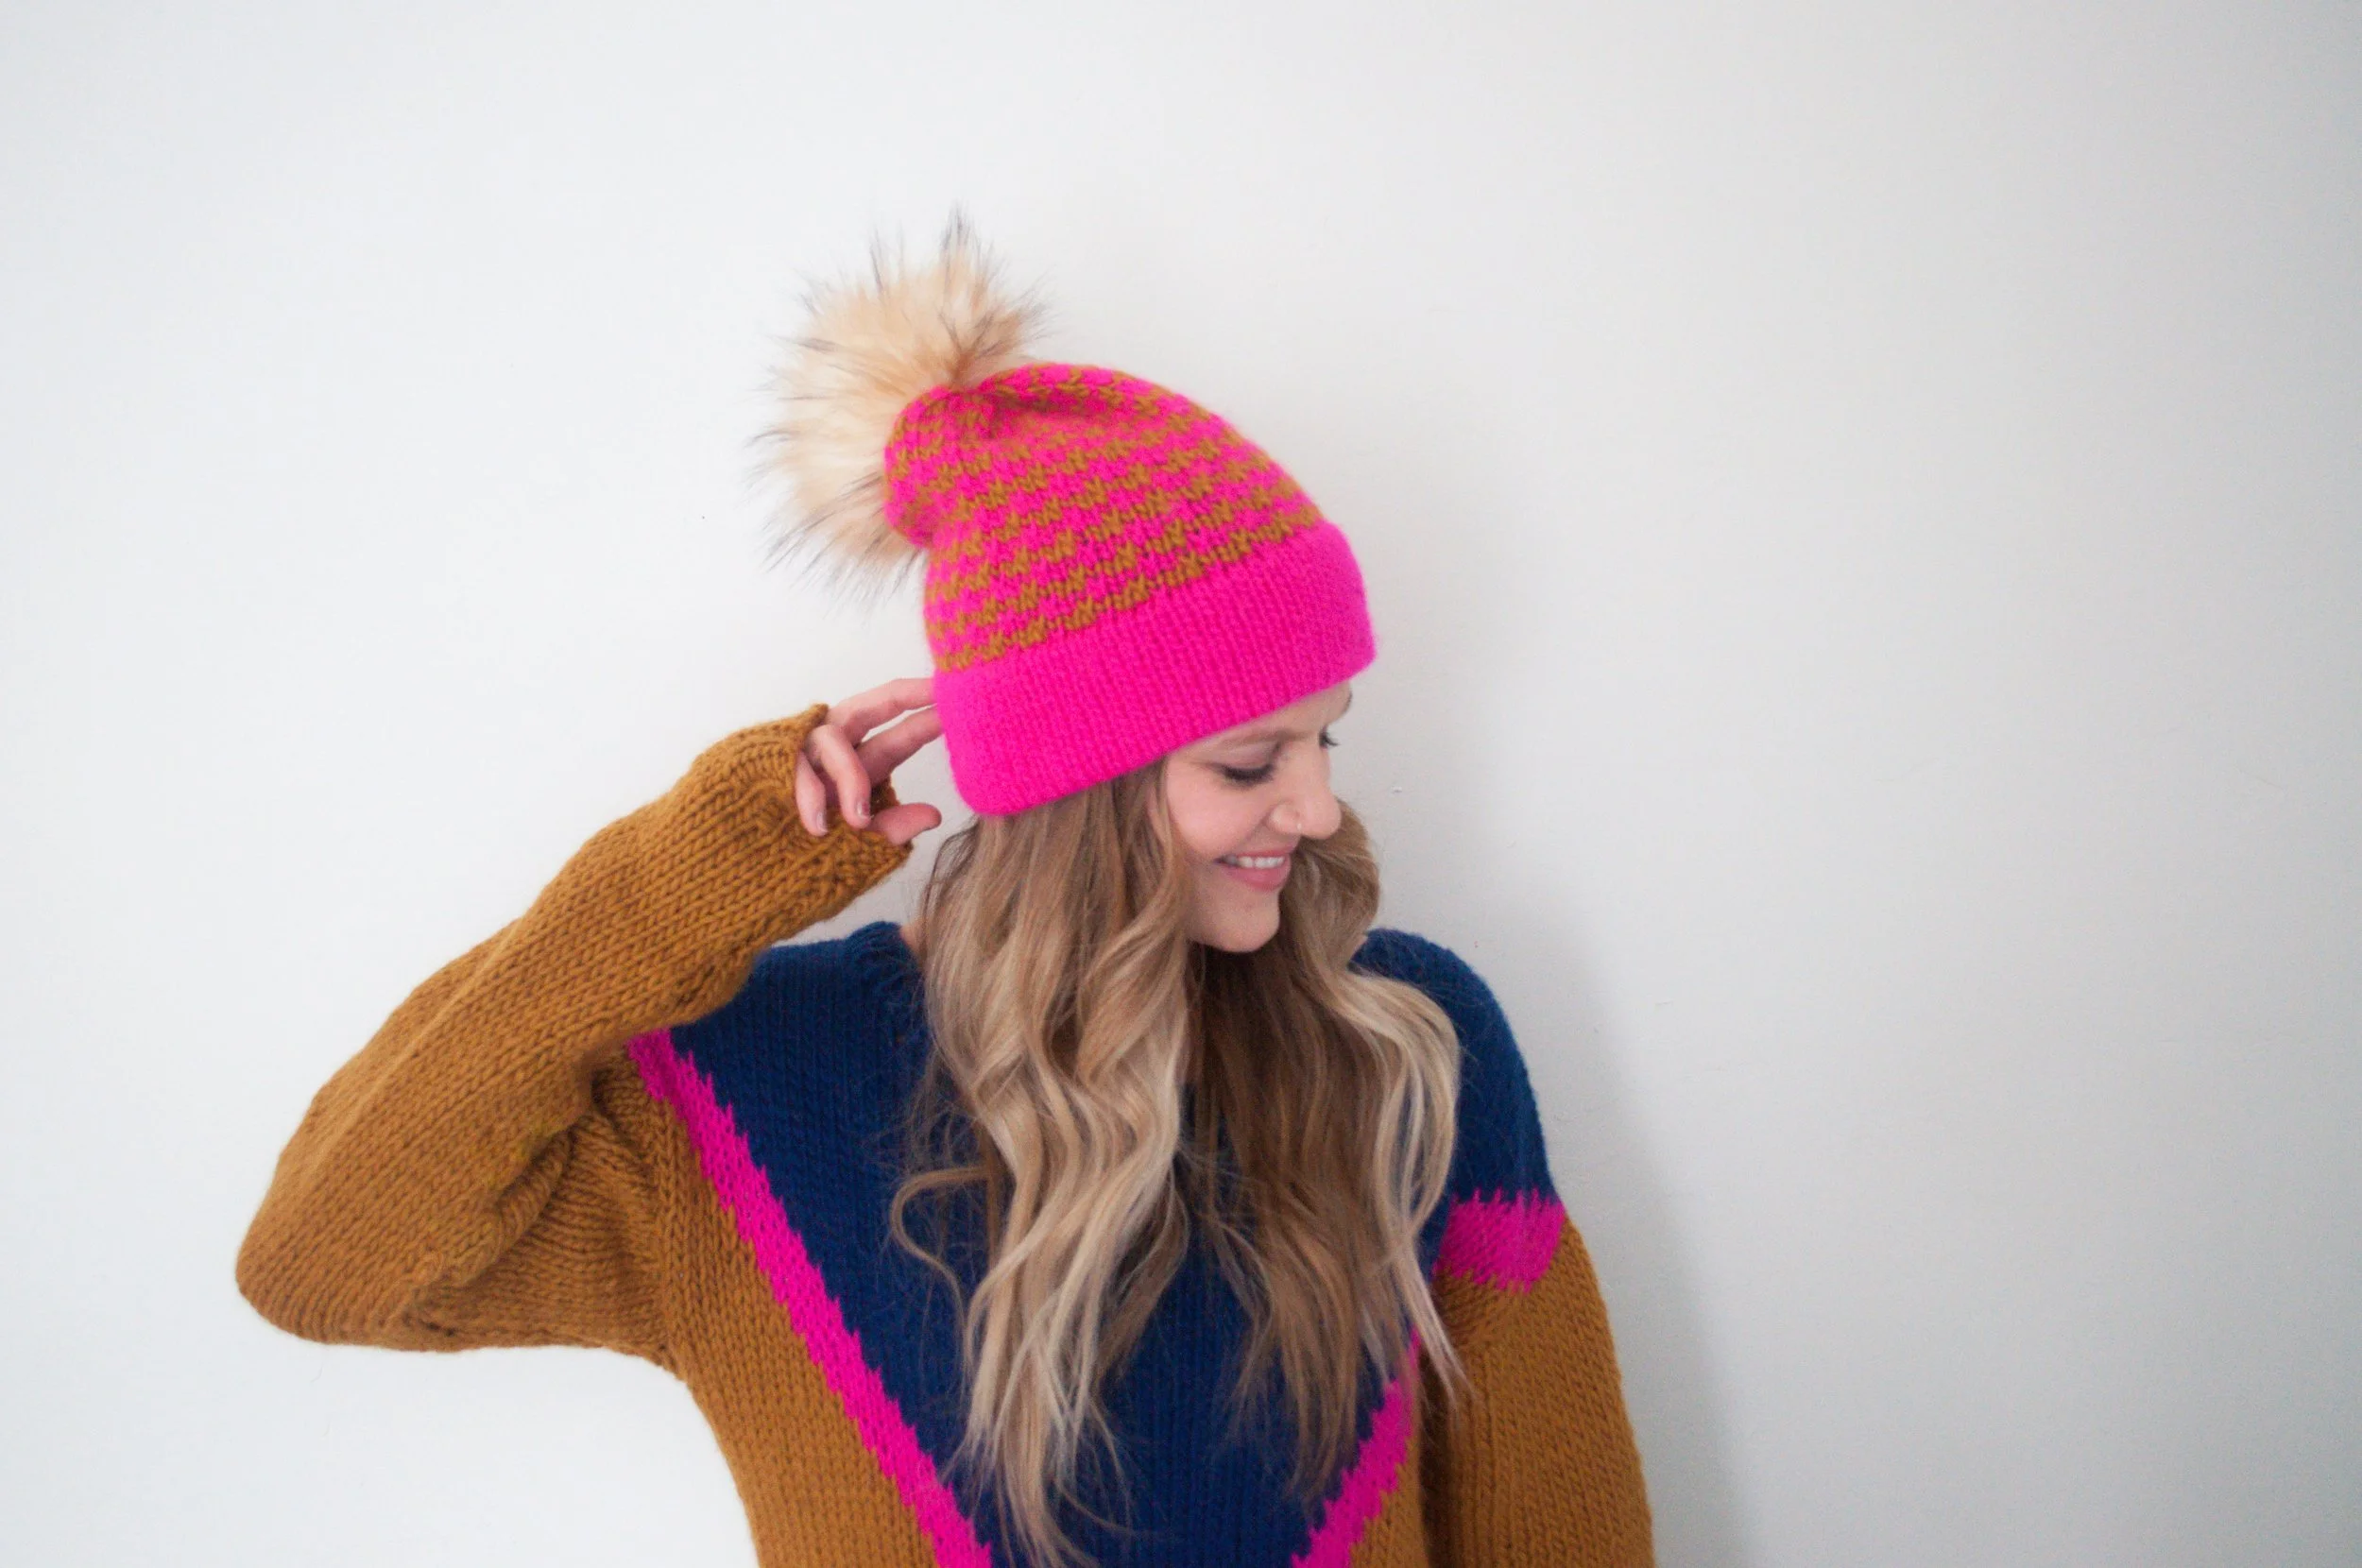
Double Brim Cozy Knit Beanie
difficulty level: easy

Isn't it the best feeling when you finish a project and then have enough yarn left for another one! :) Well, that's exactly what happened with this double brim cozy knit beanie as well as the child size version I made in super bulky yarn for my daughter! ;) Find that pattern [here]!
This beanie features a super cozy double brim, vibrant color palette and unique stitch pattern. I love the unique wavy lines this stitch creates and thought "Color Outside The Lines Beanie" was the perfect name! It will most definitely add a whole lot of fun and cozy to your wardrobe!

I just can't get enough of this cool stitch pattern! Grab your needles and a couple of fun yarn colors and let's get going on this super cute double brim cozy knit beanie! :)
need a printable version?
Click the button below to download the PDF for this double brim cozy knit beanie.
Double Brim Cozy Knit Beanie
measurements:
height measures (without pom) approx. 10"
circumference measures approx. 21.5"
what you will need:
Color A - 1 skein We Are Knitters Petite Wool in Neon Fuchsia (or approx. 135 yds of another #4 worsted weight yarn).
Color B - 1 skein We Are Knitters Petite Wool in Ochre (or approx. 55 yds of another #4 worsted weight yarn).
size US 9 - 5.5mm circular knitting needles, or size needed to obtain gauge. To save time make sure to check gauge. GAUGE: 15 STS x 20 rows in stockinette = approx. 4”x4”
stitch marker
tapestry needle
3-3/8” (85mm) pom pom maker (optional)
abbreviations:
CO - cast on
K - knit
P - purl
K2TOG - knit 2 together
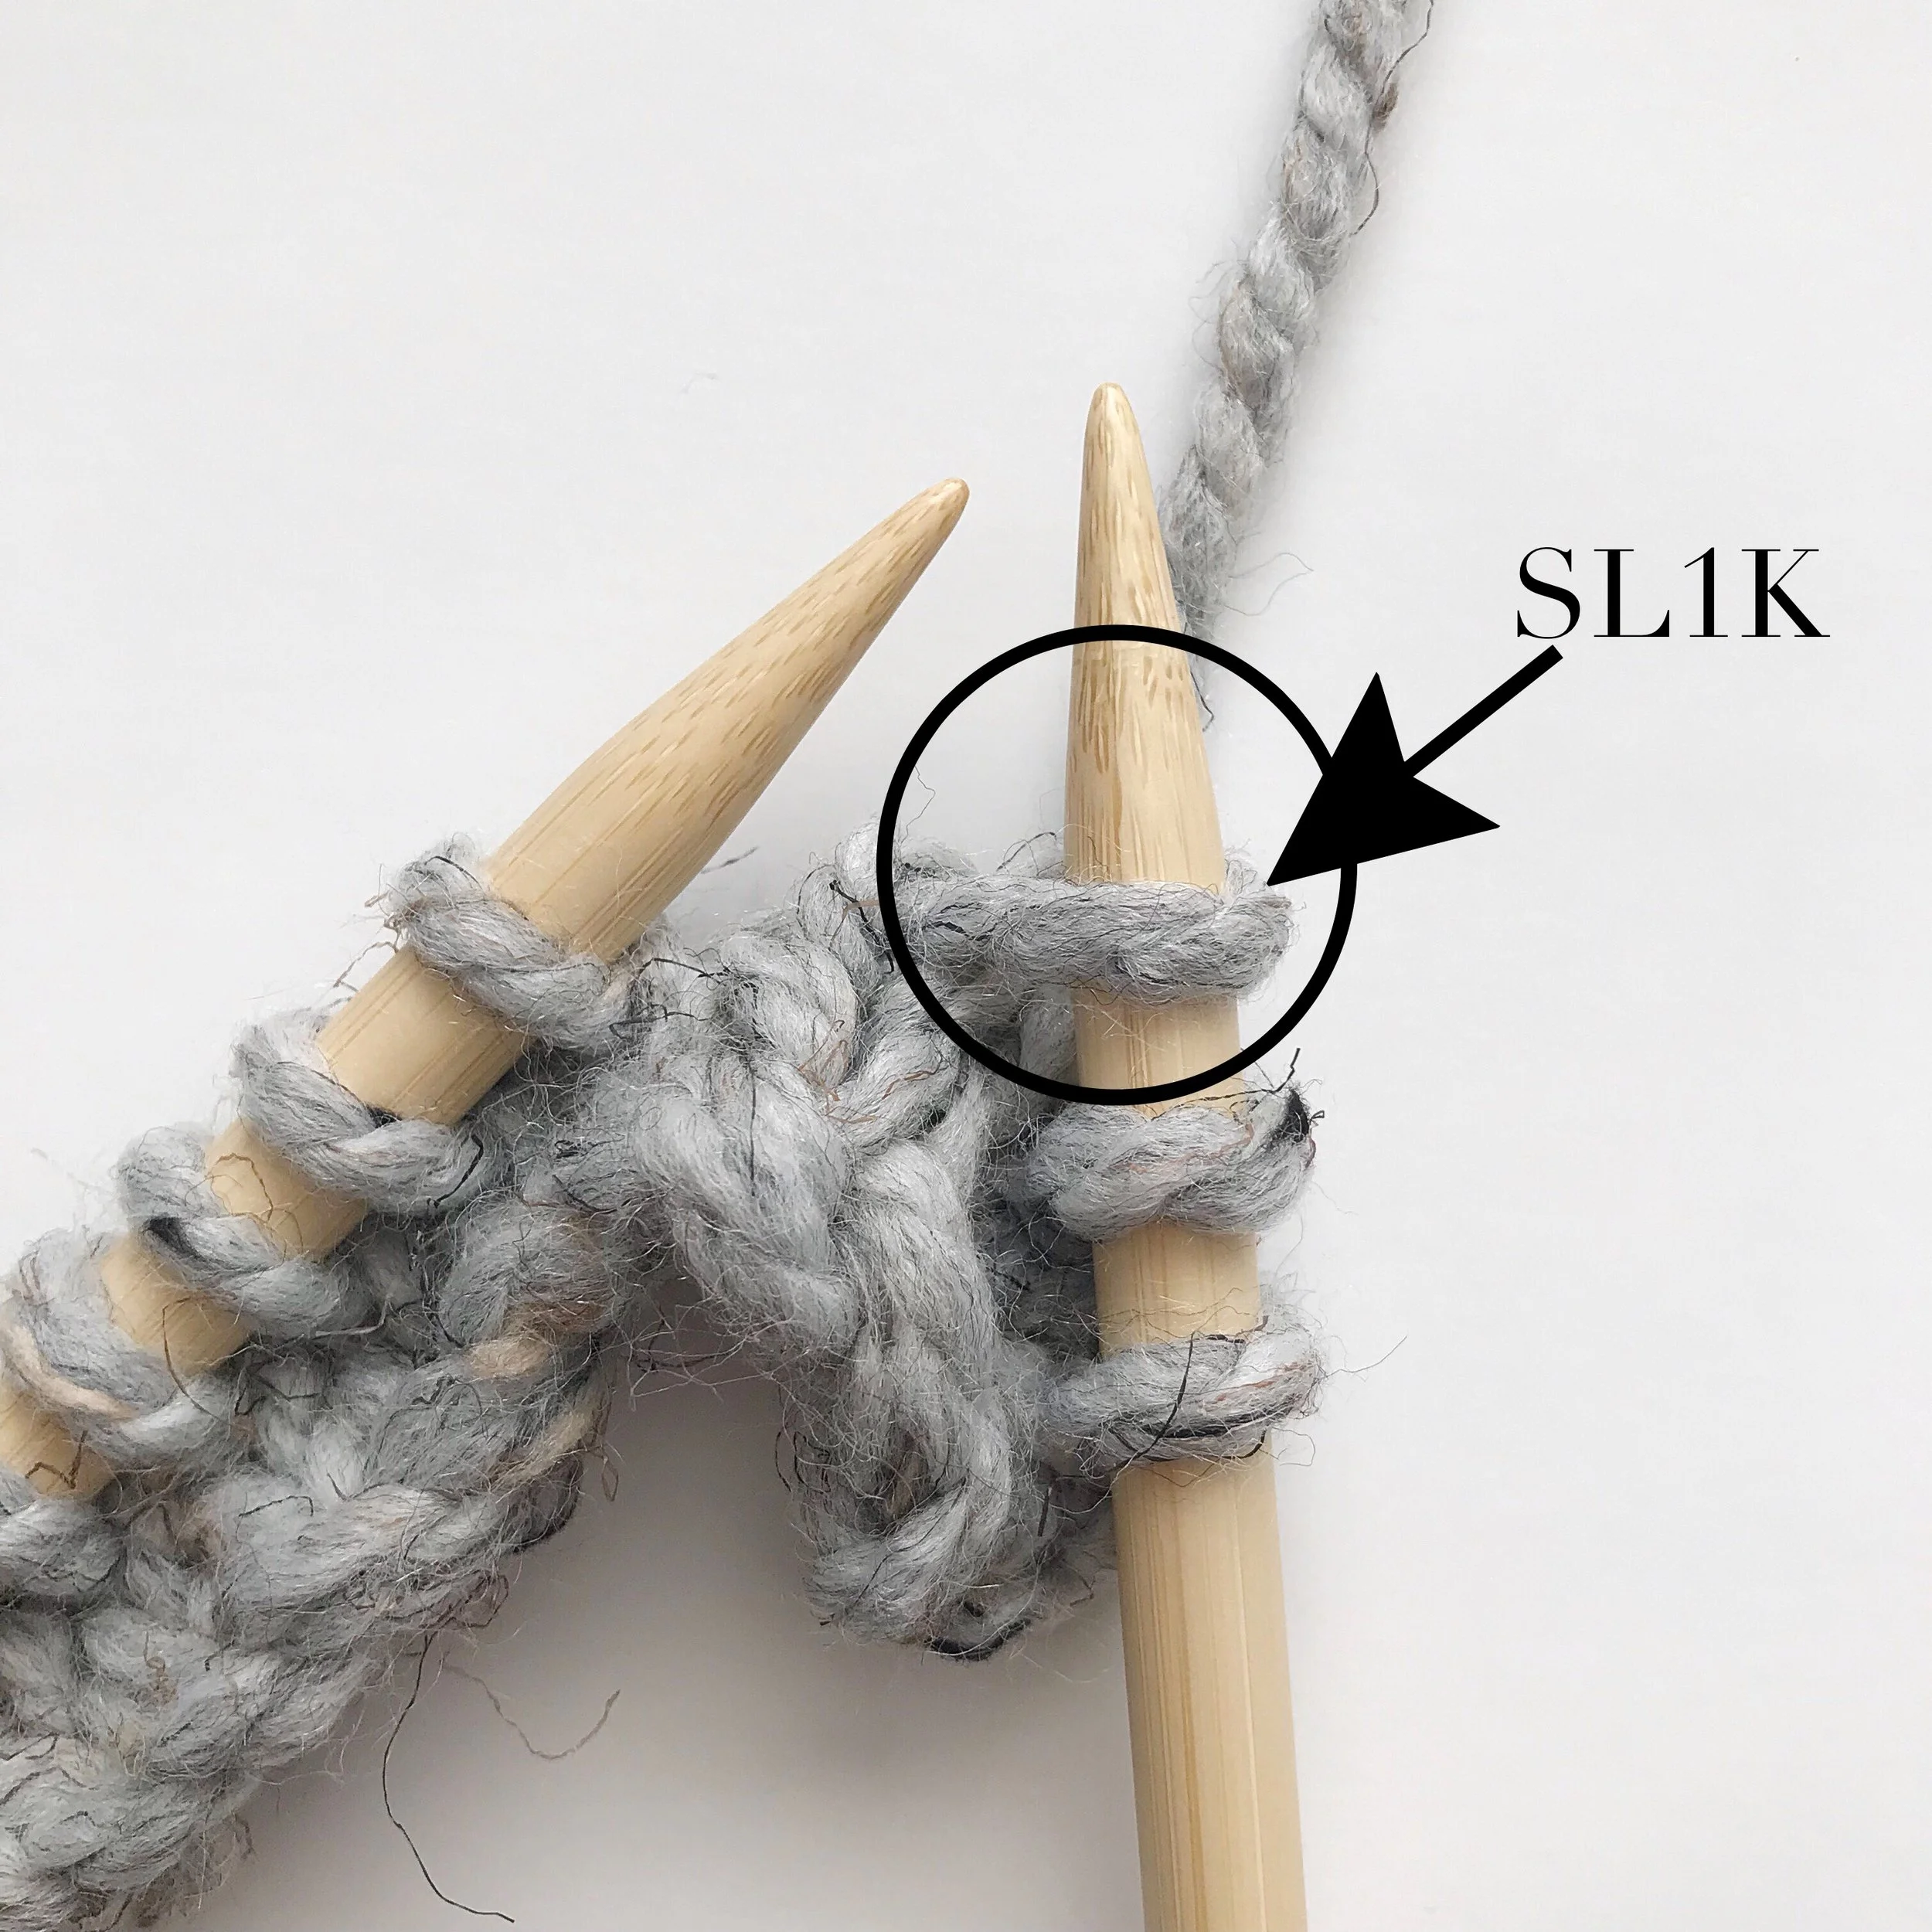
SL1K - slip 1 knit-wise
ST/STS - stitch/es
REP - repeat
special stitches:
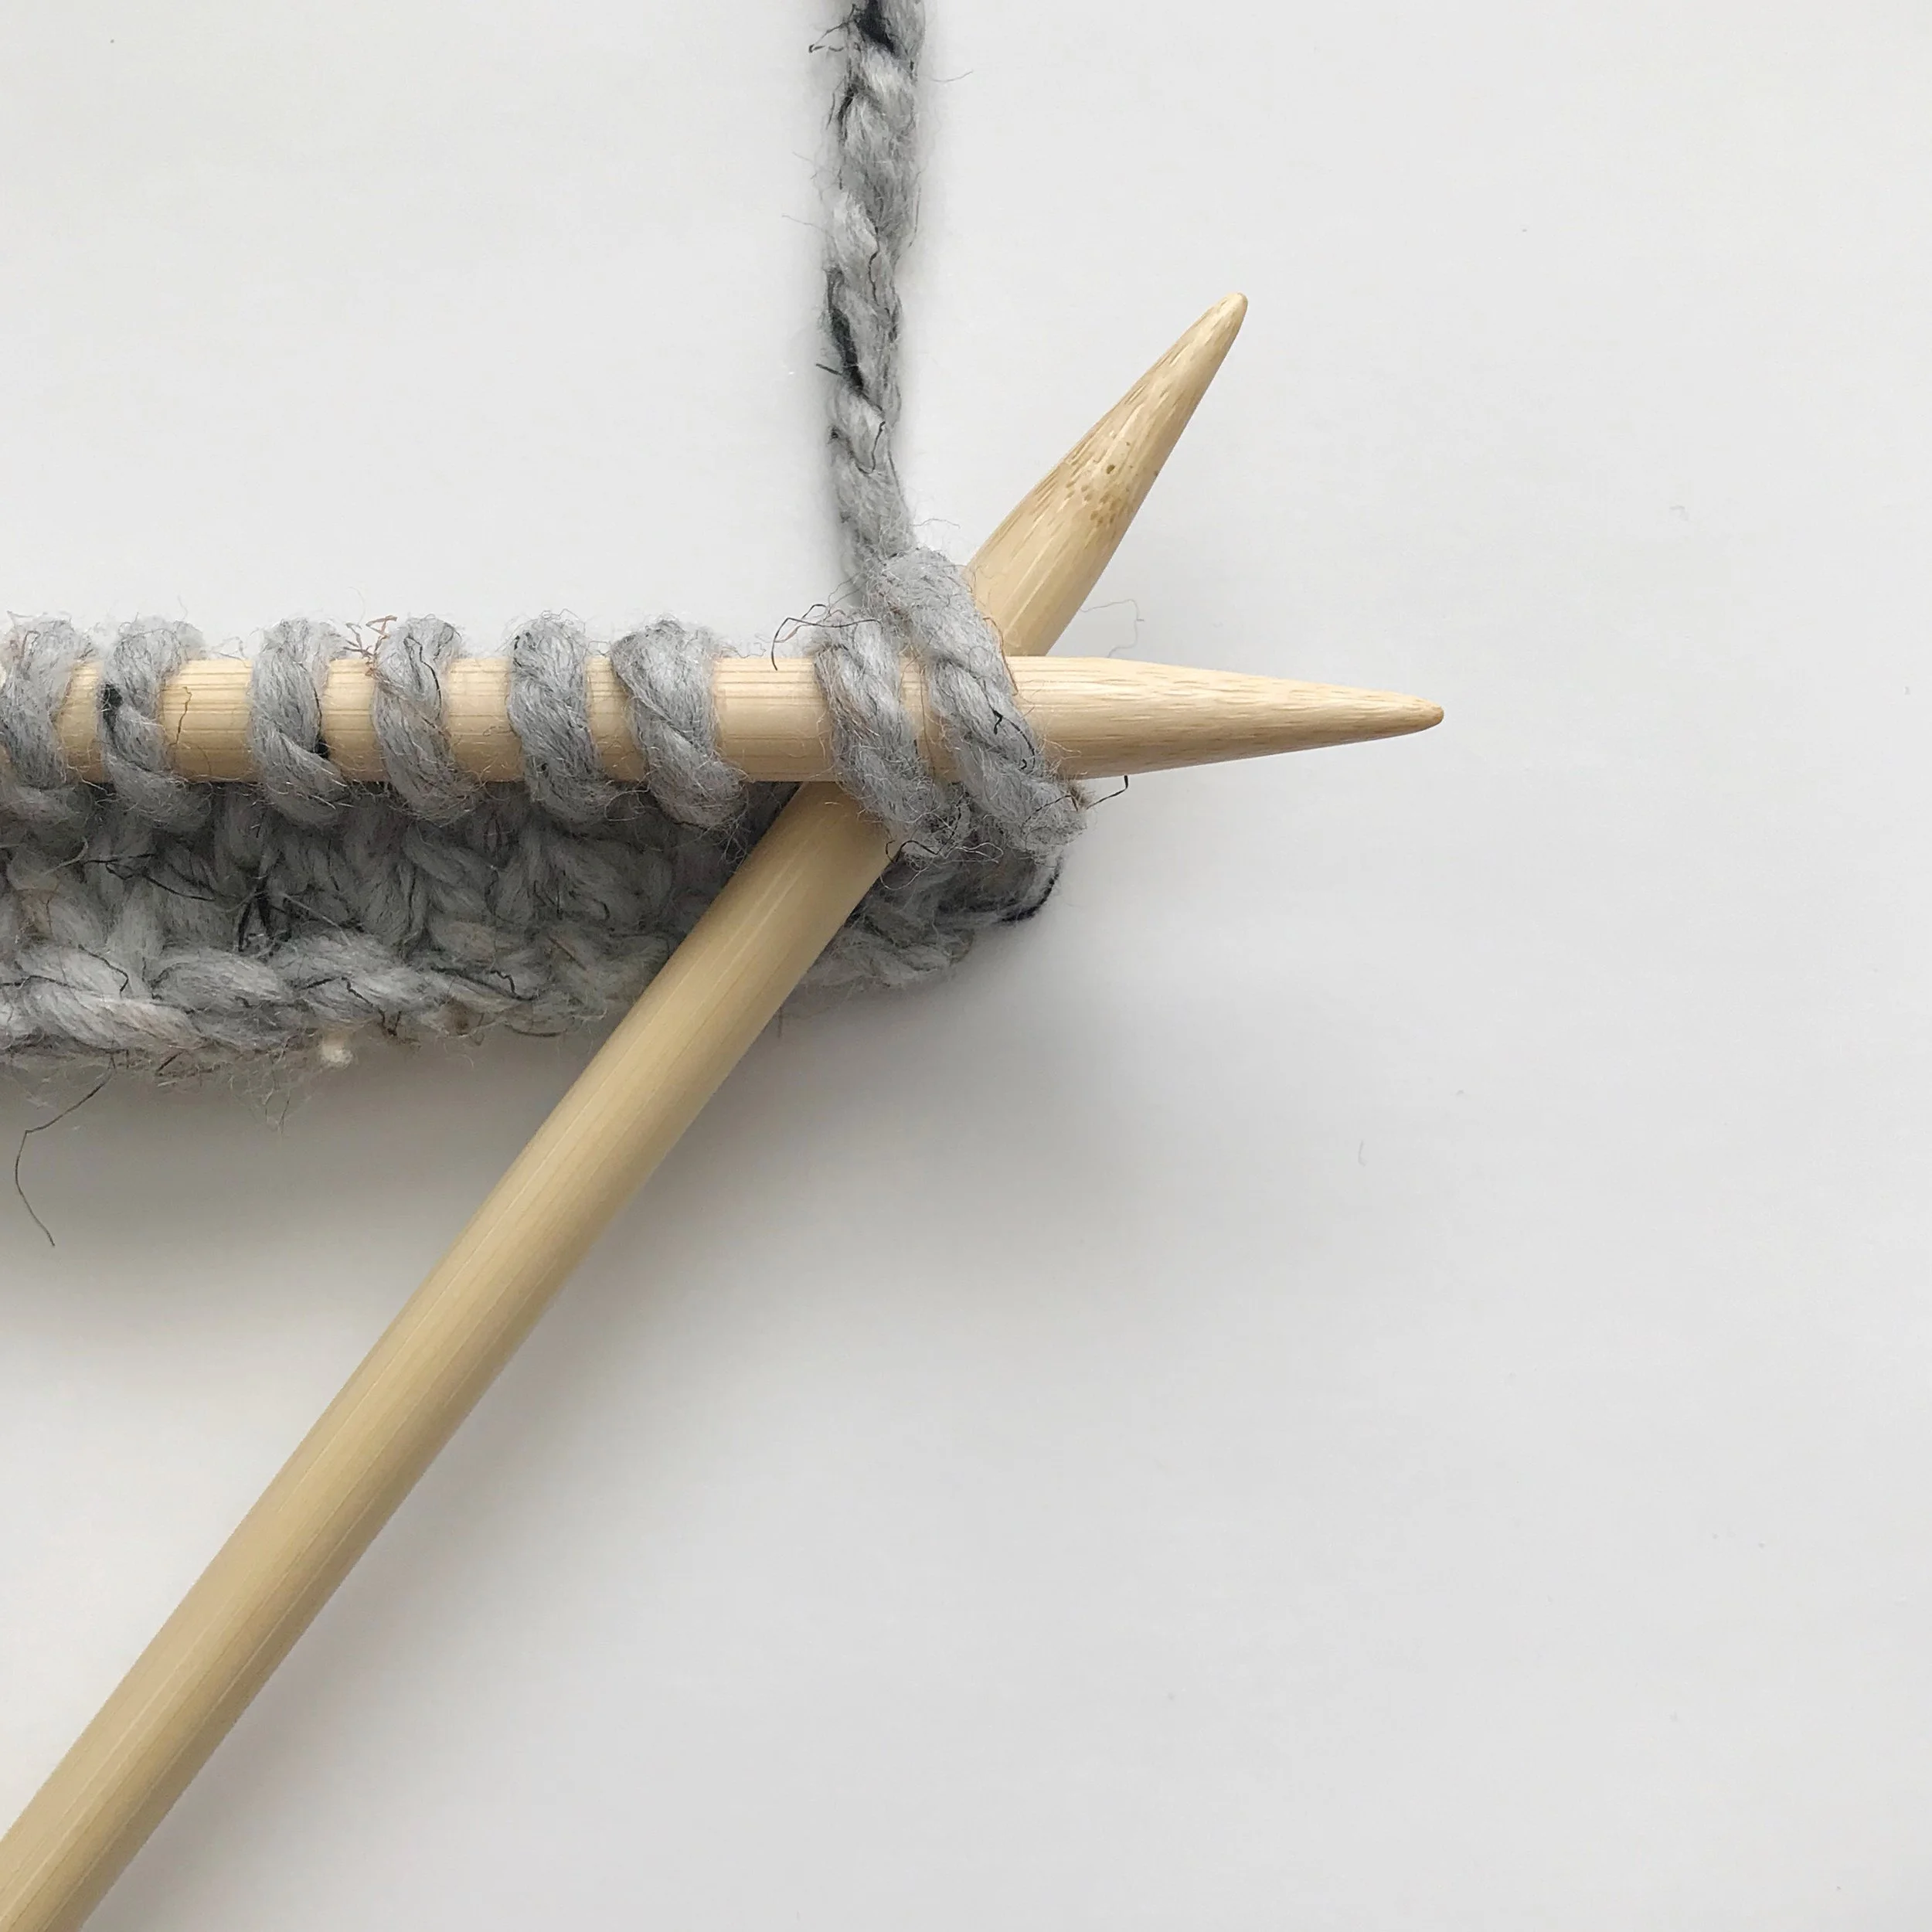
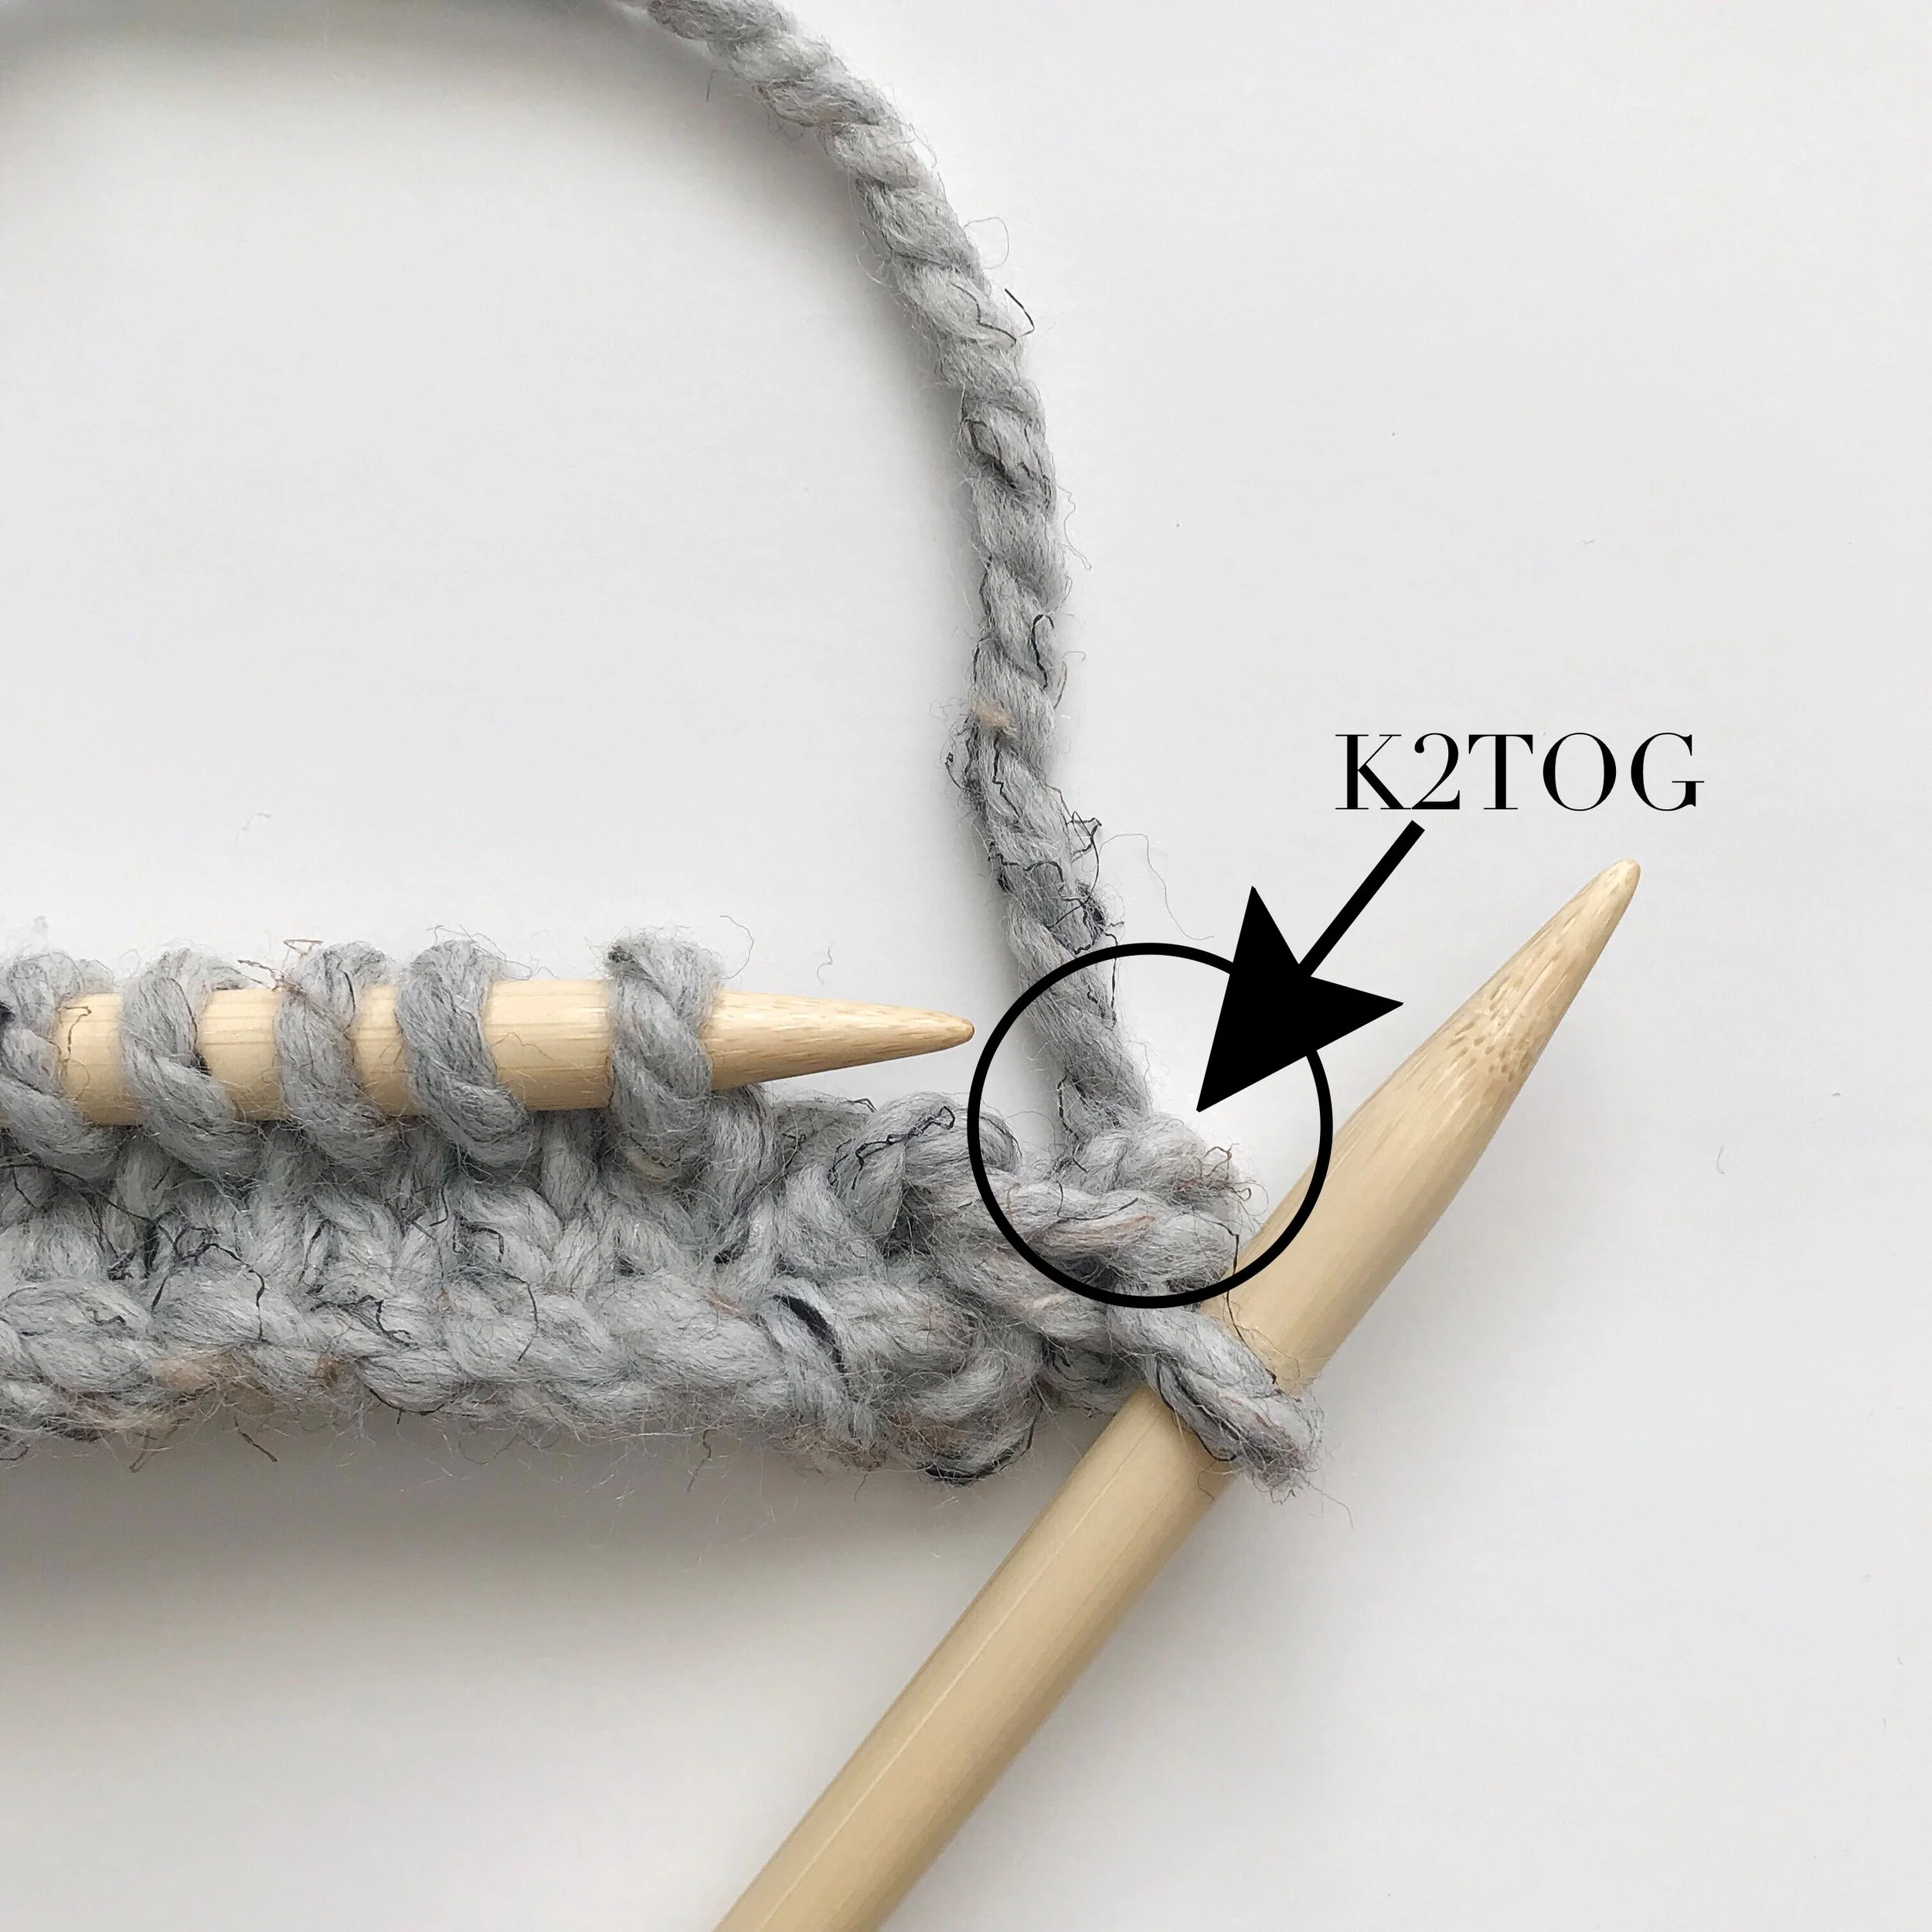
K2TOG (knit two together) – insert needle through two stitches instead of one (see photo #1 below) and knit as you normally would. This will decrease your stitch count by one. (see photo #2 below)
knitted cast on method:
Here's a quick video tutorial on how to knit the knitted cast on. Press play!
joining for the double brim:
Here's a quick video tutorial on how to join for the double brim. Press play!
special stitches continued:
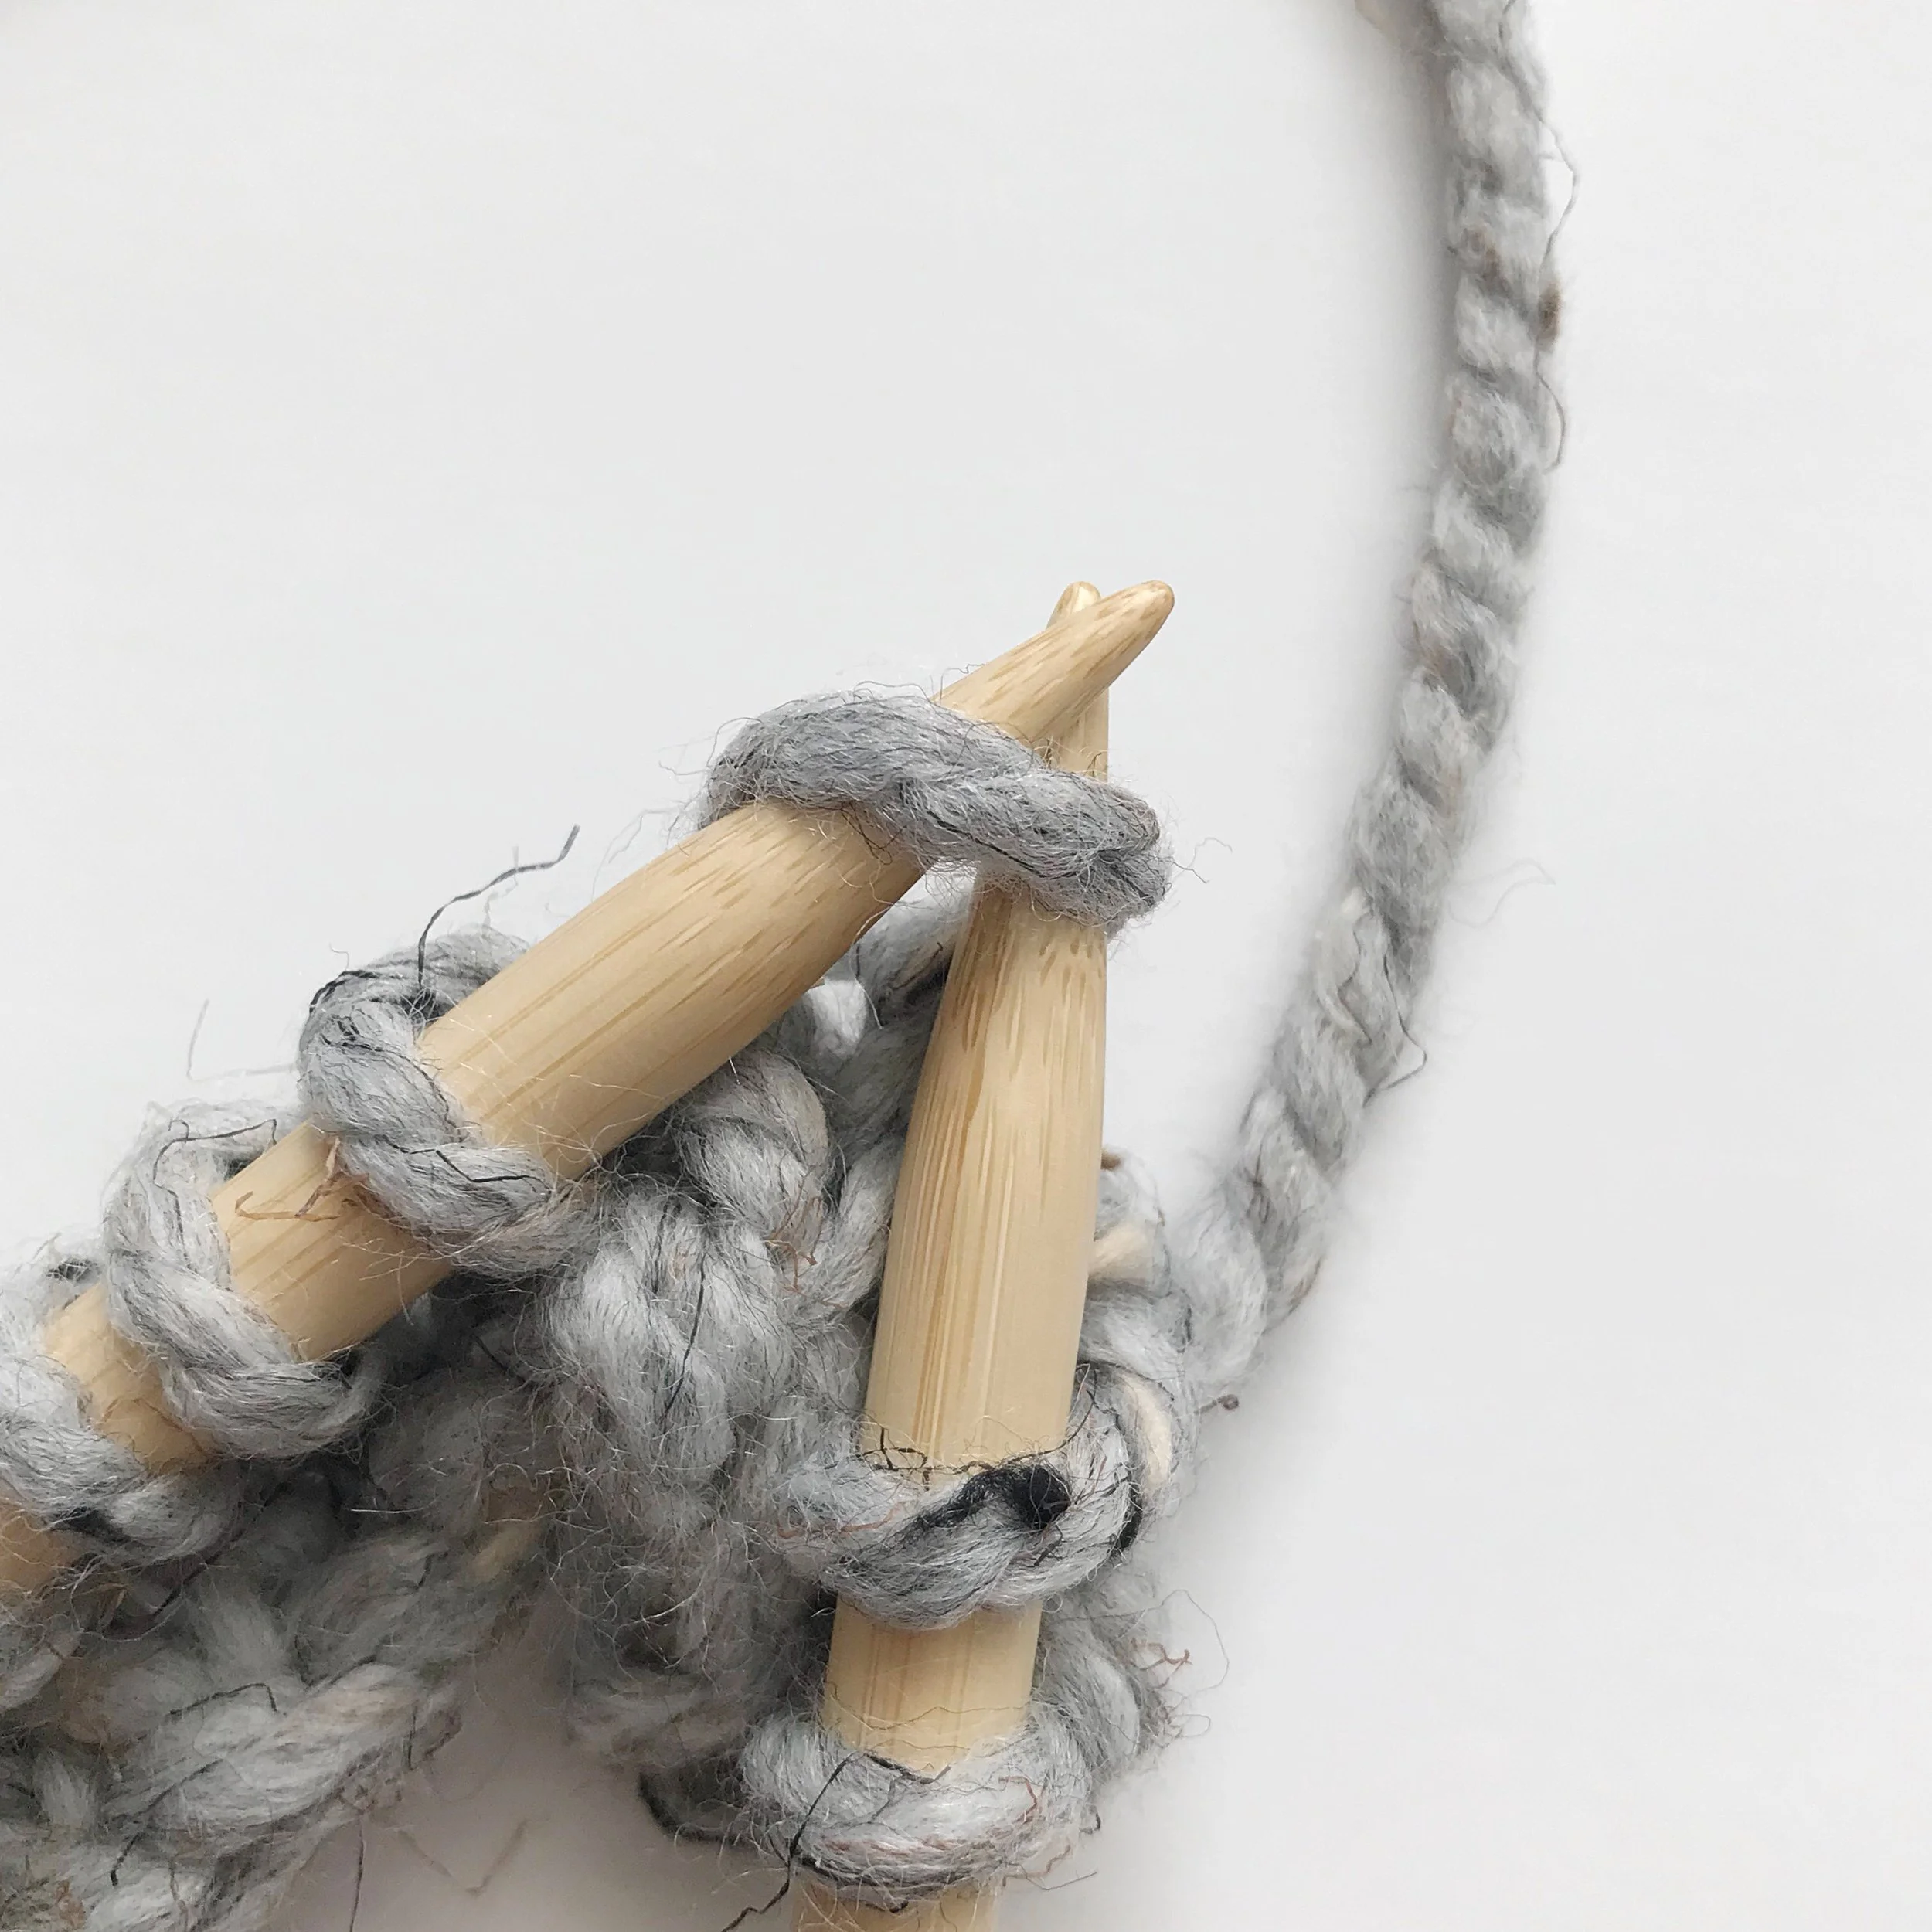
SL1K (slip 1 knitwise) – insert needle knitwise as if you were about to knit a stitch (see photo #1 below) slip that stitch onto right needle without yarning over to knit. (see photo #2 below)
Double Brim Cozy Knit Beanie
pattern:
With Color A, CO 70.
Join to knit in the round.
Note: place stitch marker in first ST to keep place.
Rounds 1-30 (or approx. 6" from CO edge): with Color A, K around.
Round 31: K and join for double brim; with knitted CO, CO 2 STS. (72 STS)
Round 32: join Color B, *K2, SL1K; REP from * around.
Round 33: with Color B, K around.
Round 34: with Color A, *SL1K, K2; REP from * around.
Round 35: with Color A, K around.
Round 36: with Color B *K2, SL1K; REP from * around.
Round 37: with Color B, K around.
Round 38: with Color A, *SL1K, K2; REP from * around.
Round 39: with Color A, K around.
Rounds 40 - 63: REP rounds 36-39 six more times.
Round 64: with Color B *K2, SL1K; REP from * around.
Round 65: with Color B, *K4, K2TOG; REP from * around. (60 STS)
Round 66: with Color A, *SL1K, K2; REP from * around.
Round 67: with Color A, *K3, K2TOG; REP from * around. (48 STS)
Round 68: with Color B *K2, SL1K; REP from * around.
Round 69: with Color B, *K2, K2TOG; REP from * around. (36 STS)
Fasten off Color B and secure.
Round 70: with Color A, *SL1K, K2; REP from * around.
Round 71: with Color A, K2TOG around. (18 STS)
finishing:
With tapestry needle and approximately 15” of Color A, string through all 18 loops on needles. Remove needles. Pull yarn tightly together to close the top of your beanie. Be careful not to tear yarn. Secure and fasten off. Weave in ends.
pom pom:
If using a pom pom maker
Wrap yarn around three times on each side of 3-3/8” (85mm) pom pom maker to achieve optimal thickness. Trim pom pom (fluff as you go, and be careful not to cut yarn tail) until pom pom looks uniform all around.
If you are NOT using a pom pom maker
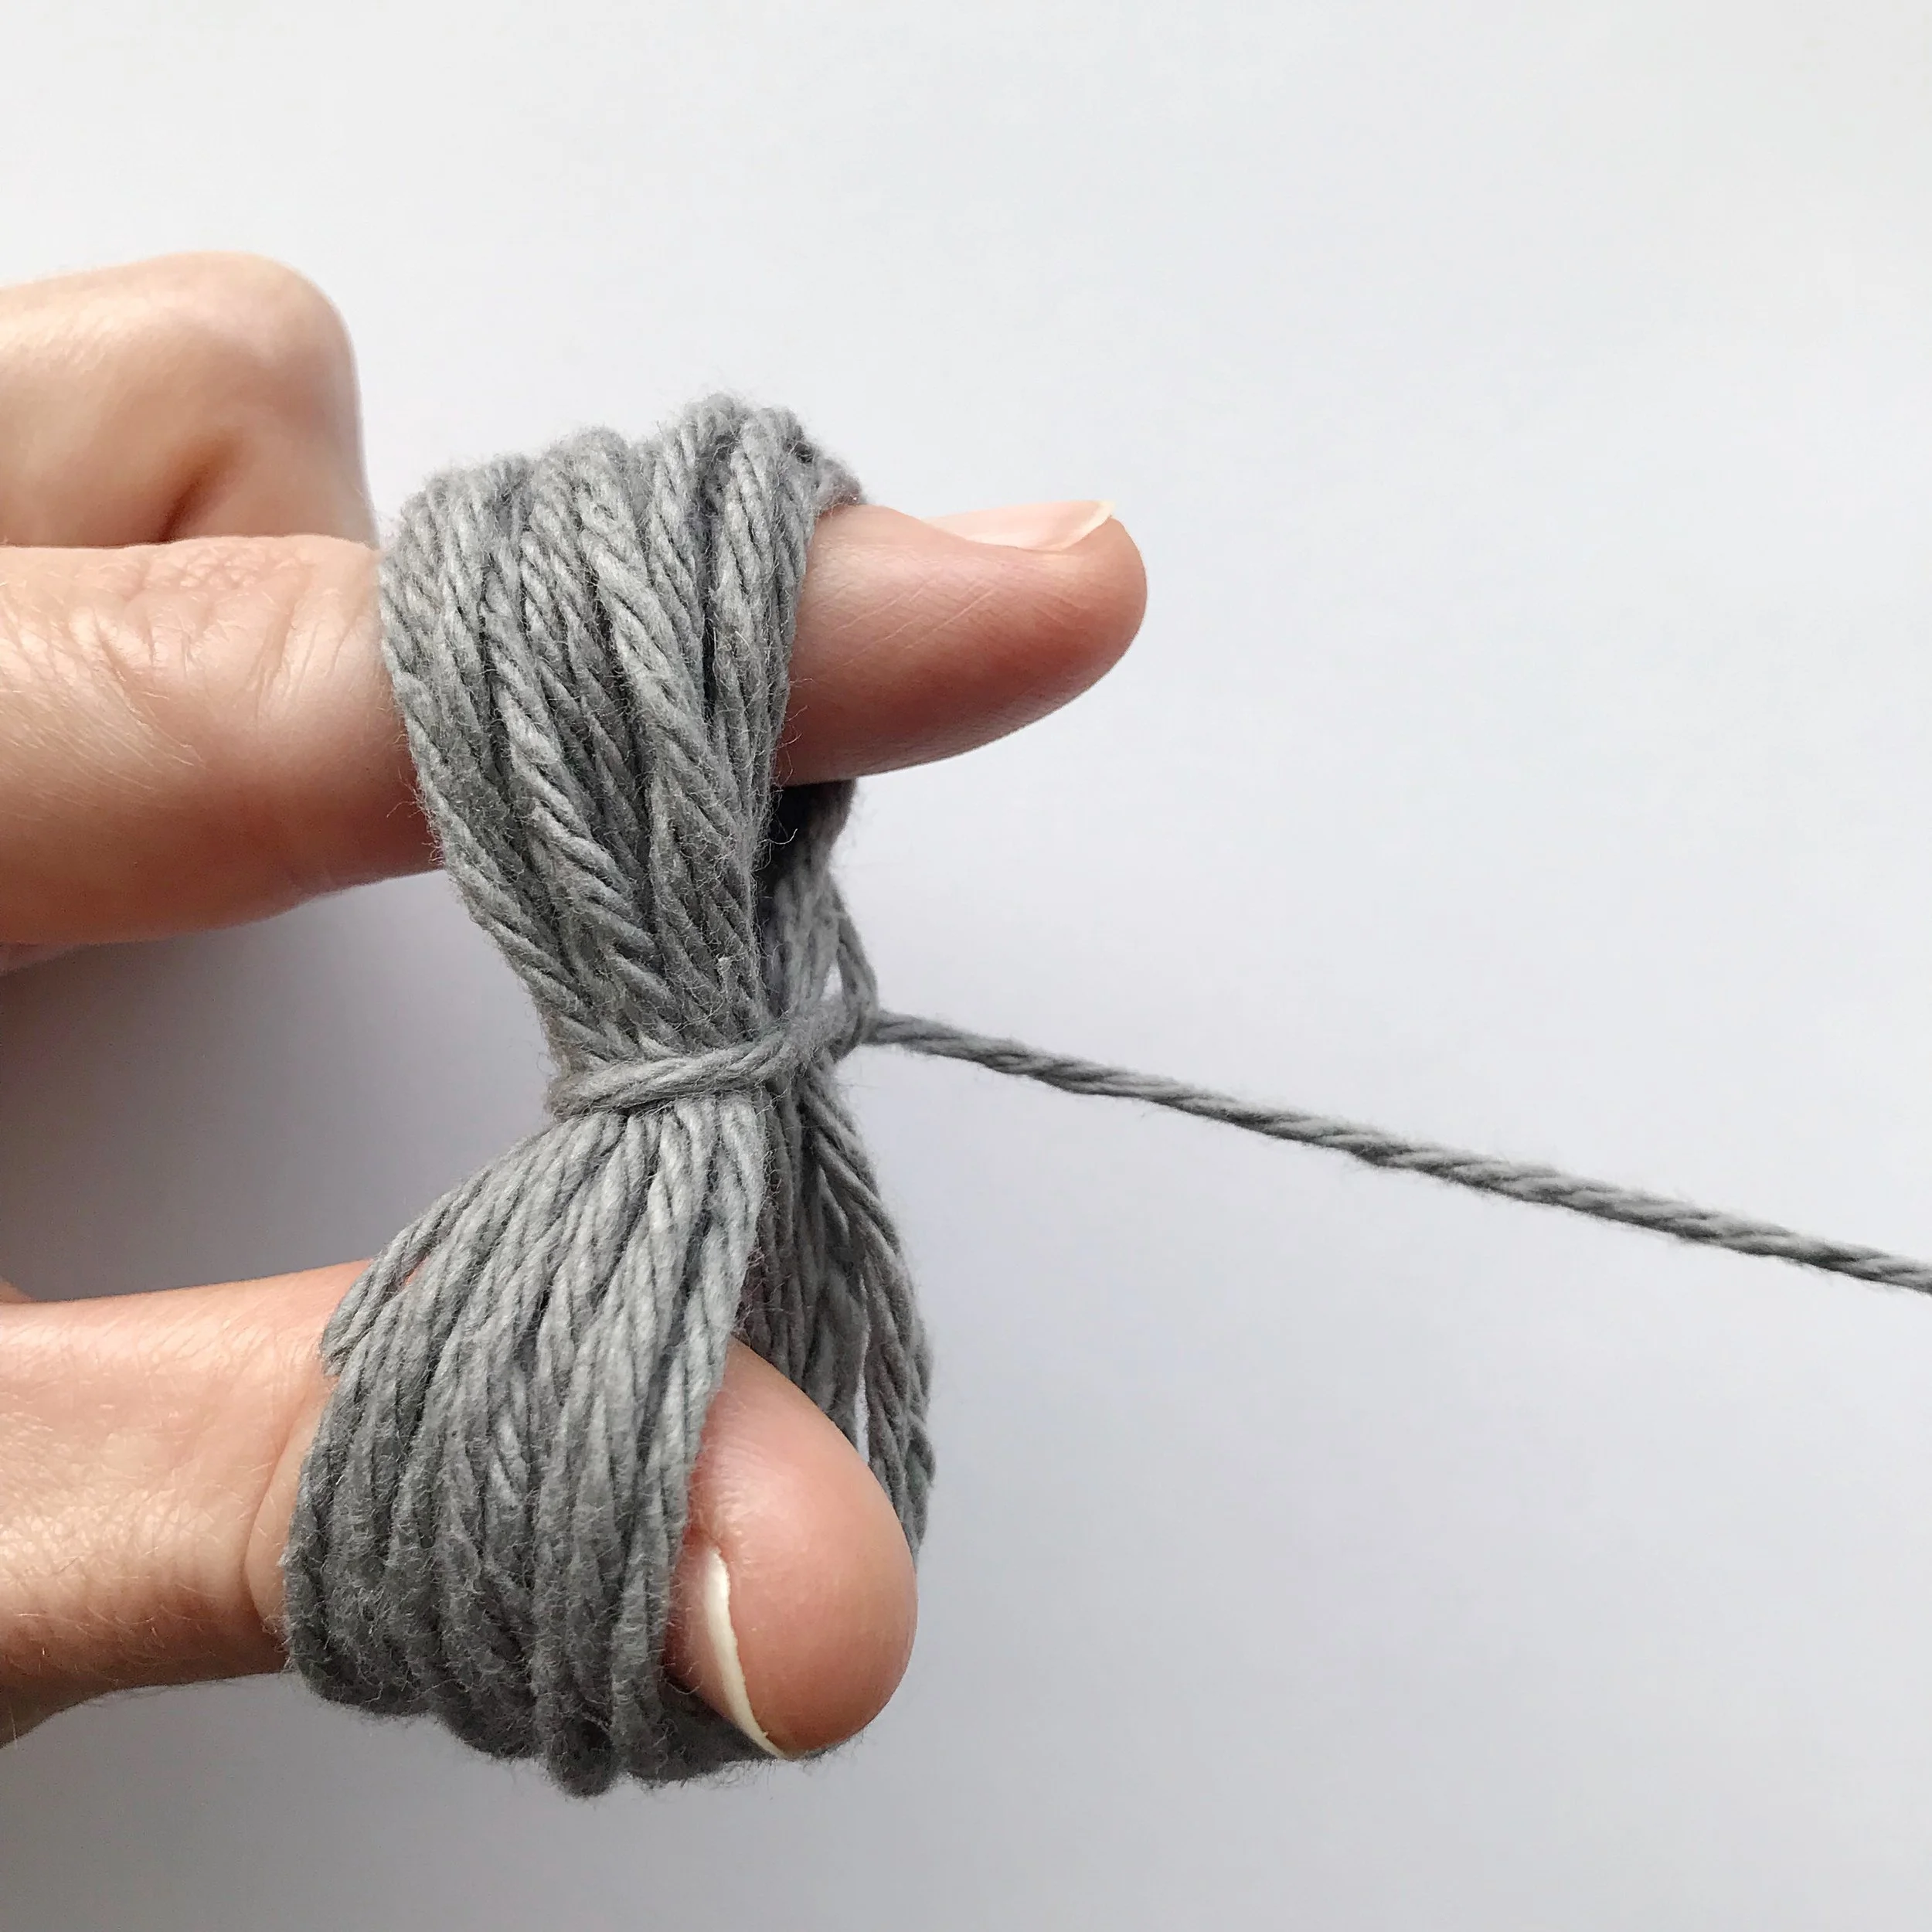
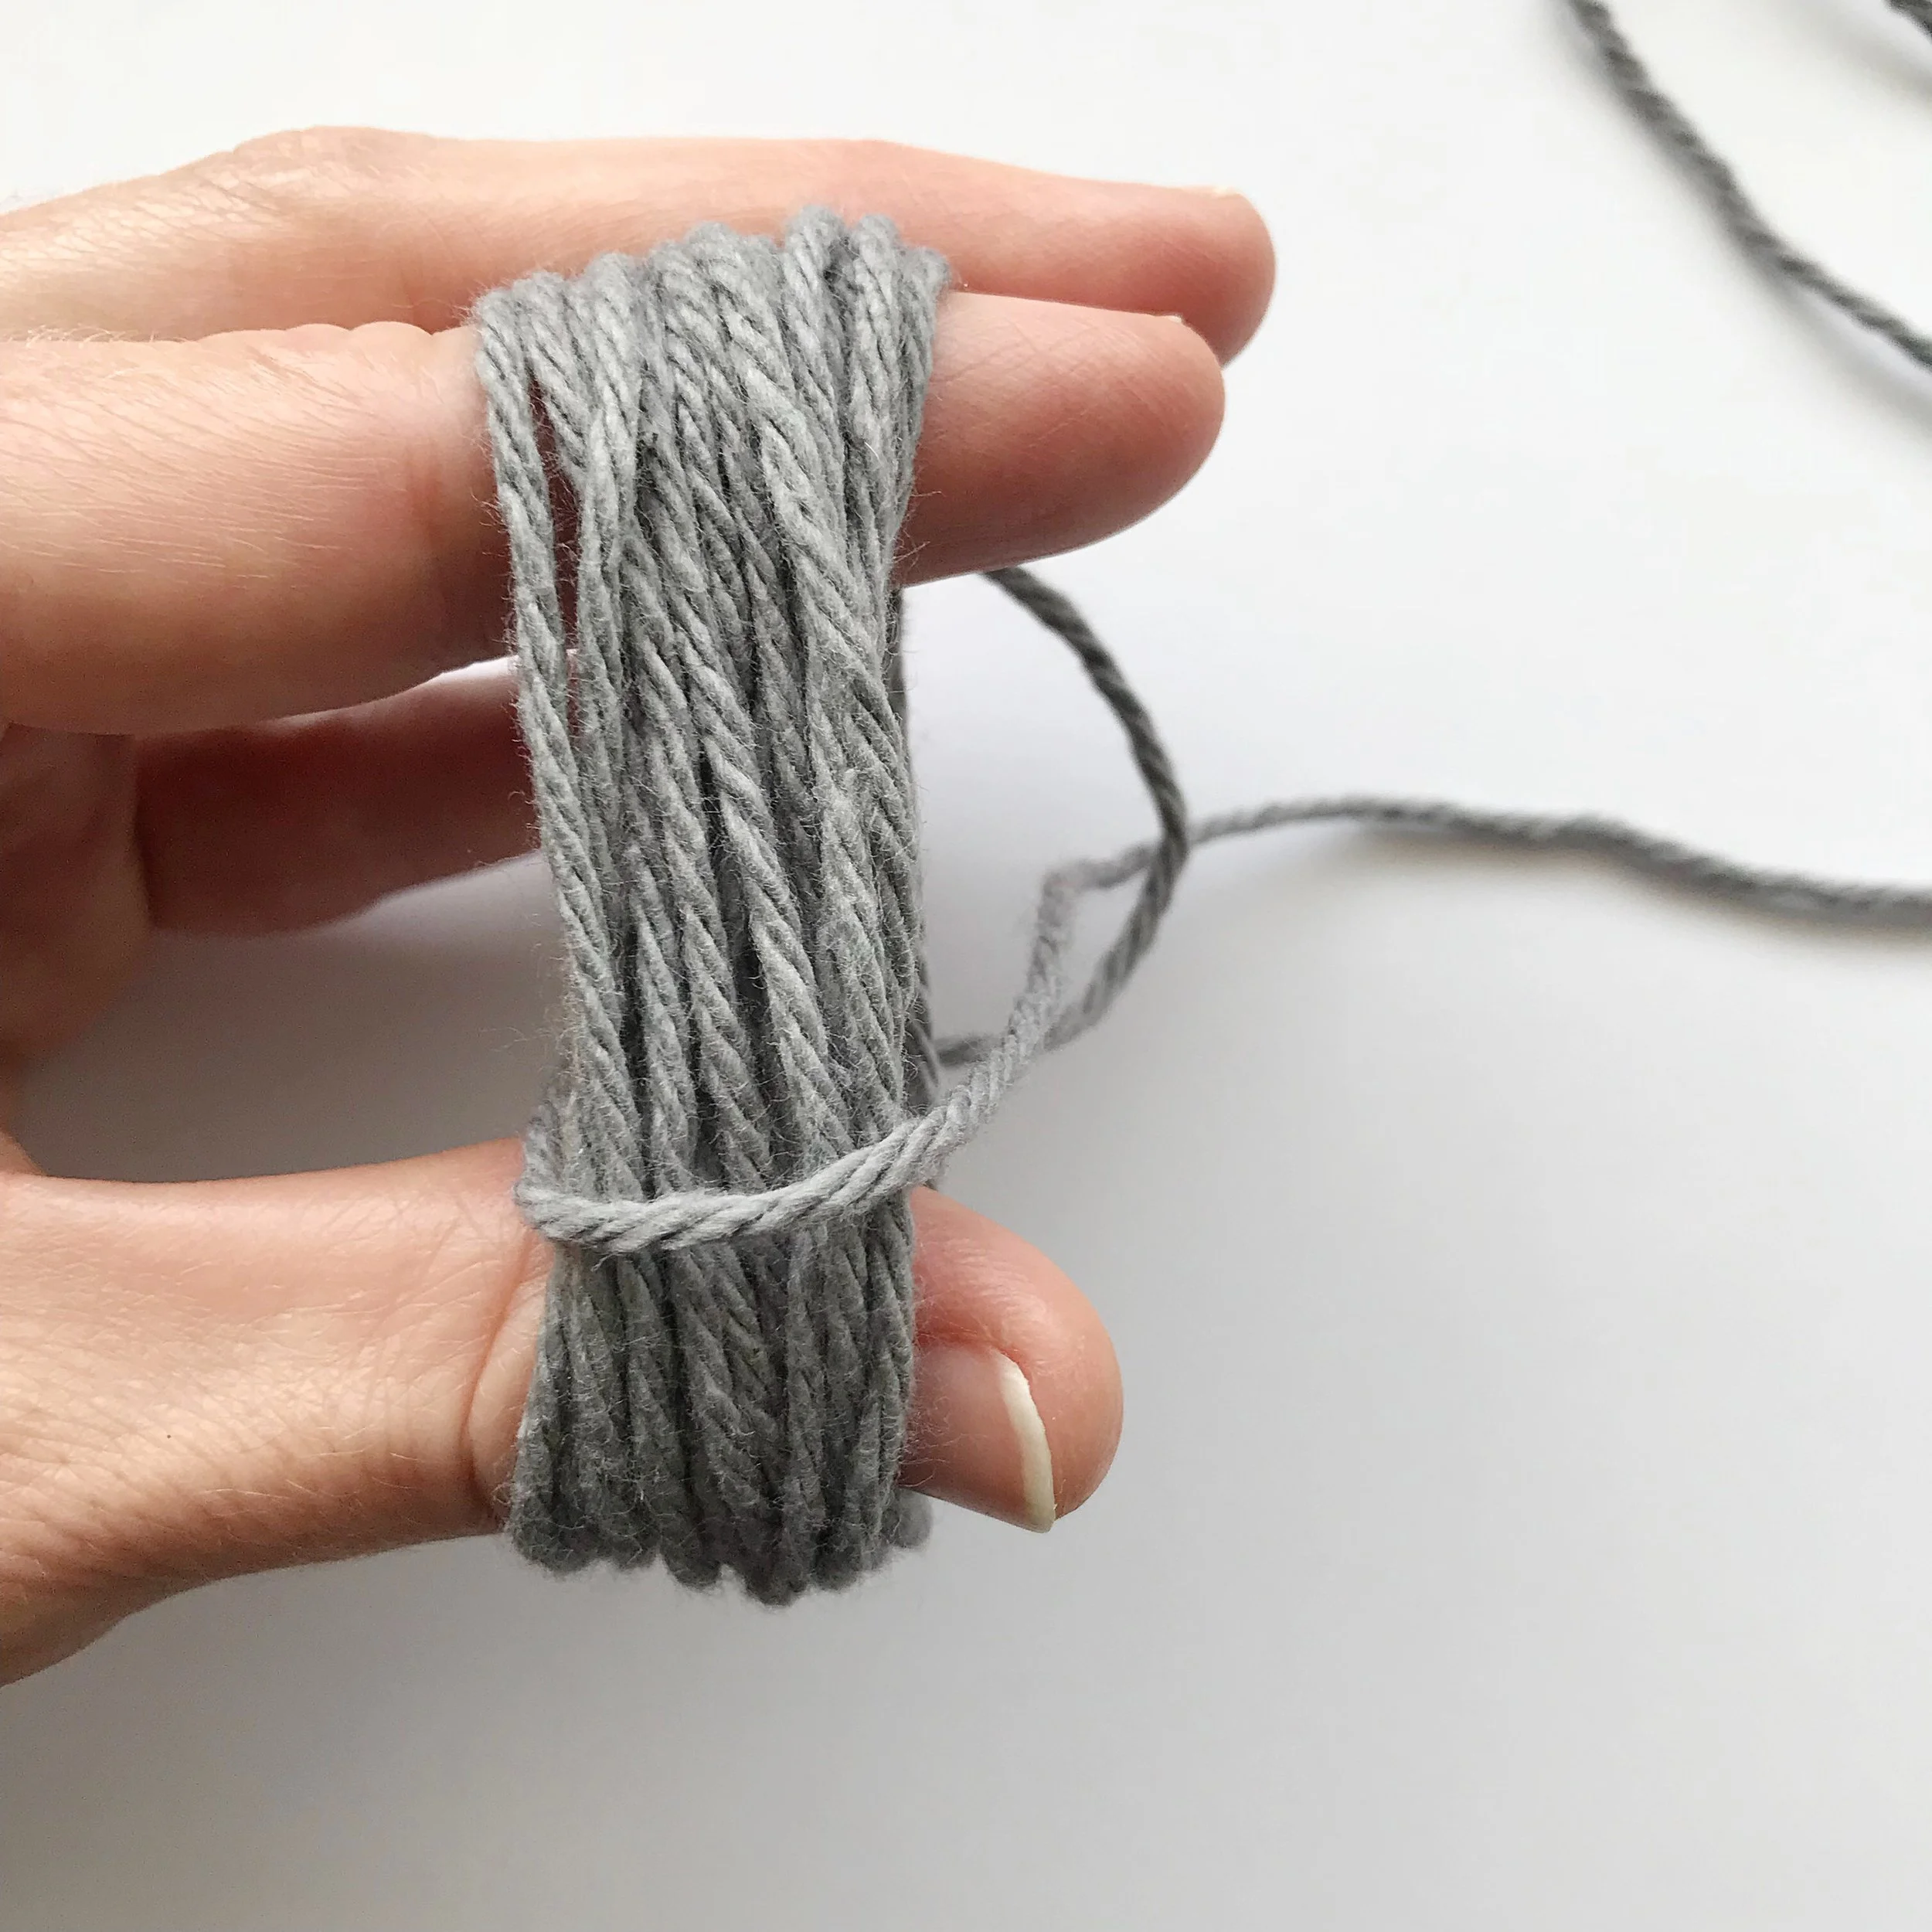
Starting with the end of yarn in the palm of your hand, wrap yarn loosely around 4 fingers approximately 50 times or until desired thickness is achieved. (See photo #1. Photo is just an example of placement and not wrapped 50 times.

1
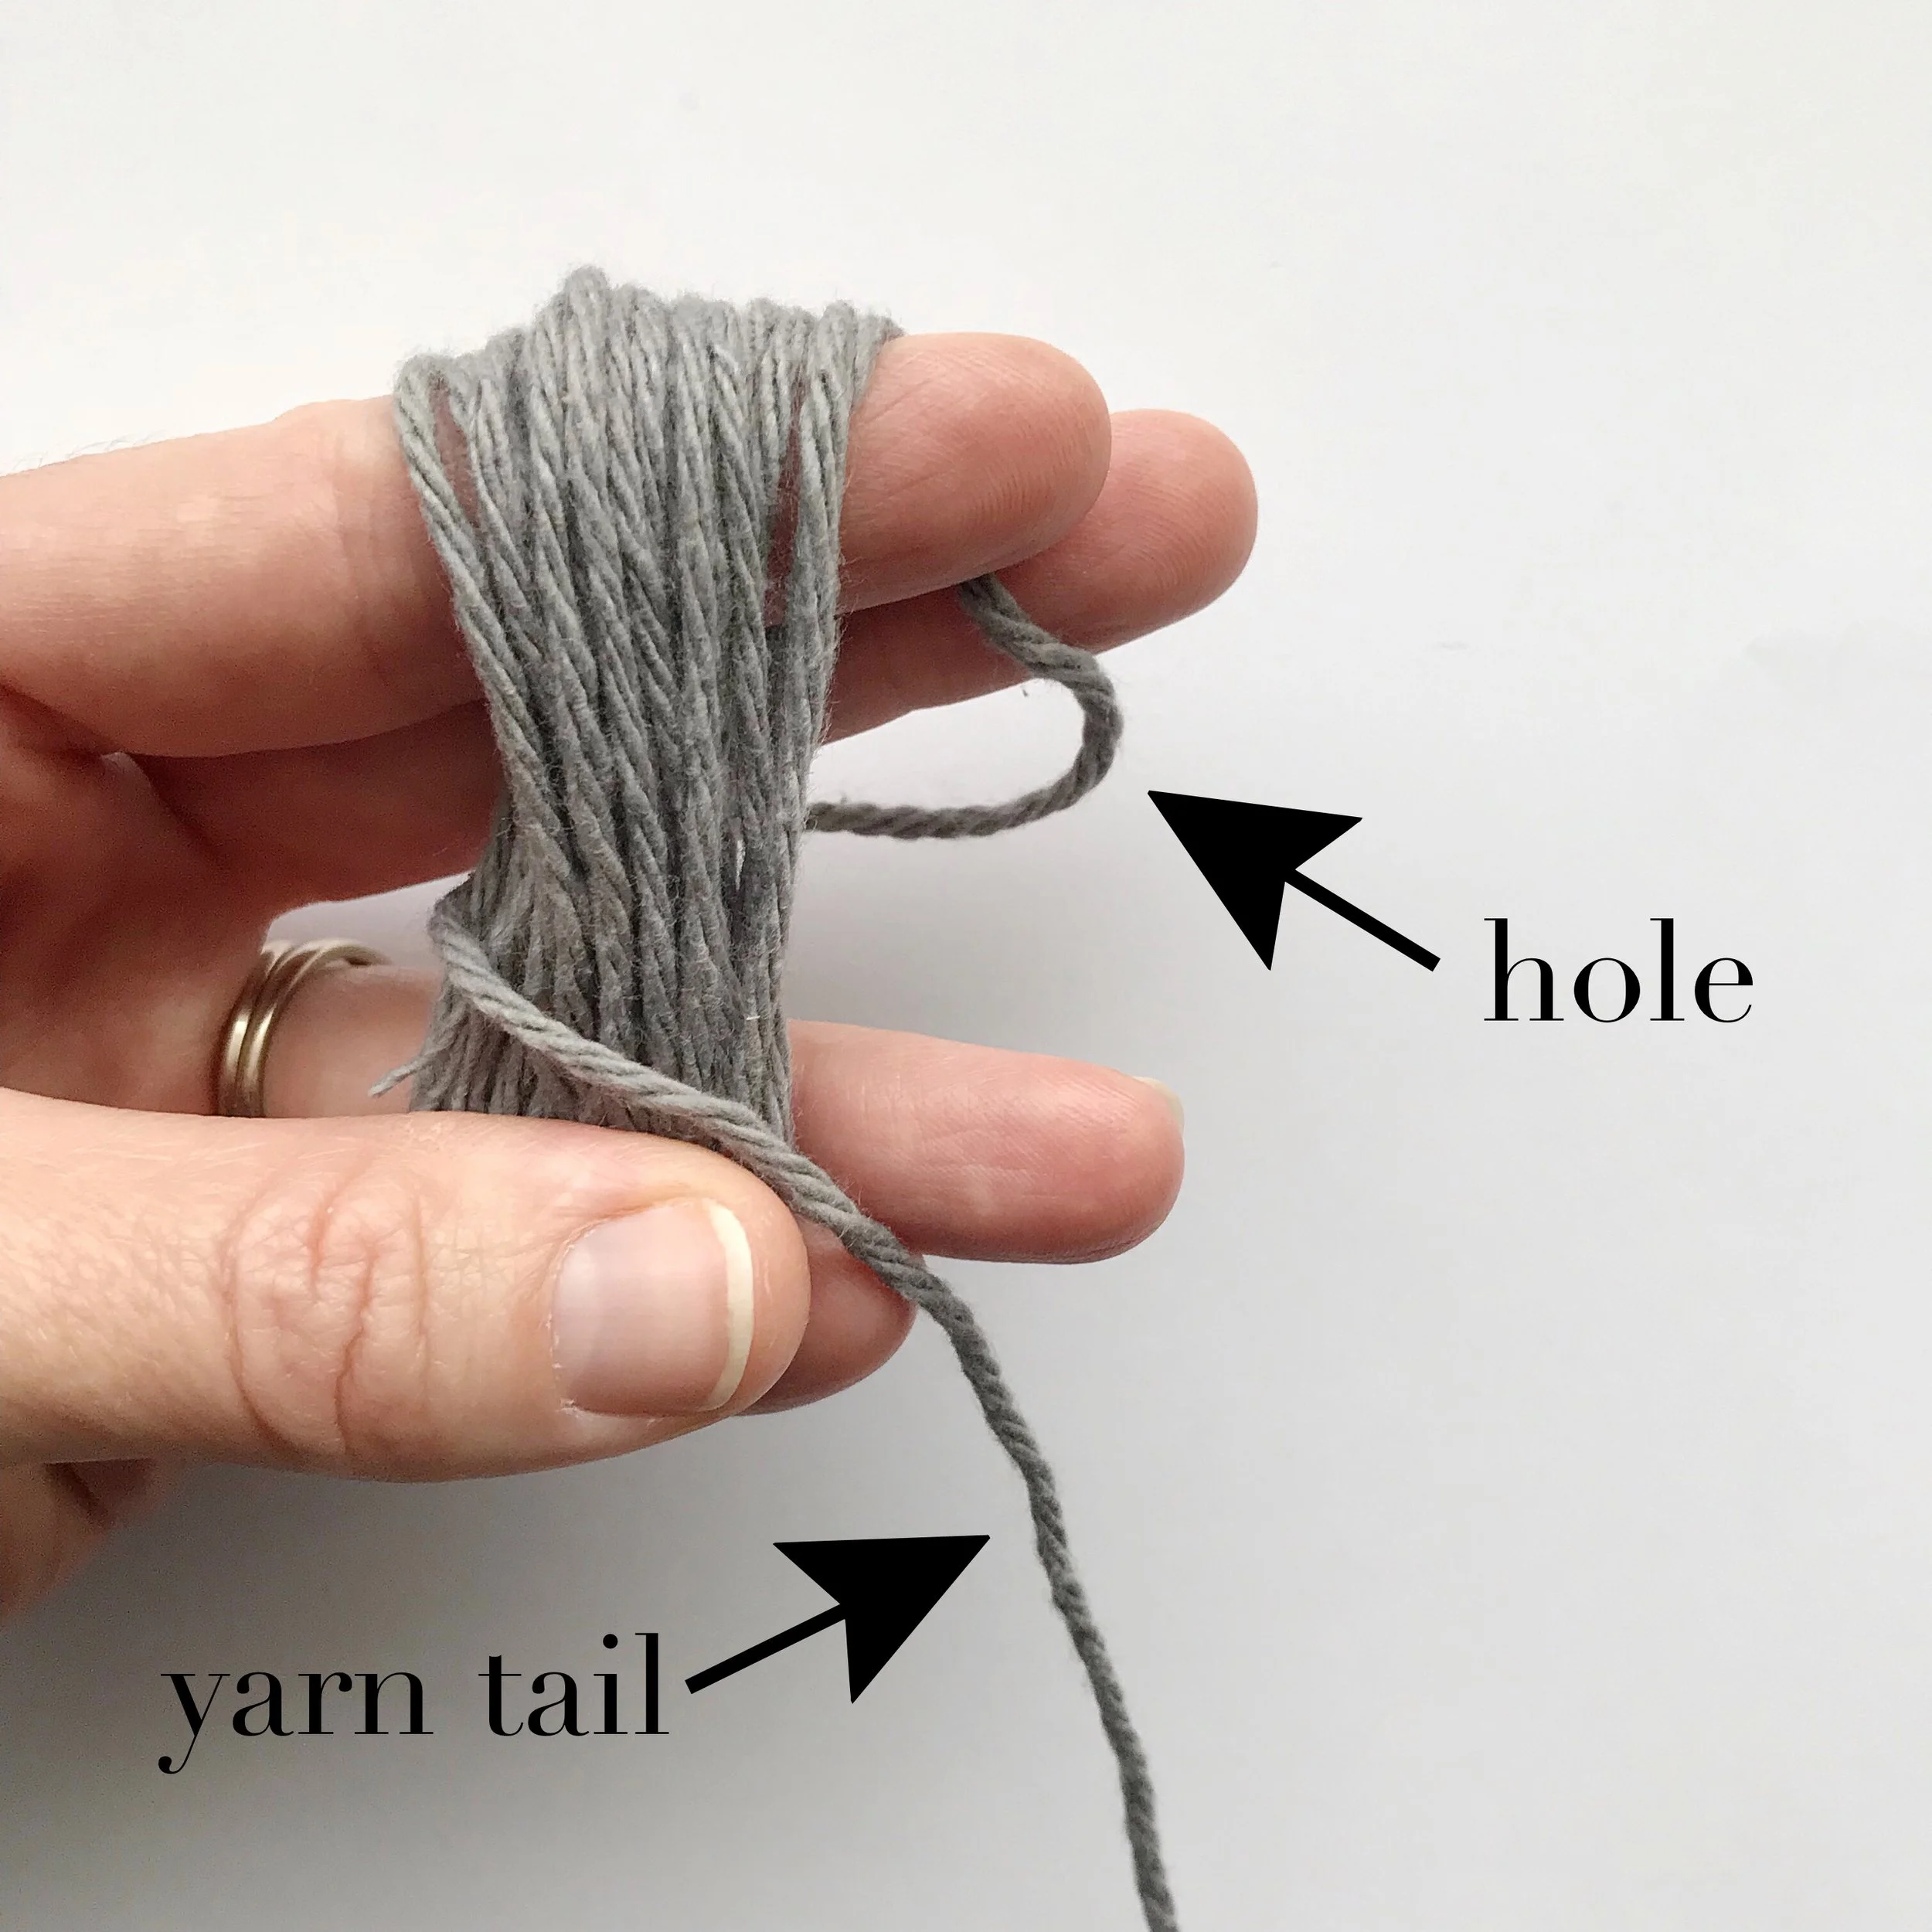
Leave long tail (around 30”) with remaining yarn. With opposite hand, pinching yarn in the middle, slide wrapped yarn off of 3 of 4 fingers. *Form hole with yarn tail at the back of your wrapped yarn. Being careful not to disrupt hole, bring yarn tail around back of wrapped yarn (photo #2). Place thumb inside wrapped yarn for stability and bring yarn tail through the hole. (photo #3)
4
2
5
3
6
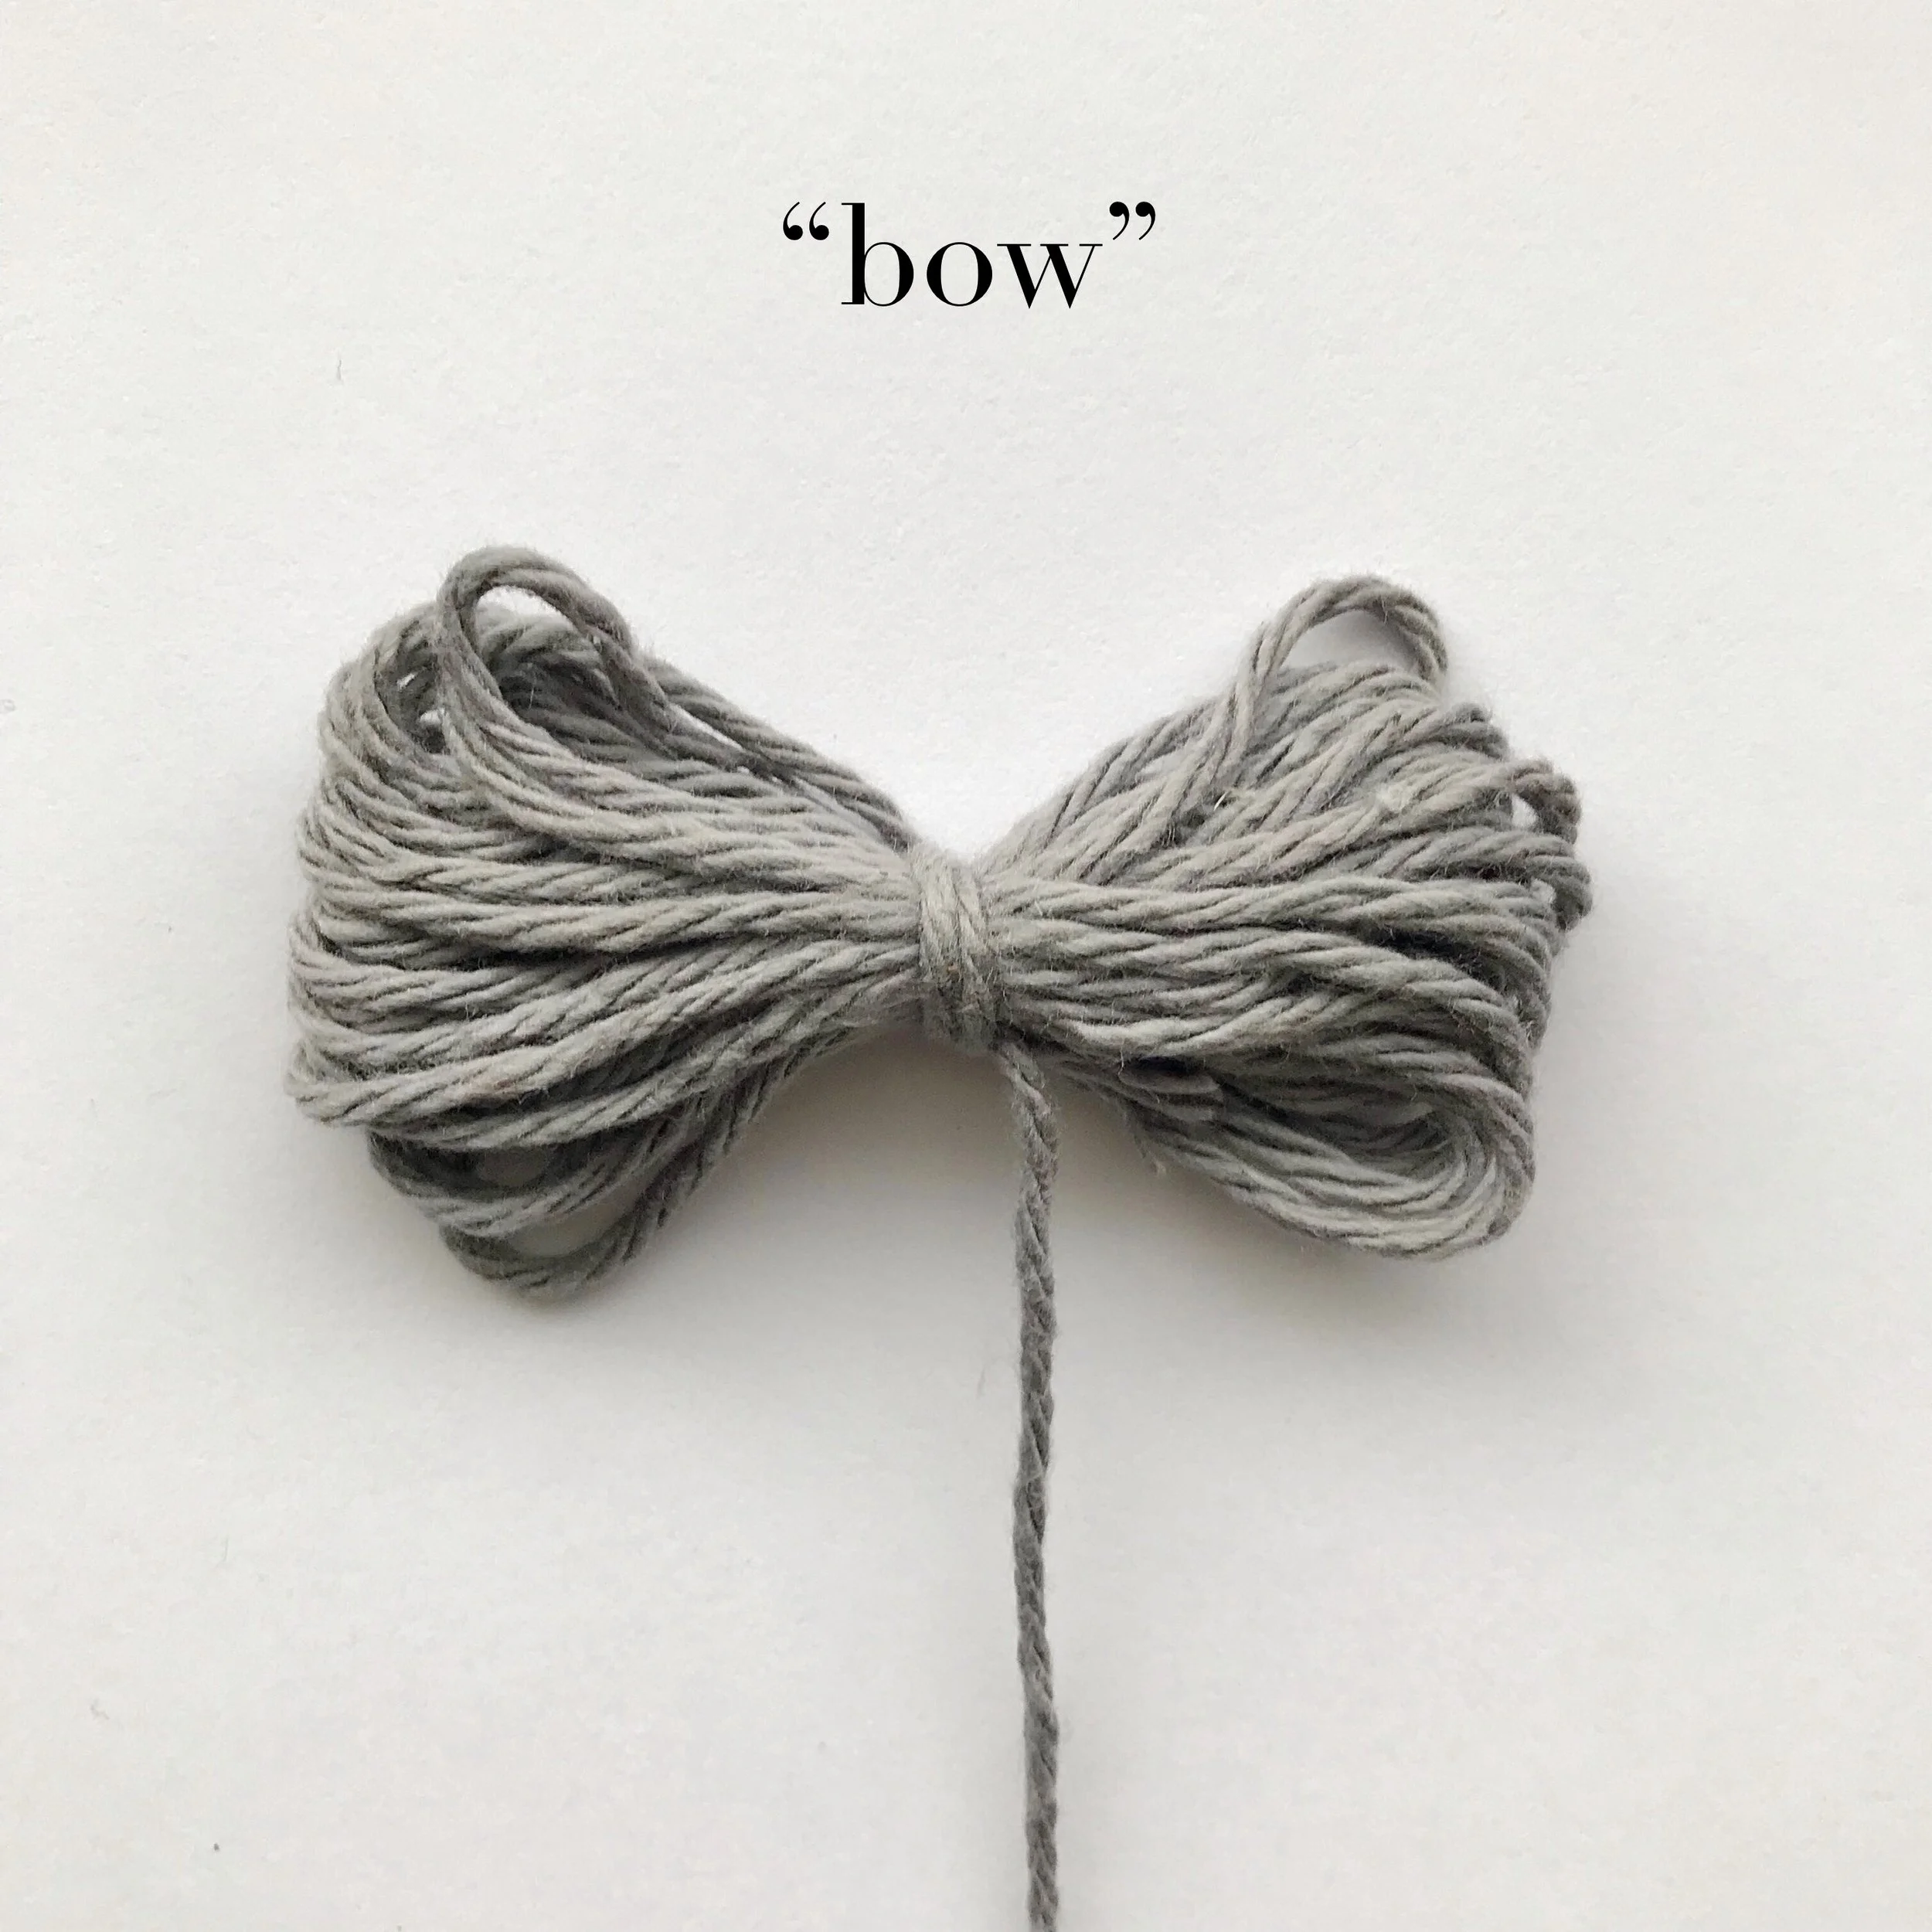
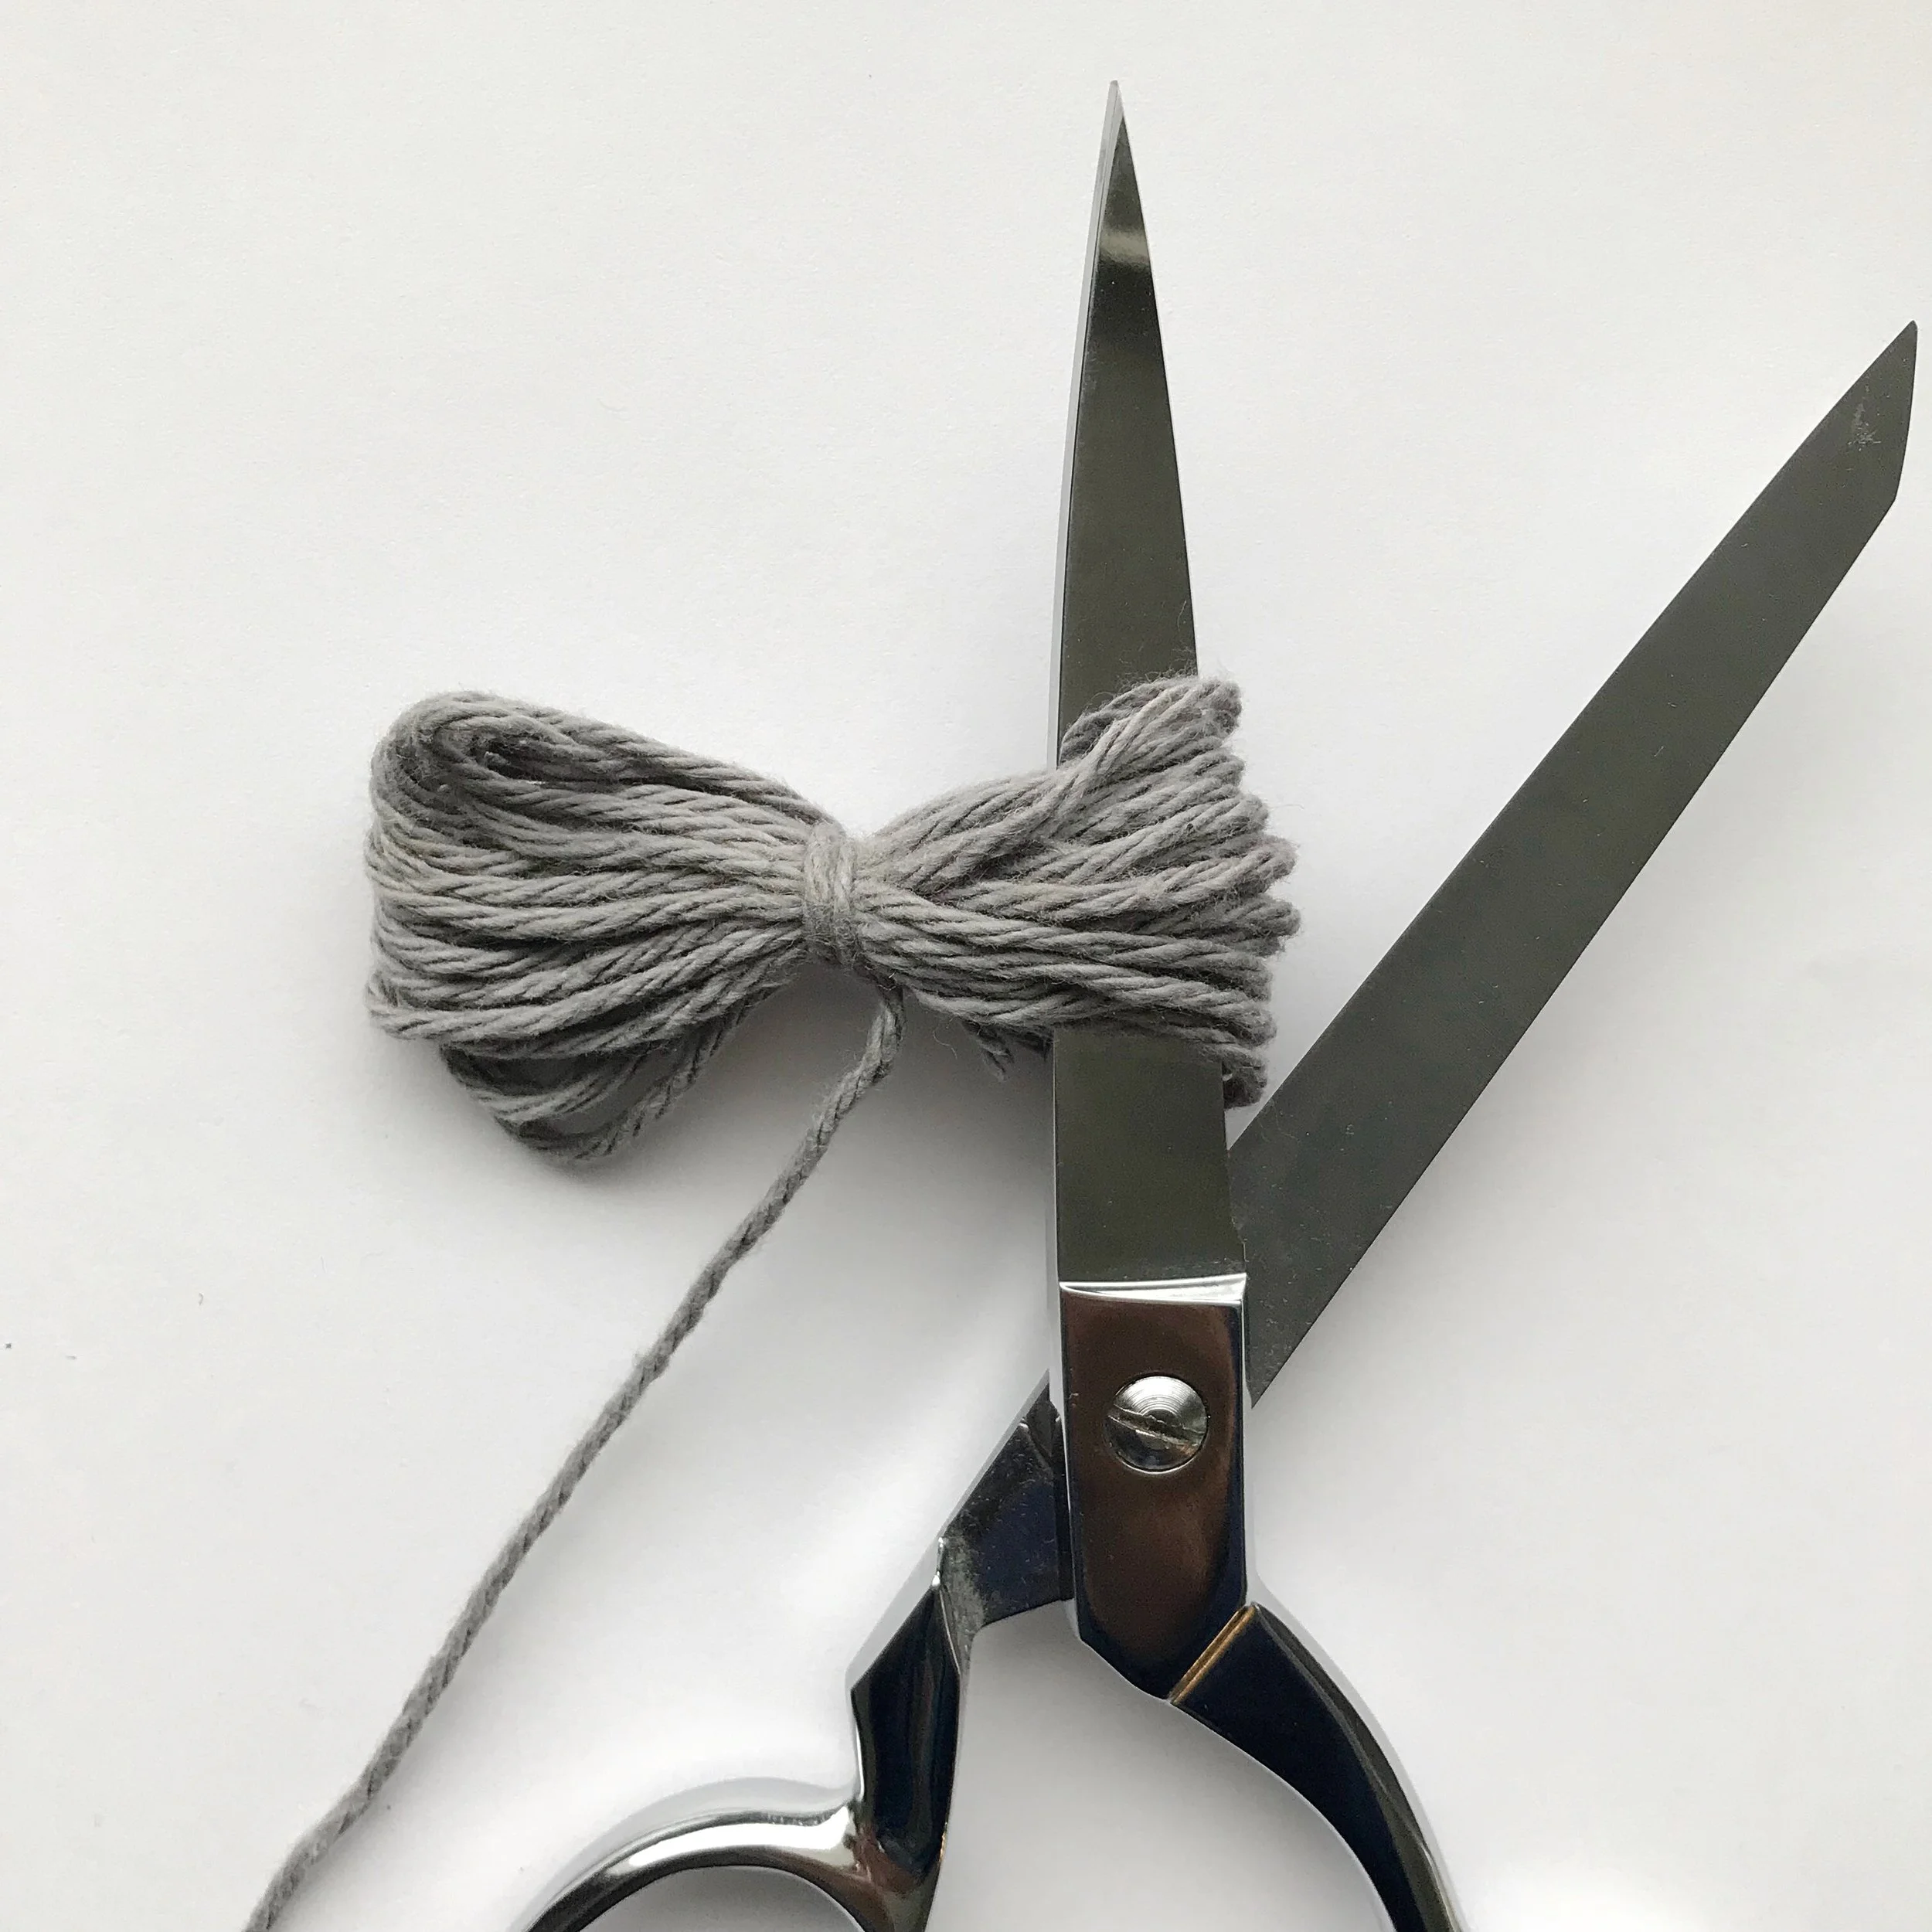
Pull tightly being careful not to break yarn (photo #4). Repeat from * three times. Your yarn will look like a bow. (photo #5) Make sure your “bow” is even on each side. Trim loops on both sides of your “bow”. (photo #6)
Trim pom pom (fluff as you go and be careful not to cut yarn tail) until pom pom looks uniform all around.
Attaching pom pom
If using a pom pom maker:
You will have 2 yarn tails. Working from the top, with pom pom on right side of beanie insert one yarn tail on one side of gathering hole and the other yarn tail on the opposite side. Turn beanie inside out and tie the two yarn tails together in a knot tightly. (Make sure your pom pom is firmly in place before tying the knot)
If you are NOT using a pom pom maker:
You will have 1 yarn tail. Working from the top, with pom pom on right side of beanie, thread the pom pom yarn tail through the gathering hole to the wrong side with tapestry needle. Turn beanie inside out and weave the pom pom yarn tail through two or three stitches in gathering around hole. Tie in a knot tightly.
Weave in ends. Turn right side out.
Congrats on your new beanie!