Chunky Knit Cowl
difficulty level: advanced beginner

This chunky knit cowl uses a beautiful combination of knit and purl stitches. These combined with playful pom poms create a fun and cozy winter accessory!

I wanted the texture of this cowl to compliment the beautiful thick & thin quality of the yarn. And I think the pyramid stitch does just that! This particular yarn is discontinued now, but Knit Collage has lots of other beautiful thick and thin options. It's so much fun to knit and is so addictive watching each triangle come to life!
Let's get started!
need a printable version?
Click the button below to download the PDF for this chunky knit cowl.
Chunky Knit Cowl Pattern
measurements:
height measures approximately 14" (35.56 cm)
circumference measures approximately 26" (66 cm)
what you will need:
2 skeins Knit Collage (approximately 110 yds) Friendship Bracelet Yarn in Quartz Pop or another thick and thin #6 super bulky weight yarn.
8 yds neon pink embroidery floss or desired contrast color
US 19/15 mm knitting needles or size needed to obtain gauge. To save time make sure to check gauge. GAUGE: 6 STS x 9 rows in stockinette = approximately 4x4” (10x10cm)
35 mm pom pom maker
tapestry needle
4 stitch markers (optional)
pattern notes:
This cowl is worked vertically and then seamed together to form a circle.
Once cowl is seamed together, the triangle patterns will be on their sides, appearing more like arrows.
Even numbered rows are the RS of your cowl and odd numbered rows the WS.
abbreviations:
CO- cast on
BO - bind off
K - knit
P - purl
REP - repeat
ST/STS - stitch/es
RS - right side
WS - wrong side
Chunky Knit Cowl
pattern:
Row 1: (WS) *K1, P7; REP from * 2 more times; K1.
Row 2: (RS) P2, K5; *P3, K5; REP from * 1 more time; P2.
Row 3: K3, P3; *K5, P3; REP from * 1 more time; K3.
Row 4: P4, K1; *P7, K1; REP from * 1 more time; P4.
Row 5: REP row 4.
Row 6: K3, P3; *K5, P3; REP from * 1 more time; K3.
Row 7: P2, K5; *P3, K5; REP from * 1 more time; P2.
Row 8: *K1, P7; REP from * 2 more times; K1.
Rows 9-56: REP rows 1-8 six more times.
BO all STS.
finishing:
With wrong sides touching, fold cowl in half, lining up the CO edge with the BO edge.
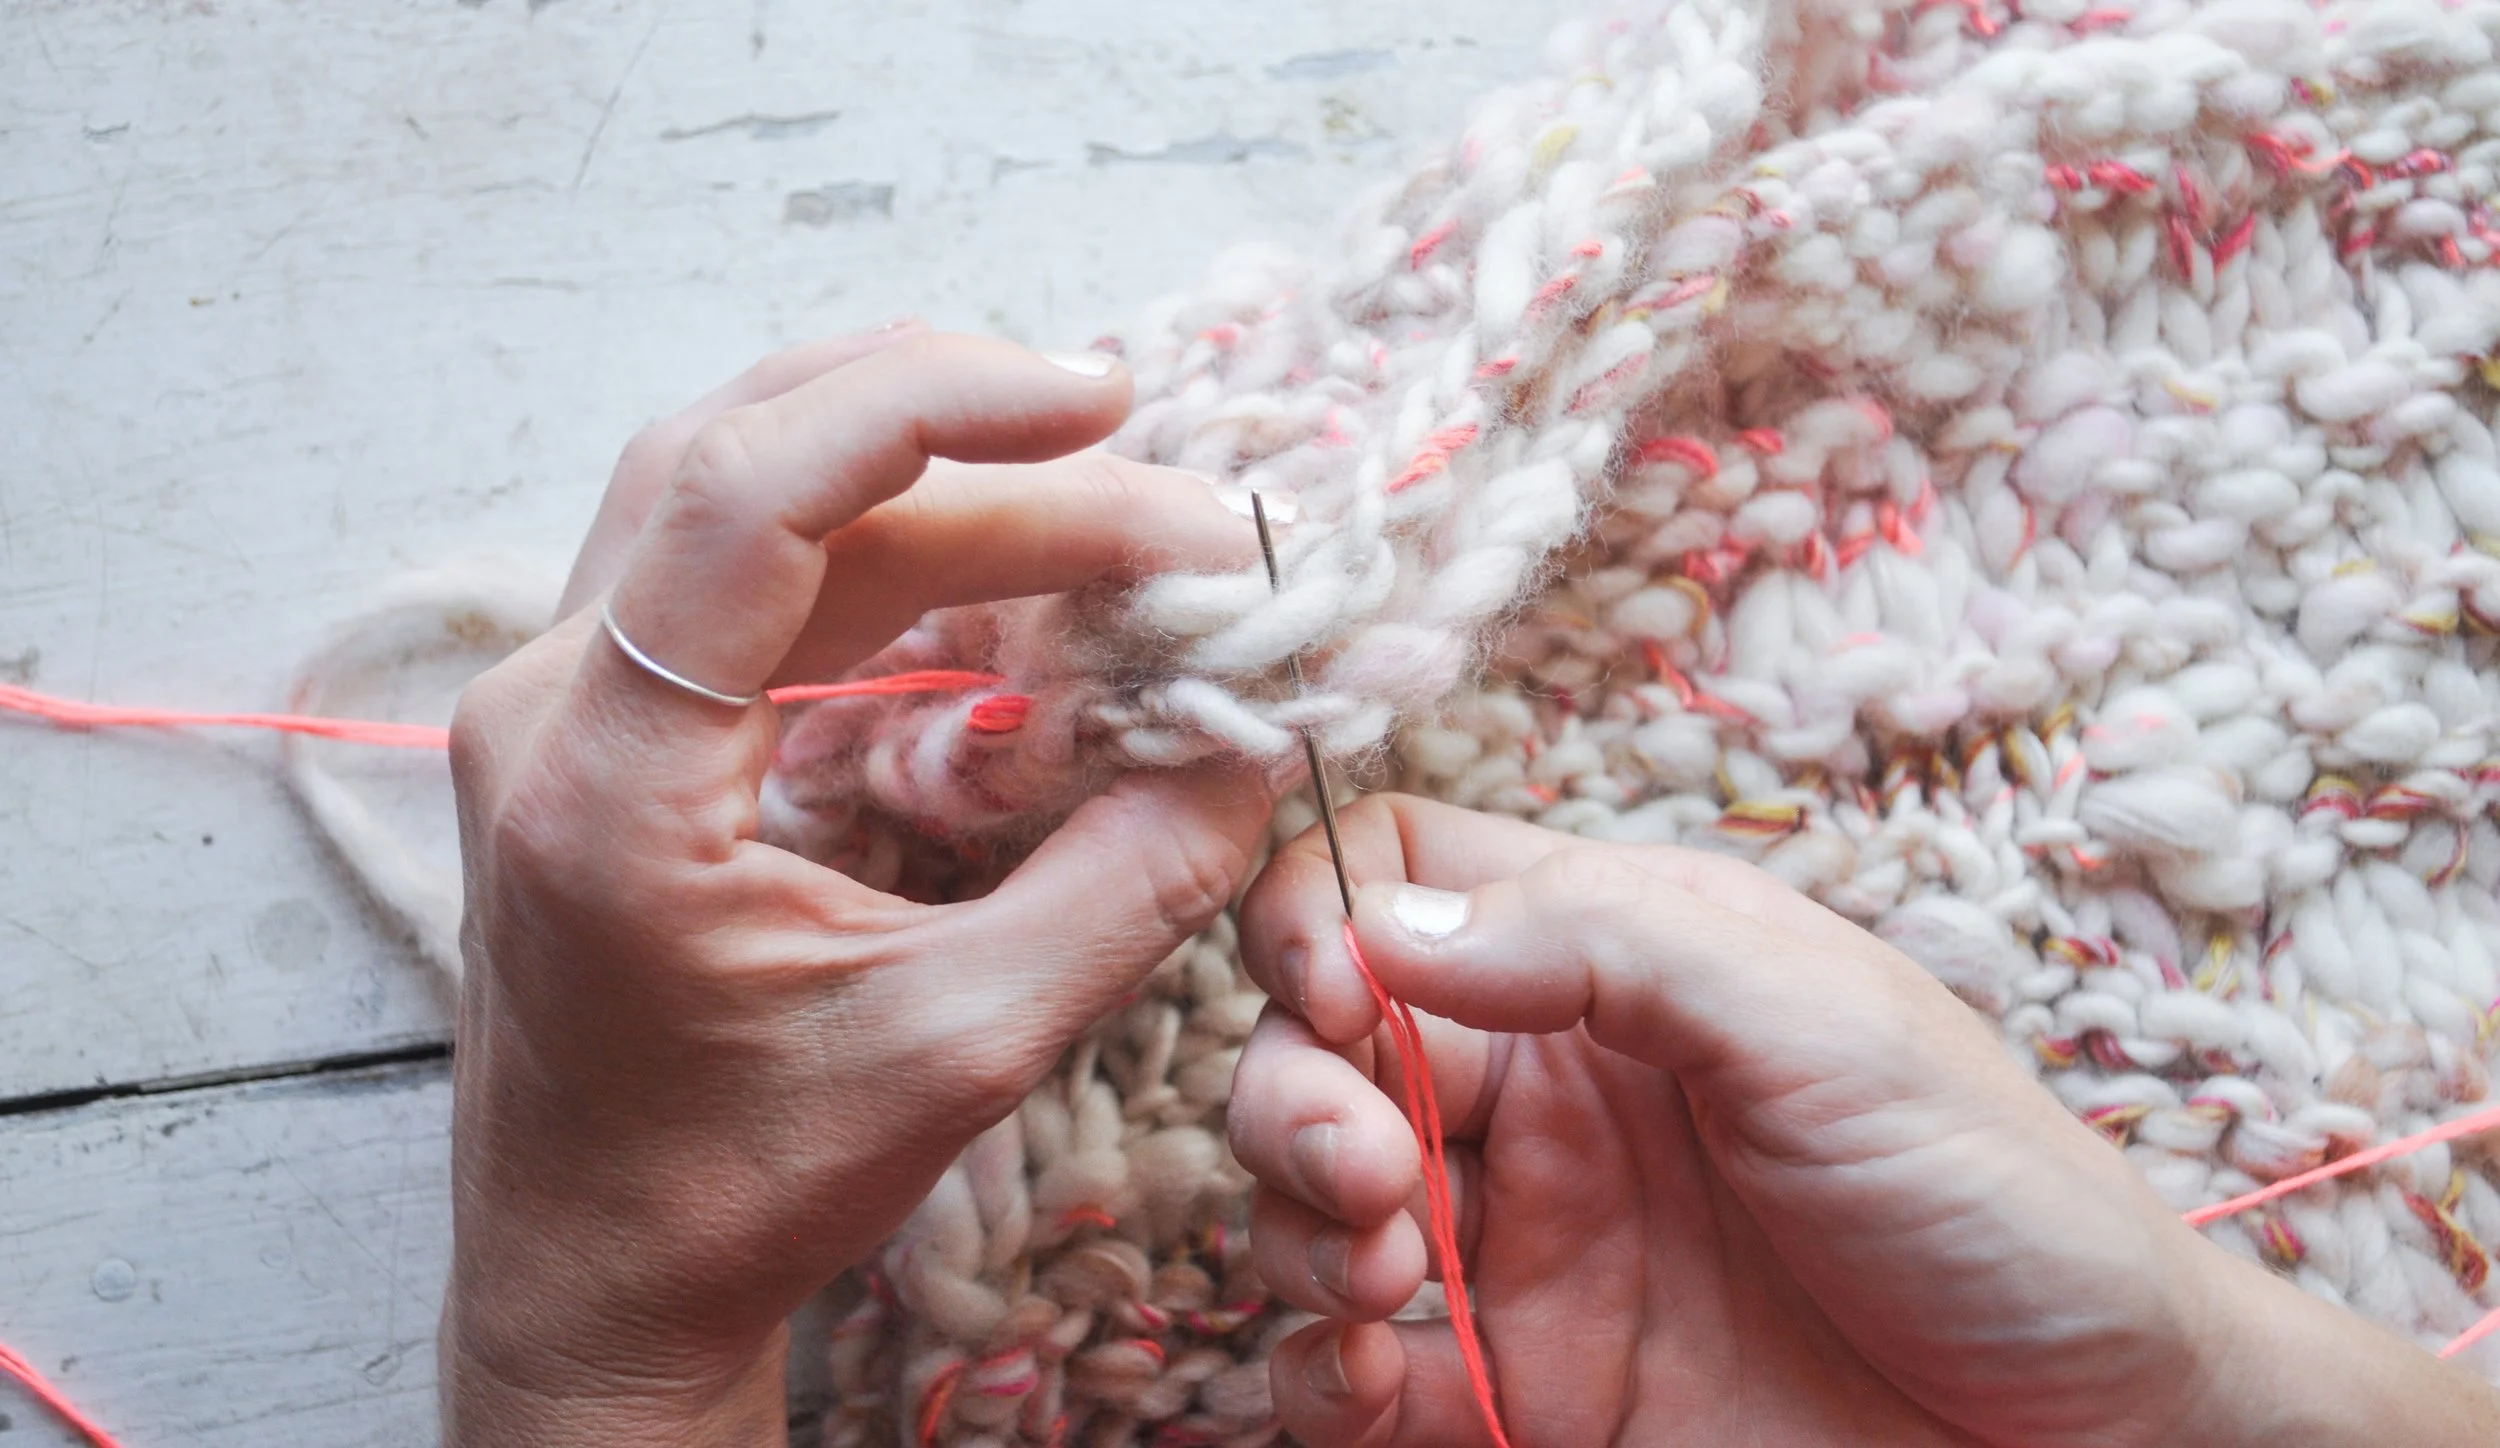
Using approximately 50" (127 cm) of neon pink embroidery floss, thread through tapestry needle, fold in half and tie a knot at the bottom.
1
Secure floss on left side of seam. Insert needle under the inside of the "V" on the right side and under the inside of the "V" on the left side. (see arrows in photo 1 above) Note: the BO edge "V" will be very clear, but the CO edge "V" will look slightly different.

2
3
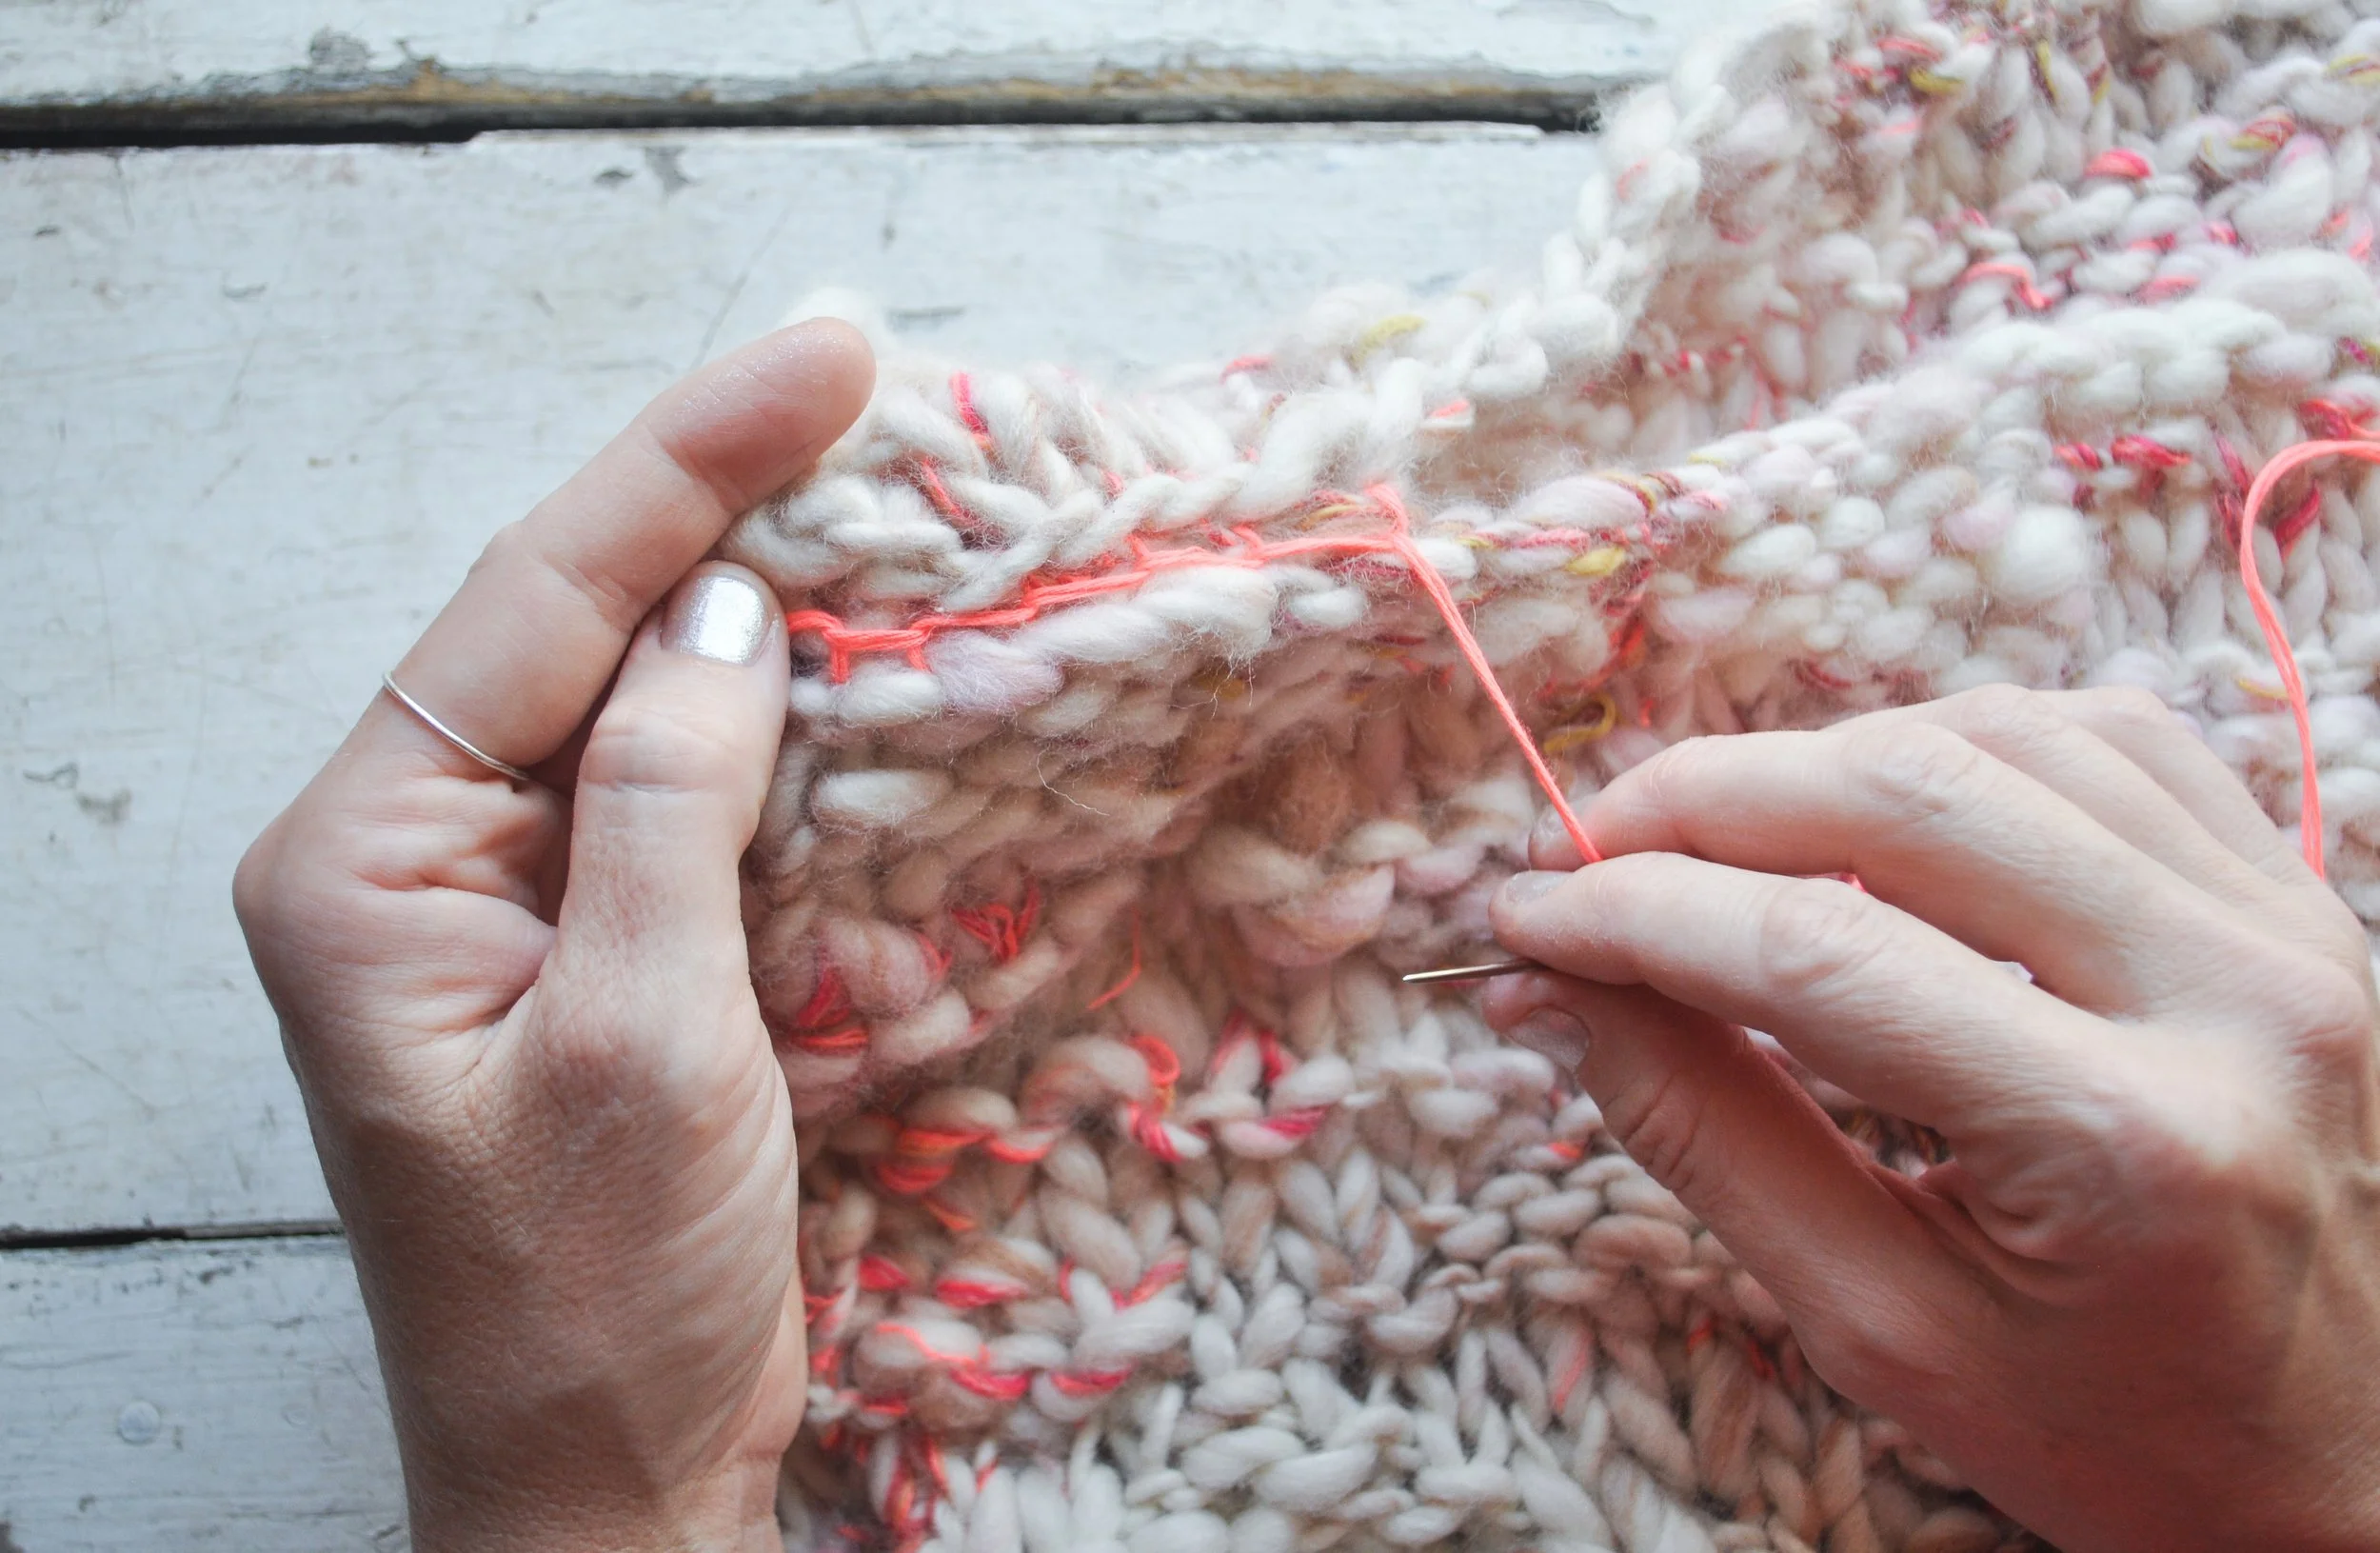
Pull embroidery floss most of the way (but not all) through until there is a small loop left. Bring tapestry needle through the inside of that loop (photo 2 above) and continue pulling till you reach the end of the floss. Continue seaming this way until you reach the opposite end of your cowl. Your seam will look like photo 3 above. Secure floss and fasten off.

enjoy videos more?
If videos are more your jam, here is a step-by-step video tutorial on how to seam this chunky knit cowl.
pom poms
Wrap yarn completely around each side of a 35mm pom pom maker for a total of 3 layers (or until desired thickness is achieved). Finish pom pom with neon embroidery floss, leaving a long enough tail for securing to the cowl. REP this step for a total of 4 pom poms. Trim and fluff pom poms to desired look.
Attaching pom poms

4
Position cowl with seam facing you. You will be distributing and securing your poms poms evenly along the seam. Note: to make sure they are evenly spaced across the seam, you may want to add stitch markers as you measure where to place the center of your pom poms. Begin by placing the center of top pom approximately 2" (5 cm) from the edge of your cowl, *next measure approximately 2" (5 cm) from the edge of that first pom, and place center of 2nd pom; (photo 4 above) REP from * two more times for the remaining two poms.

5
There should be approximately 1.5" (3.81 cm) in between each pom once secured. (photo 5 above)
Fasten off. Weave in ends. Congrats on your new cowl!