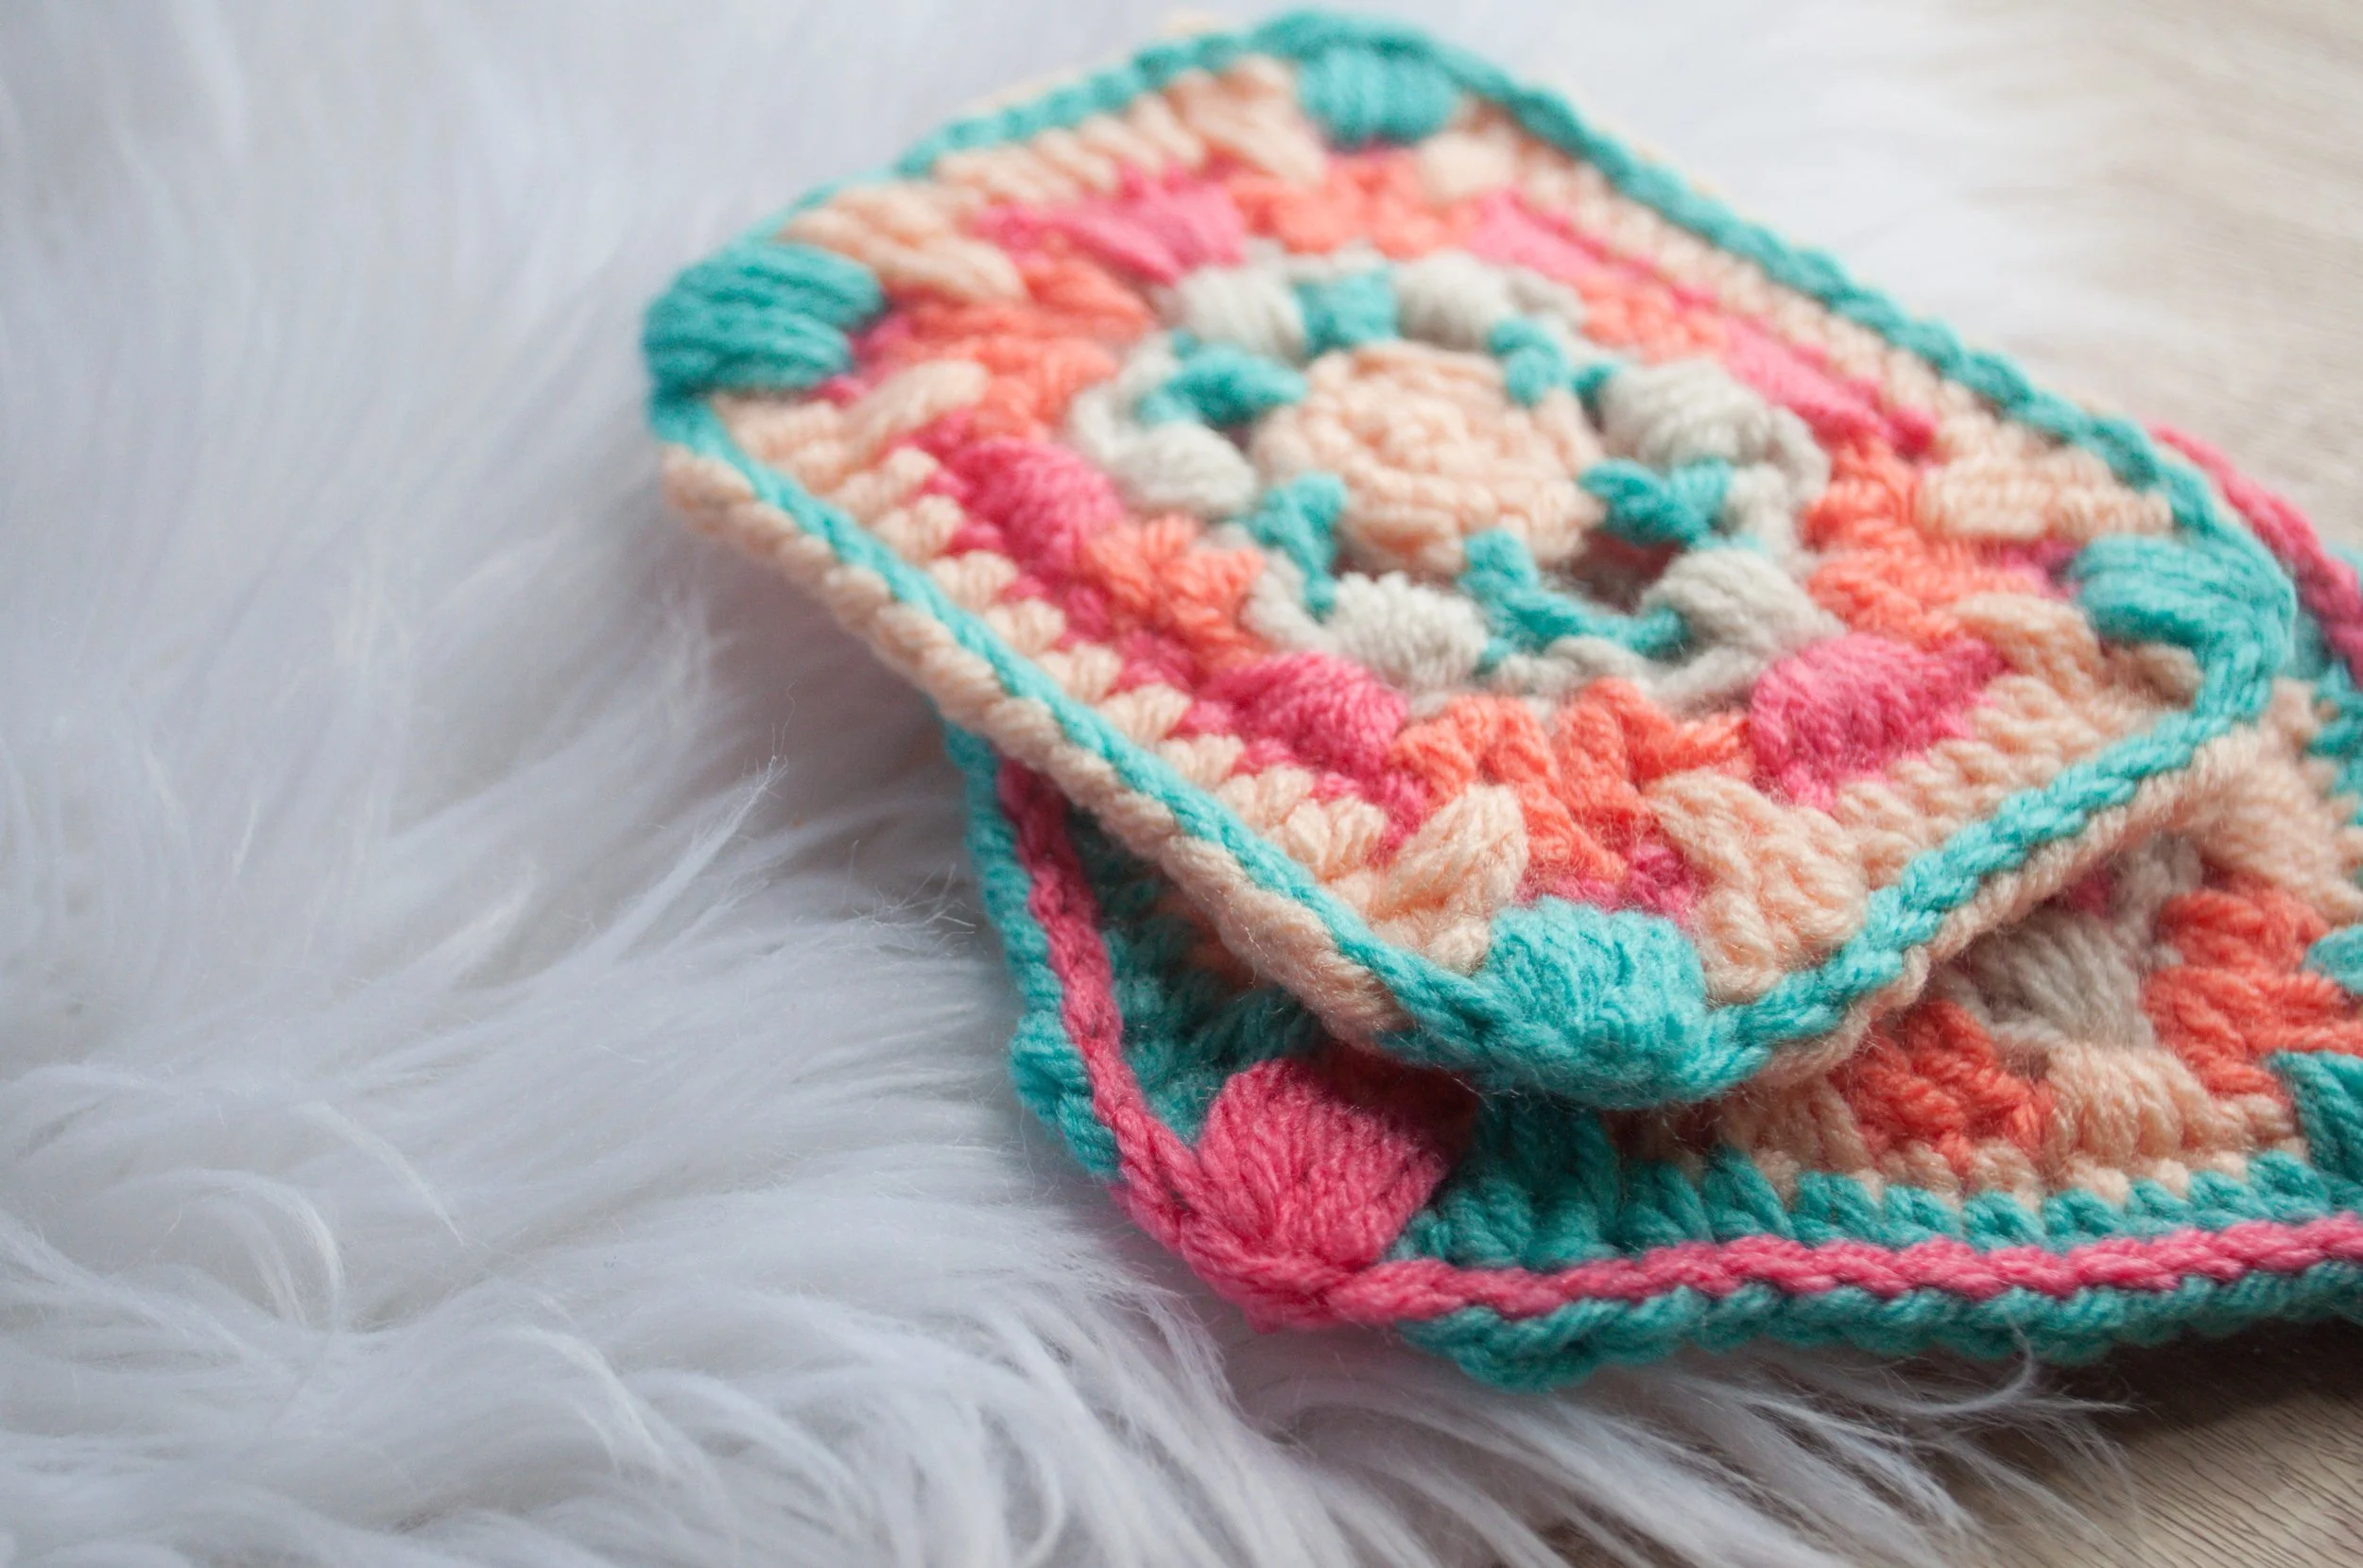
Boho Crochet Granny Square
difficulty level: intermediate
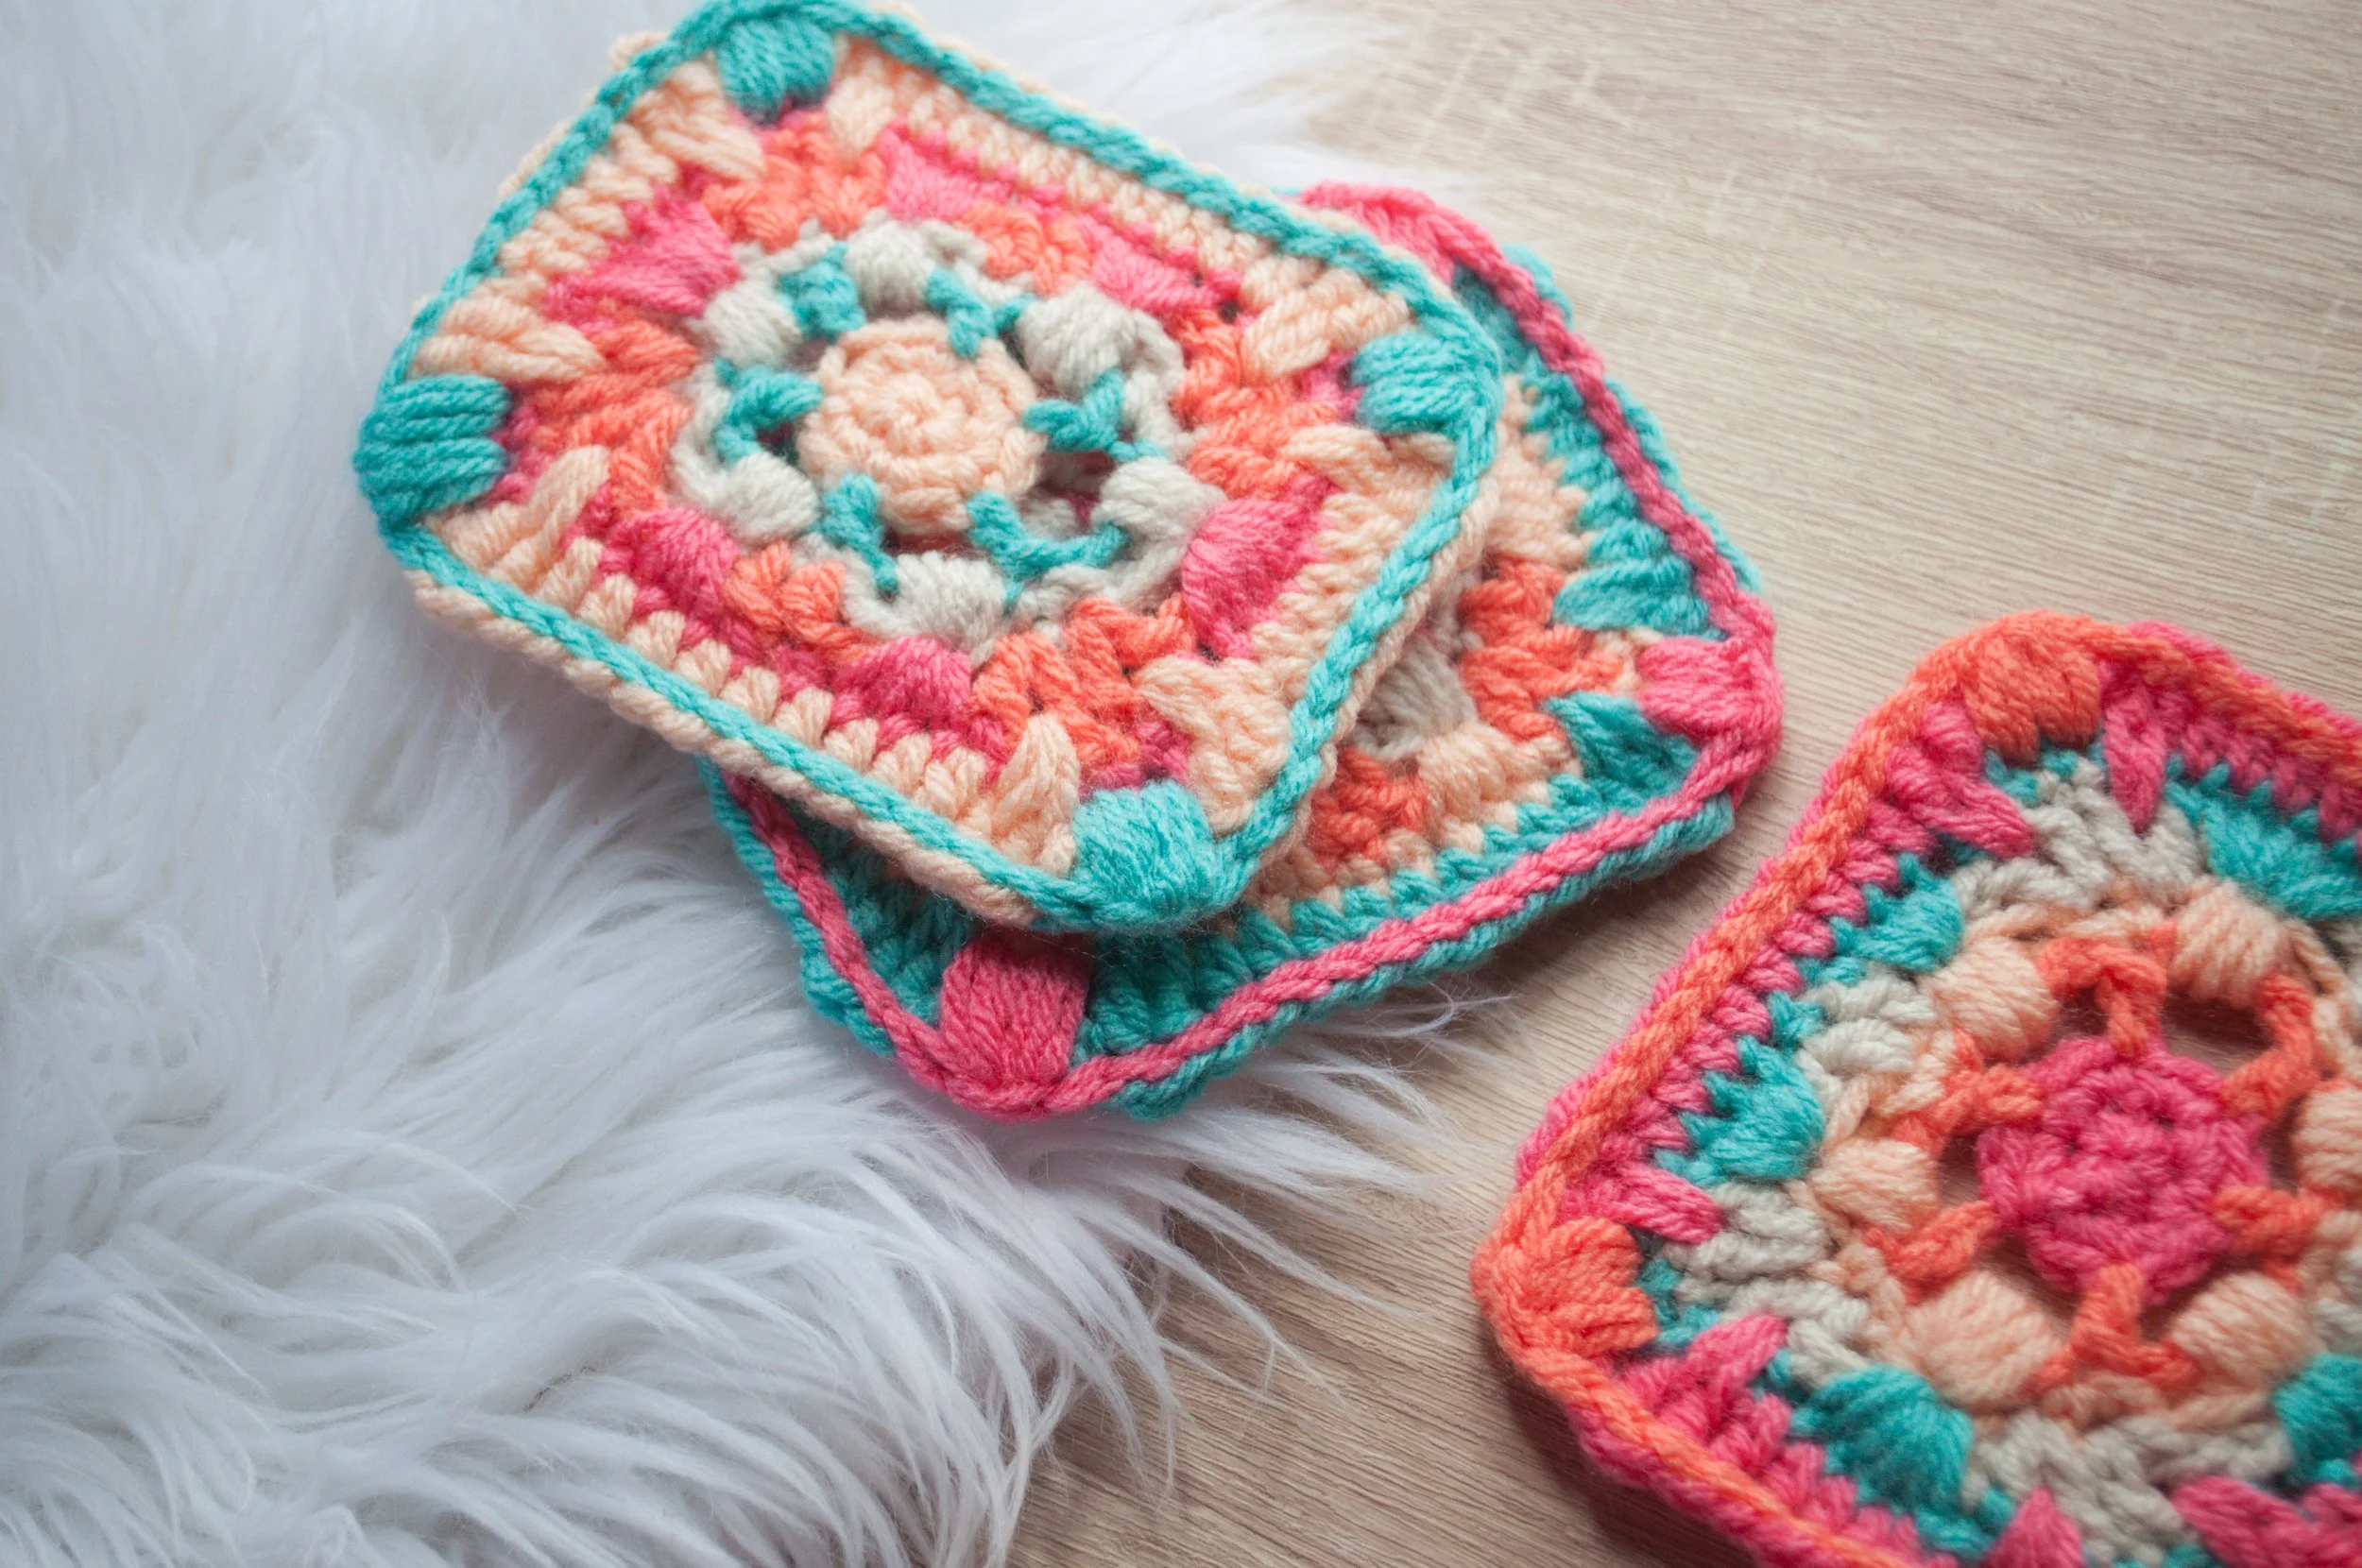
I just love a granny square, don't you? There's something so cute and unique about each one. I'm so excited to share this beautiful boho mosaic crochet granny square pattern with you!

I didn't know exactly what I wanted the granny square to look like, but I knew I wanted to use I Love This Yarn! from Hobby Lobby. That's really my go-to brand for acrylic because there are so many great colors to choose from! You can find some of my other projects using I Love This Yarn! below (click each title below to take you to the free pattern).
Llama Llove Pillow
Peaches Pie Ombre Loop Stitch Rug
Neon Waves Mini Wall Hanging
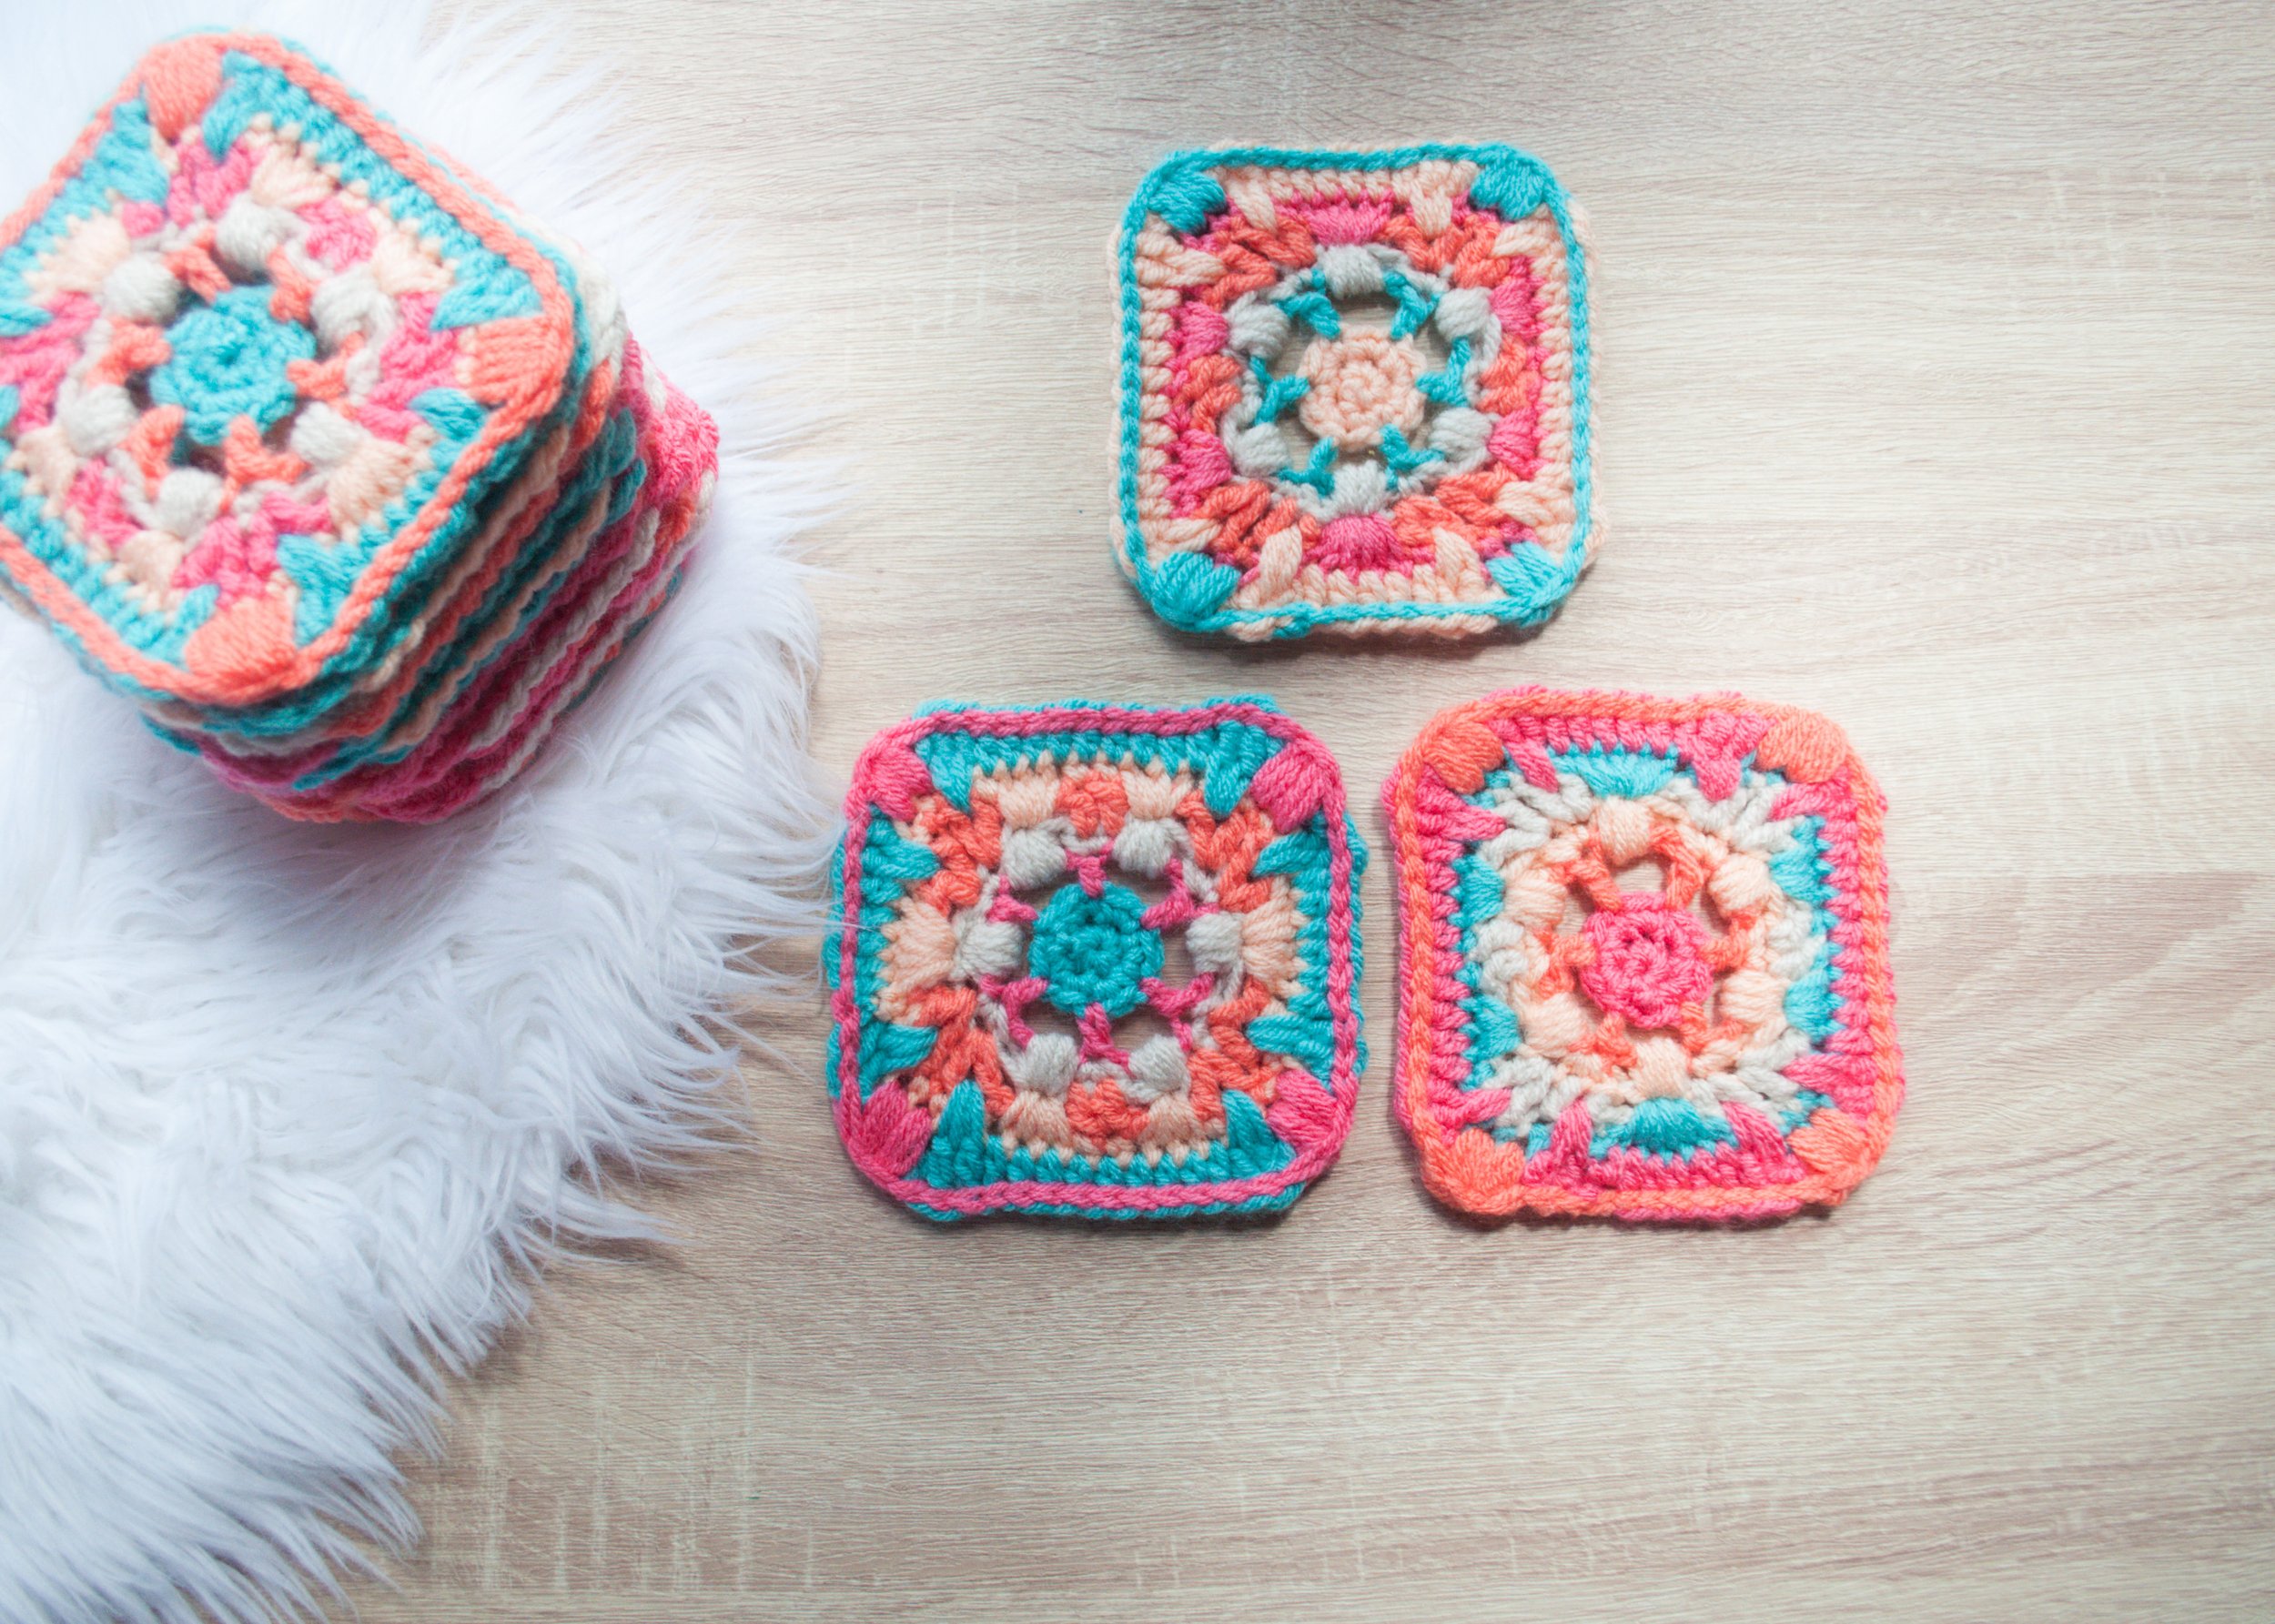
I just love the mosaic tile look these granny squares have and the boho feel of the colors...And that's how the name, Boho Mosaic Granny Square, came to be!
enjoy videos more?
If videos are your jam, here is a step-by-step video tutorial for this boho crochet granny square.
Boho Crochet Granny Square Pattern
measurements:
square measures approximately 5" x 5" after steam blocking.
what you will need:
Aran weight yarn in 1-7 different colors. These are the 5 colors I used (colors A, B, C, D, E):
Light Peach I Love This Yarn! - Color A
Turquoise I Love This Yarn! - Color B
Linen I Love This Yarn! - Color C
Mango I Love This Yarn! - Color D
Tropical Pink I Love This Yarn! - Color E
Size US H/5mm crochet hook, or size needed to obtain gauge. To save time make sure to check gauge. GAUGE: 15 SC x 18 rows = 4"x4”
Tapestry needle
pattern notes:
This This is a great stash busting project! I used several color combinations for this square. Pattern is written using just 1 specific color combination as listed in the "what you will need" section. Play around with colors, change them up and have fun! :)
abbreviations:
CH - chain
SL ST - slip stitch
SC - single crochet
DC - double crochet
TR - treble crochet
HDC - half double crochet
PS - puff stitch
SP ST - spike stitch
ST/STS - stitch/es
YO - yarn over
REP - repeat
special stitches:
Magic ring
special stitches continued:
Spike Stitch (SP-1, SP-2, SP-3, SP-4...) See video tutorial below, or – insert hook in the SC 1, 2, 3, 4...and so on... rows below the top SC row. YO and loosely pull up your loop until it meets the top SC row. YO and pull through two loops on hook. This will give you an elongated SC called a spike stitch.
special stitches continued:
Puff Stitch
need a printable version?
Click the button below to download the PDF for this boho crochet granny square.
Boho Crochet Granny Square
pattern:
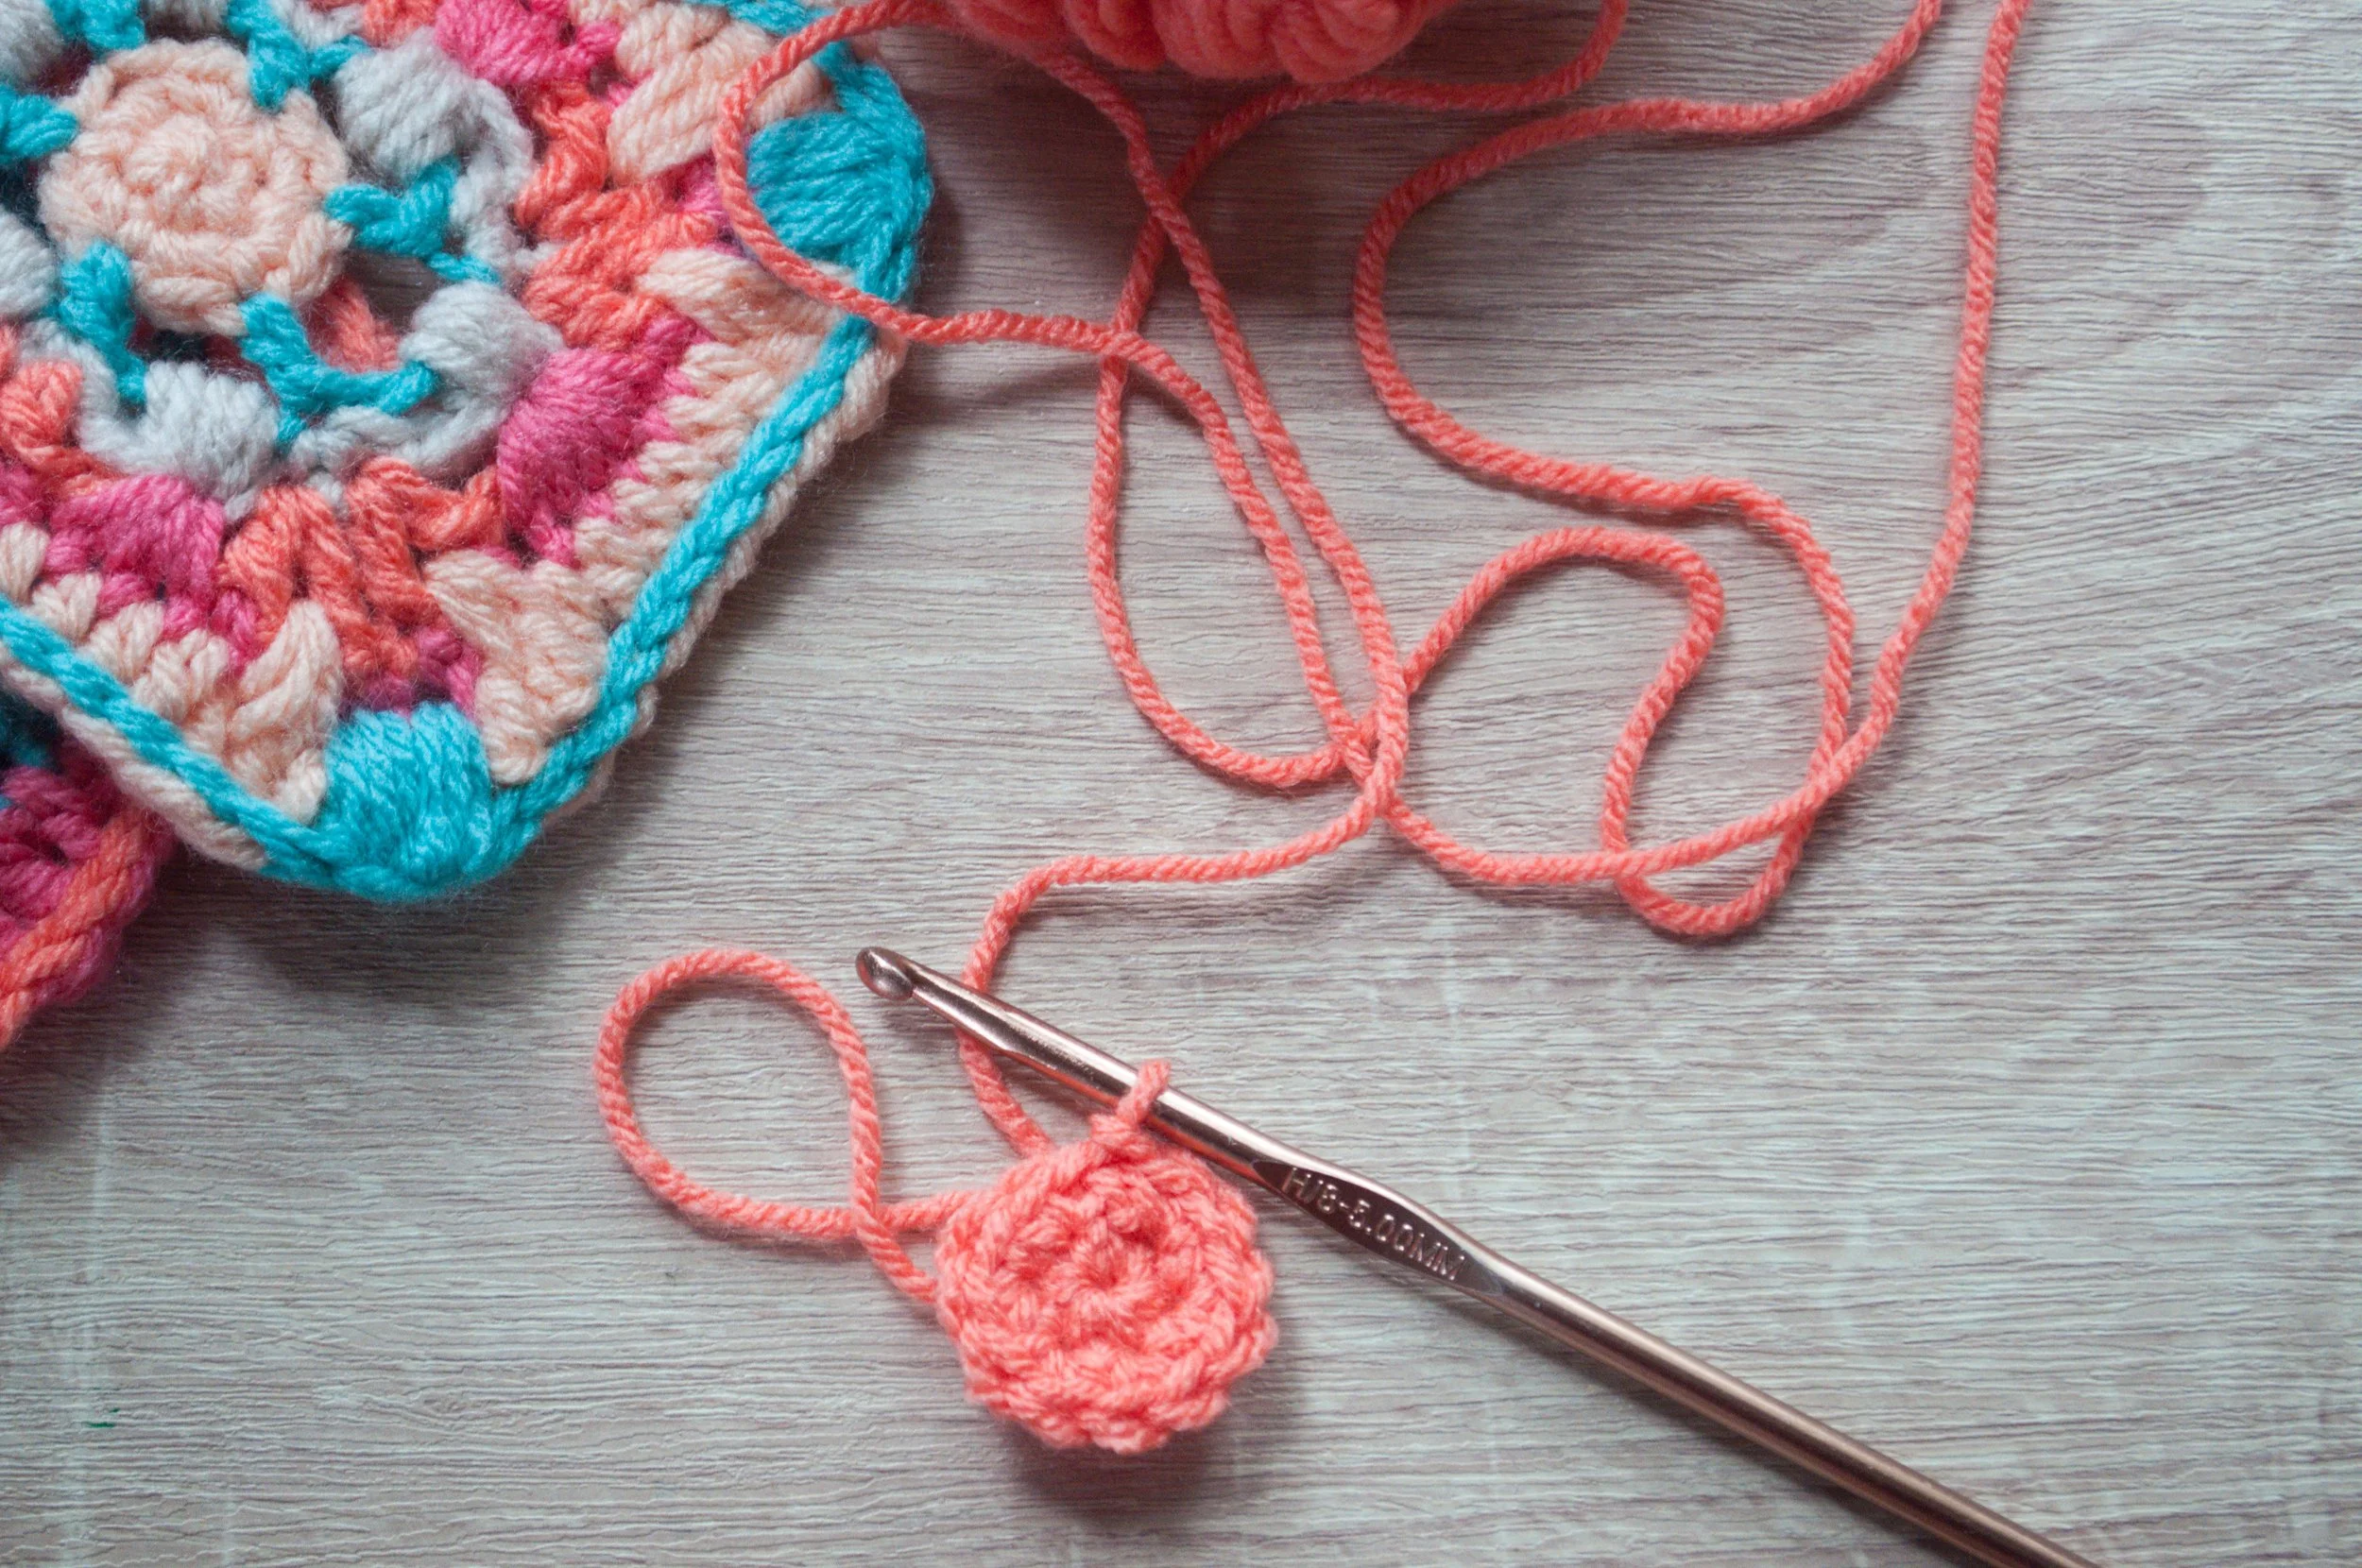
With Color A make a magic ring.
CH 1
Make 6 SC in magic ring; pull ring tightly to close hole; join with SL ST in first SC. (6 SC)
Round 1: 2 SC in each SC around; join with SL ST in first SC. (12 SC)
Change to Color B
Round 2: CH 6 (counts as DC and CH 3), *skip 1 SC, DC in next SC, CH 3; REP from * around; join with SL ST in 3rd CH from the bottom. (6 DC)
Change to Color C
Round 3: *PS in CH-3 space, CH 1, 2 SC in next DC; REP from * around; join with SL ST in top of PS, SL ST in next SC.
Change to Color D
Round 4: 2 DC in same SC, CH 1, 2 DC in next SC; CH 3, skip PS, DC in next 2 SC, *CH 3, skip PS, 2 DC in next SC, CH 1, 2 DC in next SC*; (REP from * to * 1 more time); CH 3, skip PS, DC in next 2 SC; CH 3, skip PS, 2 DC in next SC, CH 1, 2 DC in next SC, CH 3, skip PS; join with SL ST in first DC.
Change to Color E
Round 5: *SC in next 5 STS (2 DC, CH 1, 2 DC), 3 SP STS (around CH 3) in next PS (from round 3 below), SC in next 2 DC, 3 SP STS (around CH 3) in next PS (from round 3 below), SC in next 5 STS (2 DC, CH 1, 2 DC), 5 SP STS (around CH 3) in next PS (from round 3 below); REP from * 1 more time; join with SL ST in first SC.
Change to Color A
Round 6: CH 2 (counts as HDC), 2 TR in between 2 DC (from round 4 below), CH 3, 2 TR in between 2 DC (from round 4 below), HDC in next 9 STS; 2 TR in between 2 DC (from round 4 below), CH 3, 2 TR in between 2 DC (from round 4 below), HDC in next 6 STS, 2 TR in between 2 DC (from round 4 below), CH 3, 2 TR in between 2 DC (from round 4 below), HDC in next 9 STS; 2 TR in between 2 DC (from round 4 below), CH 3, 2 TR in between 2 DC (from round 4 below), HDC in next 5 STS; join with SL ST in top of CH 2.
Change to Color B
Click [here] and skip to 20:16 in the video for a demonstration of how to divide your PS mentioned in round 7.
Round 7: SL ST loosely in top of same CH 2, SL ST in next 2 TR, **divide 6 YO PS between 2 SC (from round 5 below) [*YO, insert hook in 1st SC pull up a loop around CH-3 (from round 6 below); REP from * 2 more times; REP same instructions for 2nd SC; YO and pull through all 13 loops on hook], CH 1, SL ST in next 13 STS, divide 6 YO PS between 2 SC (from round 5 below) [*YO, insert hook in 1st SC pull up a loop around CH-3 (from round 6 below); REP from * 2 more times; REP same instructions for 2nd SC; YO and pull through all 13 loops on hook], CH 1**; SL ST in next 10 STS; REP from ** to ** 1 time; SLST in the next 7 STS.
Fasten off. Pull yarn tail through to the right side of your square. With tapestry needle, insert yarn tail into 1st SL ST bringing it to the wrong side of your square. Secure yarn tail.
Weave in ends.
Congrats on your super cute new granny square! :)